Page summary
Custom fields
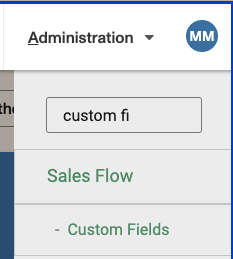
If you require specific information that the existing fields do not collect, you can set up custom fields to capture this data. Custom fields are tied to a model (context): for example, fields that appear during checkout (and are stored on transactions), or fields that appear when creating or editing Stations in Operations. To create or edit definitions, navigate to Admin > System > Custom Fields and click +Add new (or edit an existing one).
Configuration
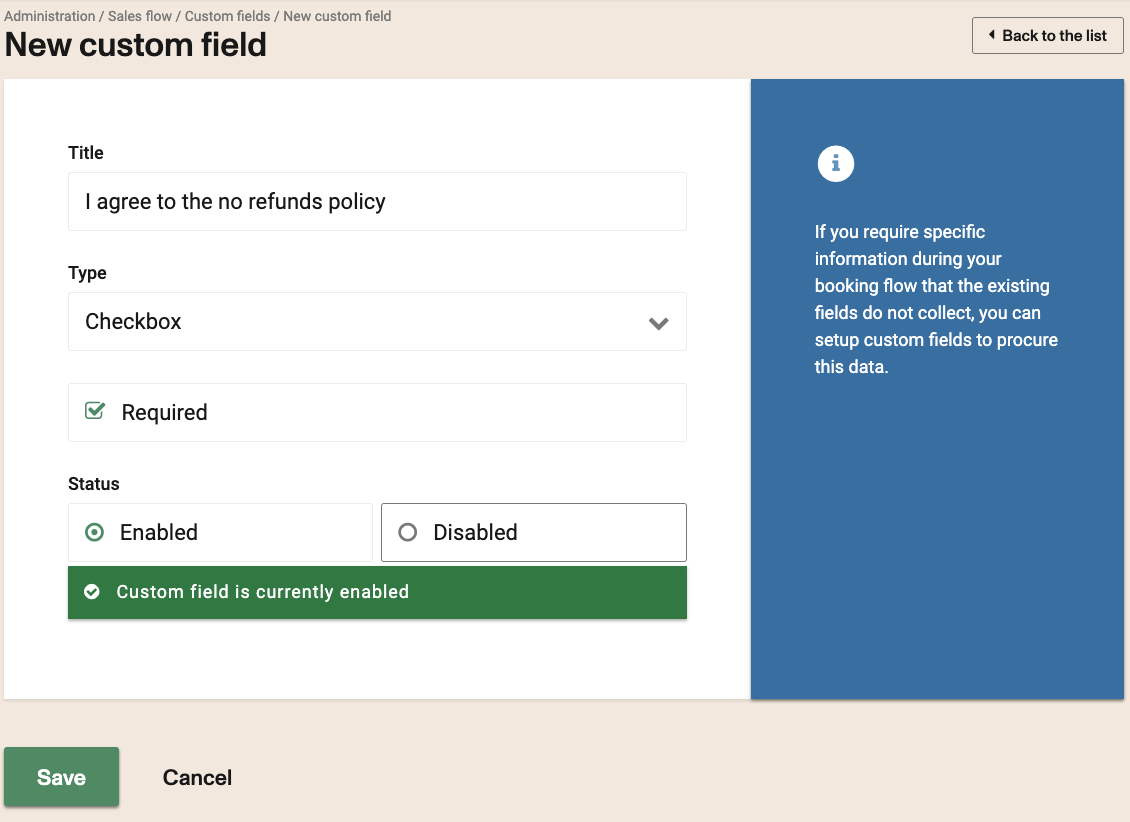
- Title: Enter the text that you would like to appear in the custom field here.
- Type:
- Text: Allows the user to type free-form information.
- Checkbox: Can be configured as mandatory before allowing to continue through to the next screen.
- List: Will appear as a drop-down menu and prompt users to select one of the added options. For lists you can add options by typing the list item and then **clicking the "plus" button**.
- Required: If =true, completing the custom field is mandatory where it appears.
- Disabled: If =true, the custom field will not appear in the flow where it applies (e.g. purchase flow or station form). Prefer the Enabled/Disabled toggle when available.
- Model name: Select which entity this field belongs to. This controls where the field appears and where values are stored. See [Models](#models-where-the-field-applies) below.
The last step is to click Save to save your new custom field.
Models (where the field applies)
Model name determines the context for the custom field. Choose the model that matches the object you want to extend:
| Model | Where it is used | What it stores |
|---|---|---|
| Stations | When creating or editing a station under Operations > Stations. | Extra data on the station record (API and station webhooks). Required station custom fields must be filled before saving. |
| fares | On a fare type definition (Adult, Child, and similar fare types). | Extra attributes on the fare type for labeling, configuration, or integrations—not collected from the passenger at checkout. |
| Amenity groups | On an amenity group (e.g. Wi‑Fi package, premium cabin group). | Extra attributes on that amenity group in inventory. |
| Routes | On a route. | Route-level metadata (for example external codes or operational notes). |
| Schedules | On a schedule. | Schedule-level metadata (for example service codes or crew notes). |
| Manifests | On a manifest (a specific trip on a specific date). | Day-of-operations metadata on that trip instance. |
| Tickets | On a ticket. | Ticket-level custom data beyond standard passenger fields. |
| Transactions | At checkout in the sales flow (shopping cart), before payment is finalized. | Values stored on the transaction; can be included in the Transactions report (see below). |
Stations and Transactions have dedicated screens in the back office (station form and checkout). Other models attach custom metadata to that inventory or sales object; use them when you need account-specific data on fares, routes, schedules, manifests, tickets, or amenity groups (often for integrations, reporting, or API payloads). Do not use those models if you only need a question at checkout—use Transactions instead.
Where custom fields appear
- Checkout (Sales flow): Custom fields configured for the Transactions model appear in the final window of the checkout process and are stored on the transaction; they can be included in the Transactions report (see Sales flow (checkout custom fields) below).
- Stations: Custom fields with model Stations appear when creating or editing a station under Operations > Stations. Values are stored on the station record and are included in the station API and in station webhooks. Required station custom fields must be filled before saving the station.
Sales flow (checkout custom fields)
For custom fields configured for the Transactions model: once created, the new custom field will appear in the final window of the checkout process, right before the payment is finalized. For example, in the image below you can see a custom field to collect information about how the customer heard of the service.
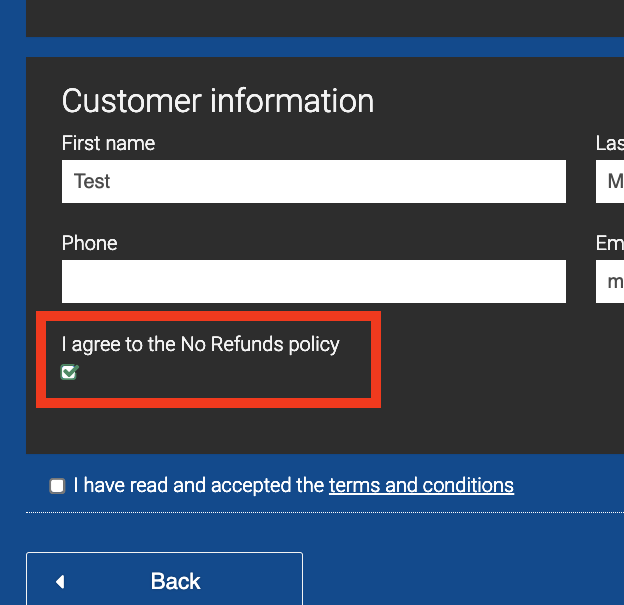
For tracking all the custom field information, users will need to go to the Transactions report under Intelligence menu, then select the custom field from the gear sign located right beside the download button.

Use case examples
- Compliance acknowledgement at checkout (Transactions)
- Where did you hear about us (Transactions)
- Additional company or facility information on a station (Stations)
- External or internal codes on routes, schedules, or fare types (Routes, Schedules, fares)