Page summary
Seatmaps with new design
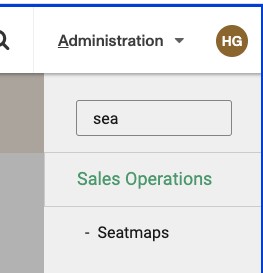
To create a new version Seatmap navigate to Admin > Sales operations -> Seatmap
To get this option available we need to have a "seatmapsNewDesign" flag turned ON under preferences in "accounts" collection. If not we'll be redirected to the old version
In the seatmap list you can delete existing seatmaps clicking the red X (if the seatmap is not in use).
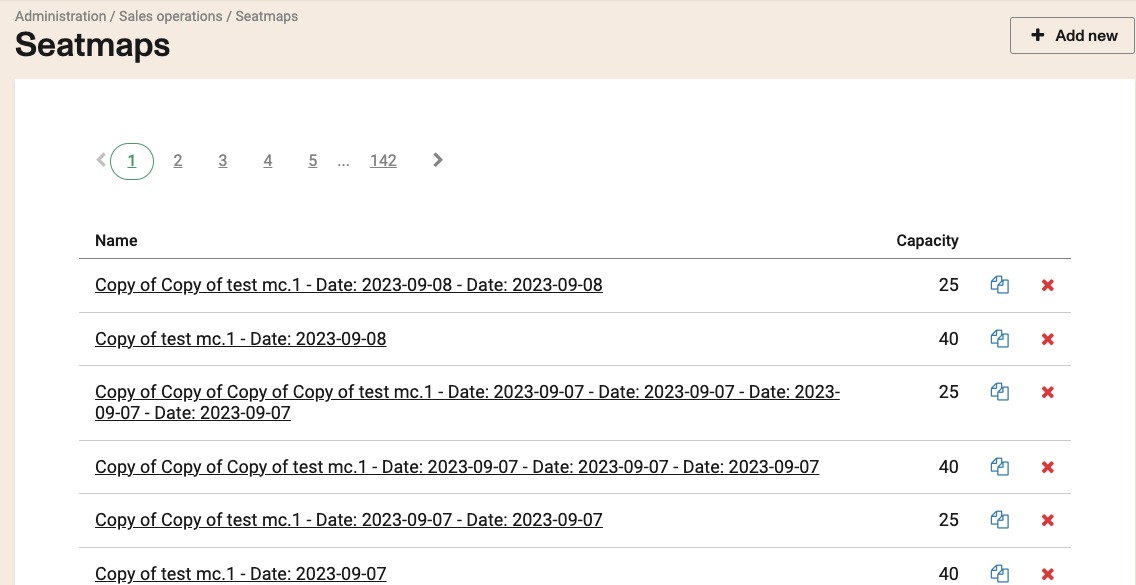
Copy a seatmap (clicking in the copy icon), edit a seatmap, clicking in the name or create a new clicking on the +Add new button.
Editing or creating a seatmap
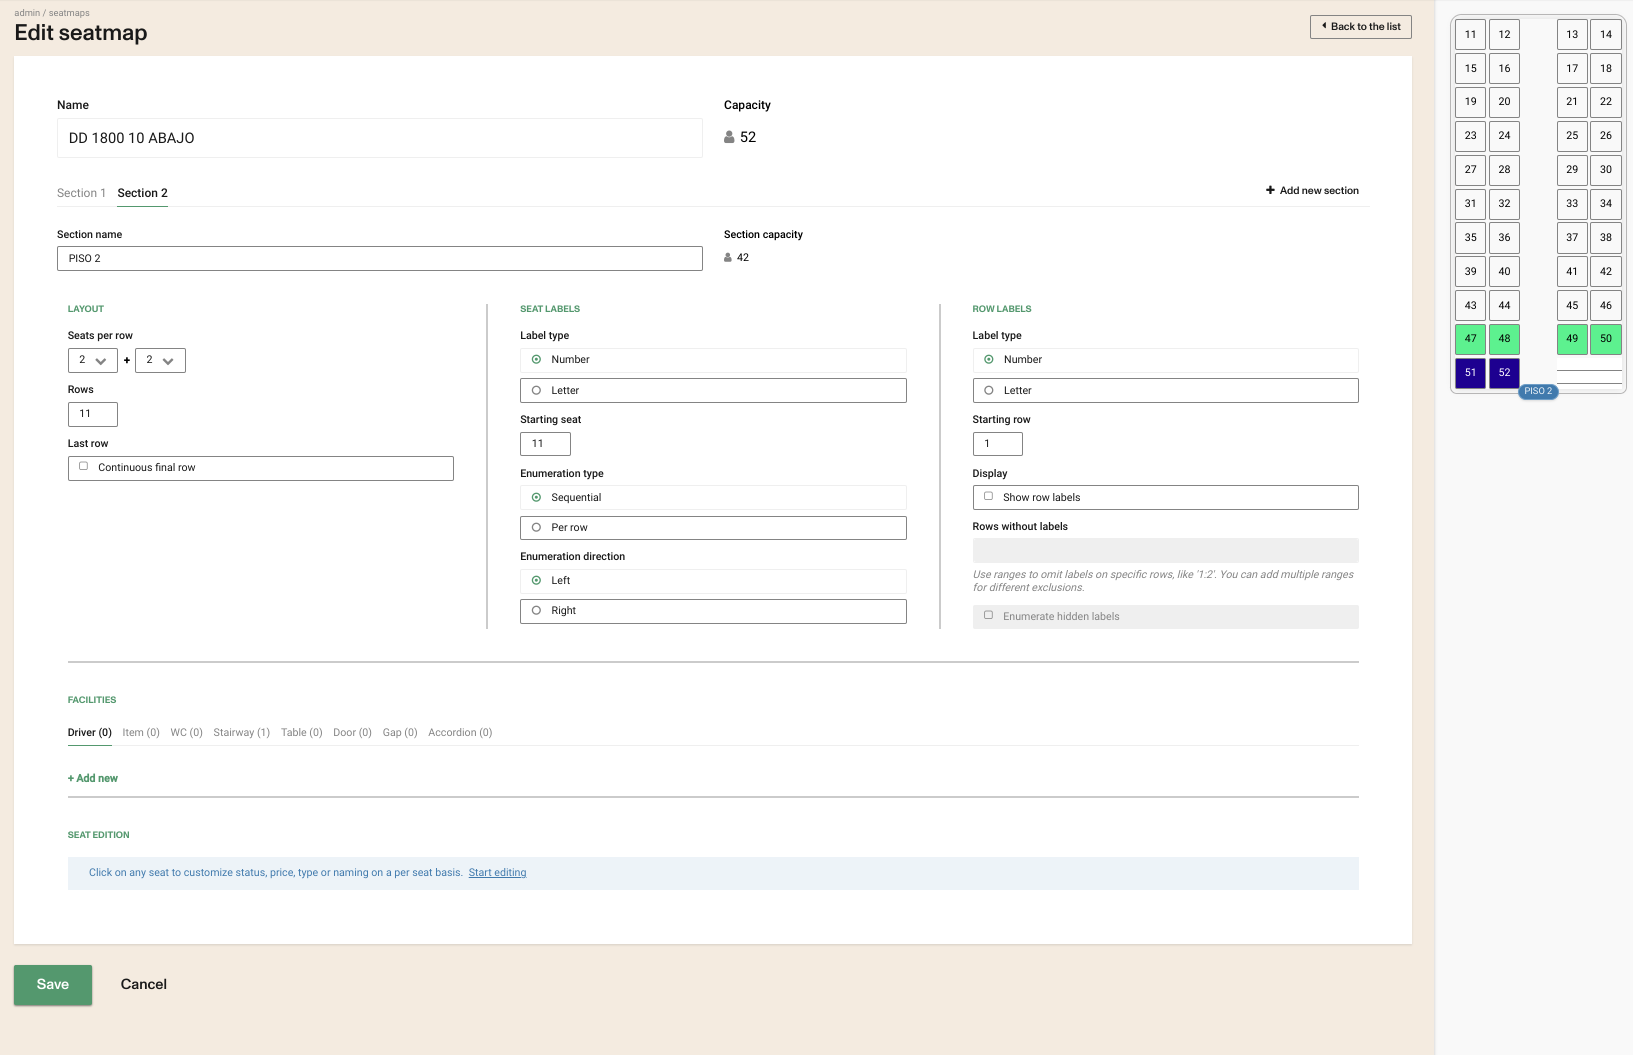
Any change done on every single seatmap setting along the screen will impact immediately on the seatmap which is loaded on the right side of the screen, back won't be saved till the main action is called.
Generic seatmap settings
Anytime we can change the seatmap name and we have the chance to check its capacity which can only be uptaded as long as the settings are changing

Seatmap sections
We can also create as many sections as required, hitting the Add new section button, on the right. Setting the section name is mandatory and can change it anytime. Similar to the seatmap, the section capacity can only be uptaded as long as the settings are changing too.

Layout
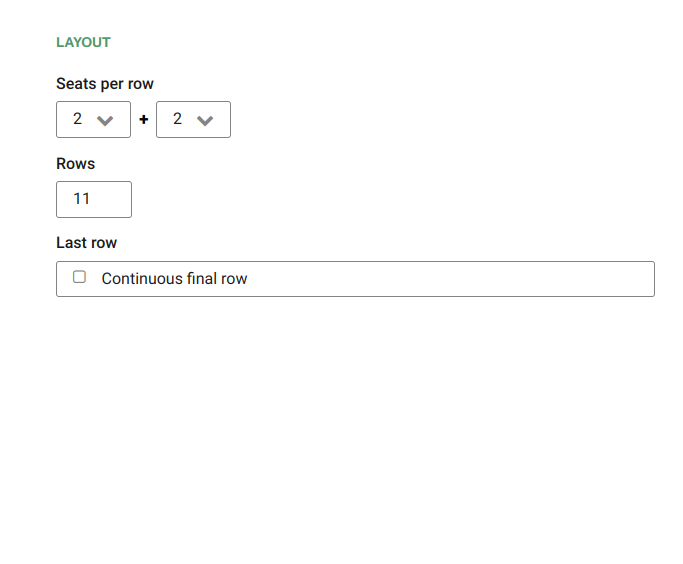
Seats per row: By default a section will always have a corridor. We can tell as many rows the section will have on both sides of the corridor.
Rows: We can define the amount of rows the section will have.
Last row: If checked, the final row will be a continuos row of seats. instead of having a gap as part of the corridor.
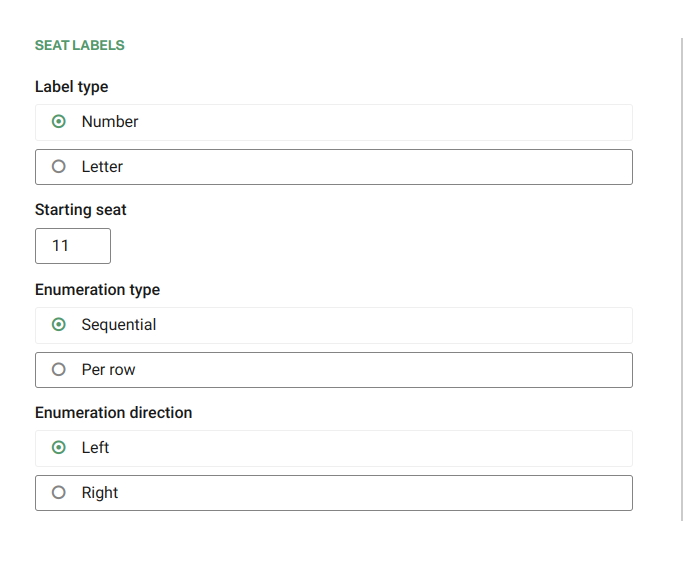
Seat labels
Label type: The label on every seat can be a number or a letter, starting by Starting seat.
Enumeration type: The way of labelling seats can be sequentially or it can be reset on every row back to the Starting seat value.
Enumeration direction: Seatmap labels can start from the left or the right and it will be adapted to the enumeration type
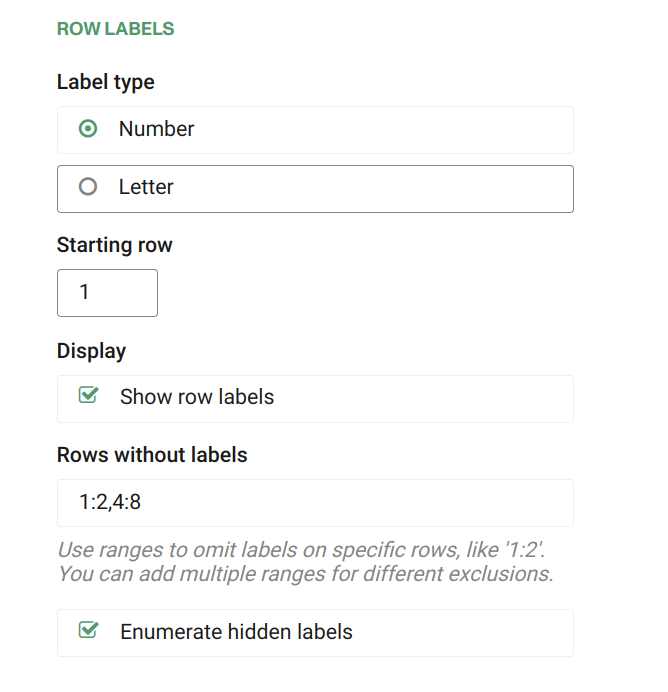
Row labels
Label type: The label on every row along the corridor can be a number or a letter, starting by Starting row.
Display: If checked we'll see the labels of every single row through the corridor.
Rows without labels If we want to hide the labels of just a group of rows, but keep showing the rest, we can define it in this way: "1:2, 4:8". In this example we omit labels from row 1 to row 2, and labels from row 4 to row 8.
Enumerate hidden labels If checked the way of labelling rows won't take into account the hidden ones.
Seat edition
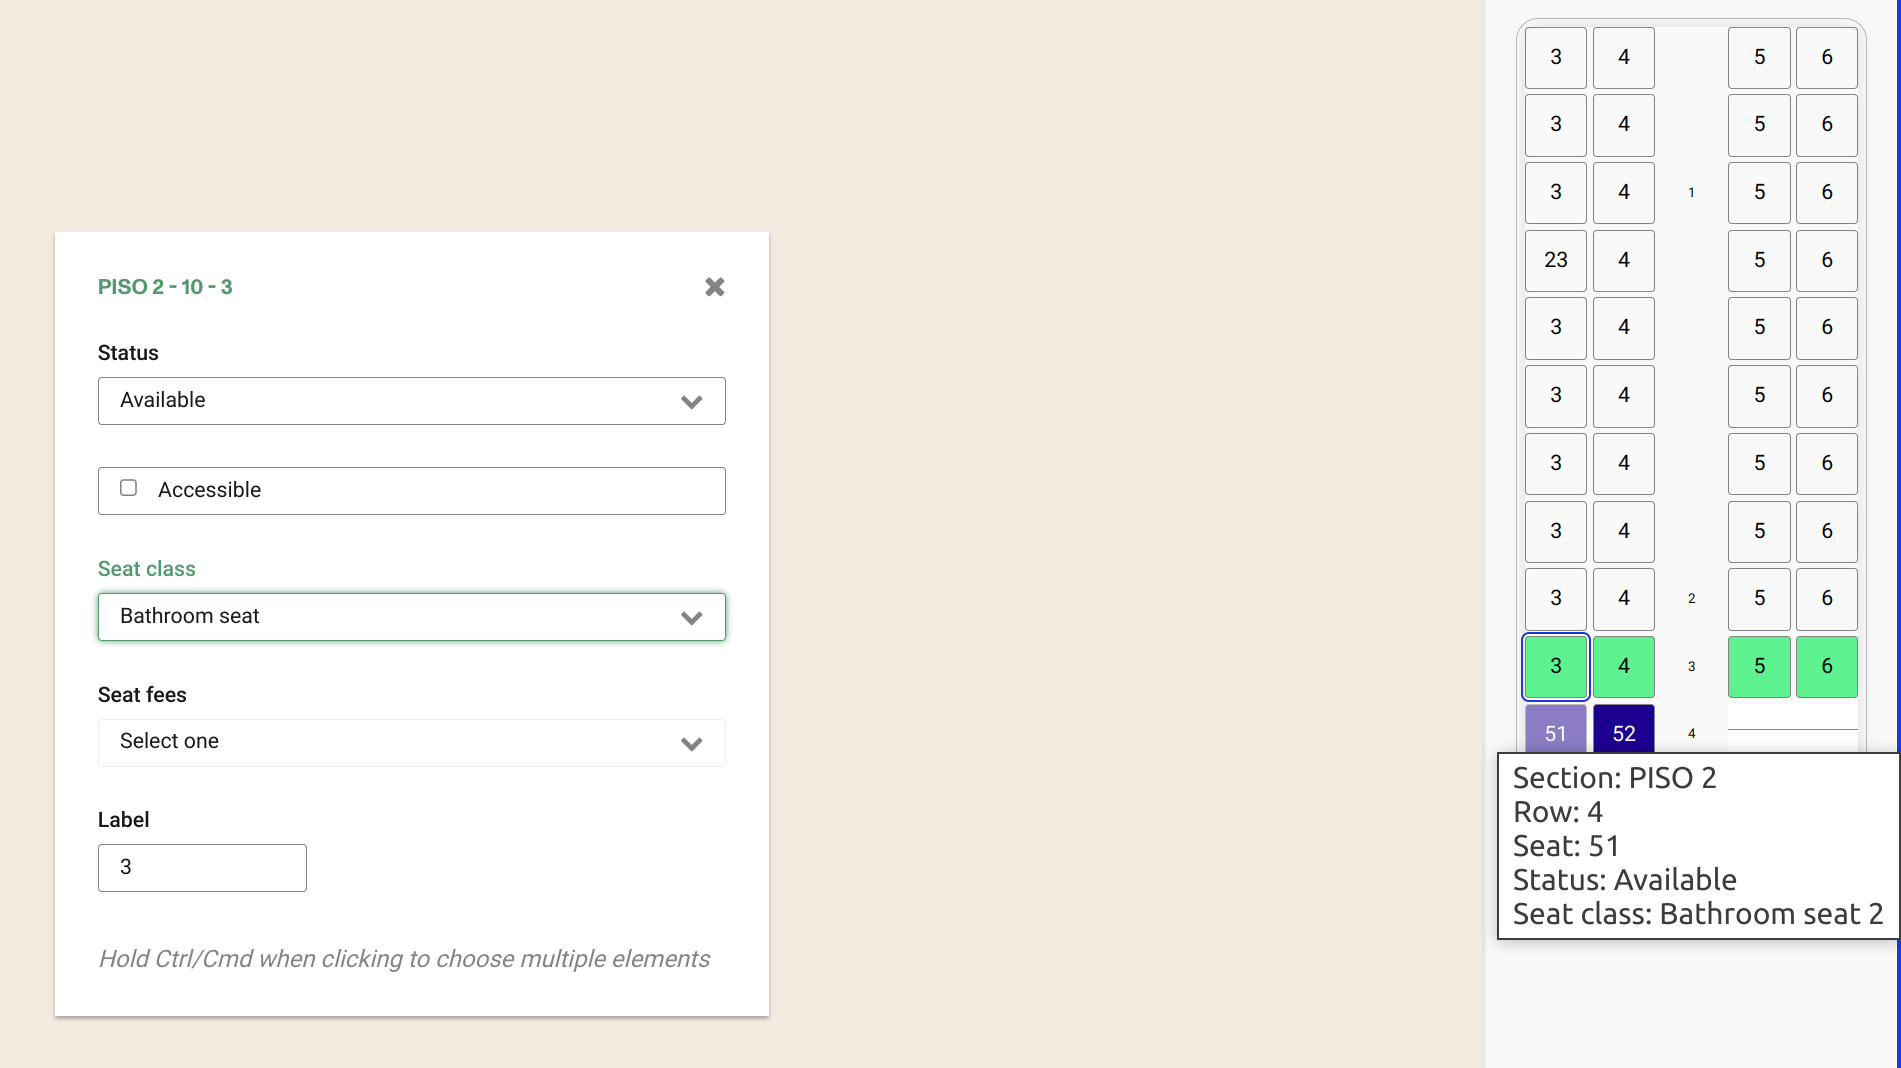
Clicking on every seat on the seatmap, we can edit it. Also holding Ctrl/Cmd when clicking we can choose multiple seats to edit
Status Possible values are Available, Blocked or Reserved.
Accessible In case the seat is ready for disable people.
Seat class If we need to relate the seat to a seat class.
Seat fee In case we need to relate the seat to a seat fee.
Label Here we the chance to set an exception for some seats, in order to label them in a different way from the rest we set earlier.
Facilities
We have the chance to add, remove and edit a fixed set of facilities from: Driver, Item (video, audio, etc), WC, Stairway, Table, Door, Gap or Accordion. Depending on the facility type we can set the alignment, label, background or text color, width and height, orientation, or we can easily adjust their position along the seatmap.

Assigning a seatmap to a vehicle
To learn how to create a vehicle item, click here.
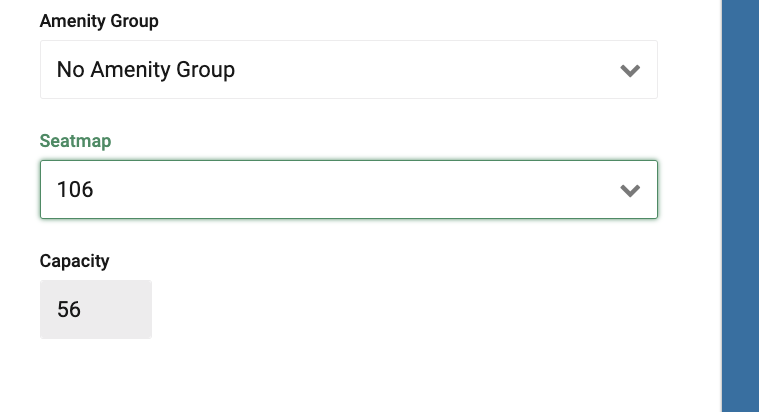
Navigate to Admin -> Sales operations -> Vehicles, then select the Vehicle you want to assign a seatmap to. Keep in mind that a vehicle must be created before being able to assign a seatmap. Then, scroll to the bottom and select +Add seatmap.
Remember to click on the "Add seatmap" button. Otherwise it won't save.
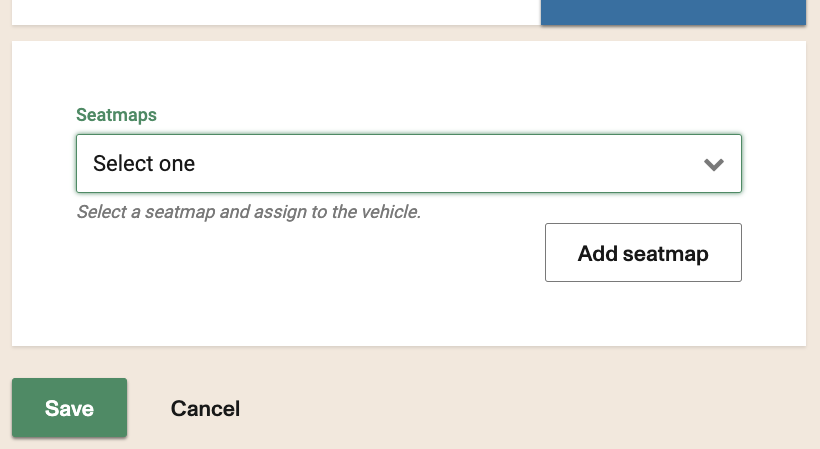
It should look like this once the seatmap is assigned to the vehicle.
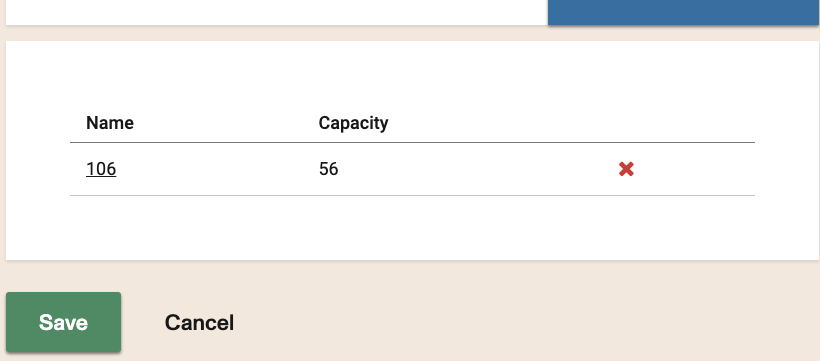
The last step is to assign the new inventory item and seat map to the schedule. To do this, navegate to Admin -> Sales inventory -> Routes, and select the route and schedule and from there you can assign the seatmap to the schedule.
Click the link to learn how to move the seat selection from after the passenger details to before the passenger details screen
Once in use, seatmaps can't be changed or modified. They need to be copied into a new version. This can be done in each manifest. Alternatively if it is meant to be a long term change, you can create new schedules with the new seatmaps, move the tickets from the old schedules to the new ones and expire the old schedules with the old seatmaps.