Page summary
Users
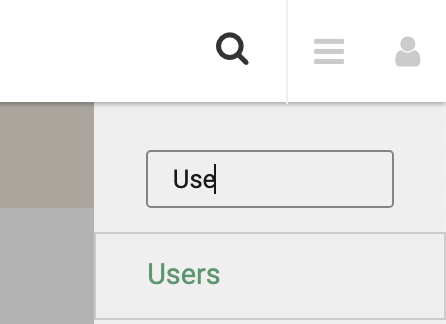
Navigate to Admin > Users.
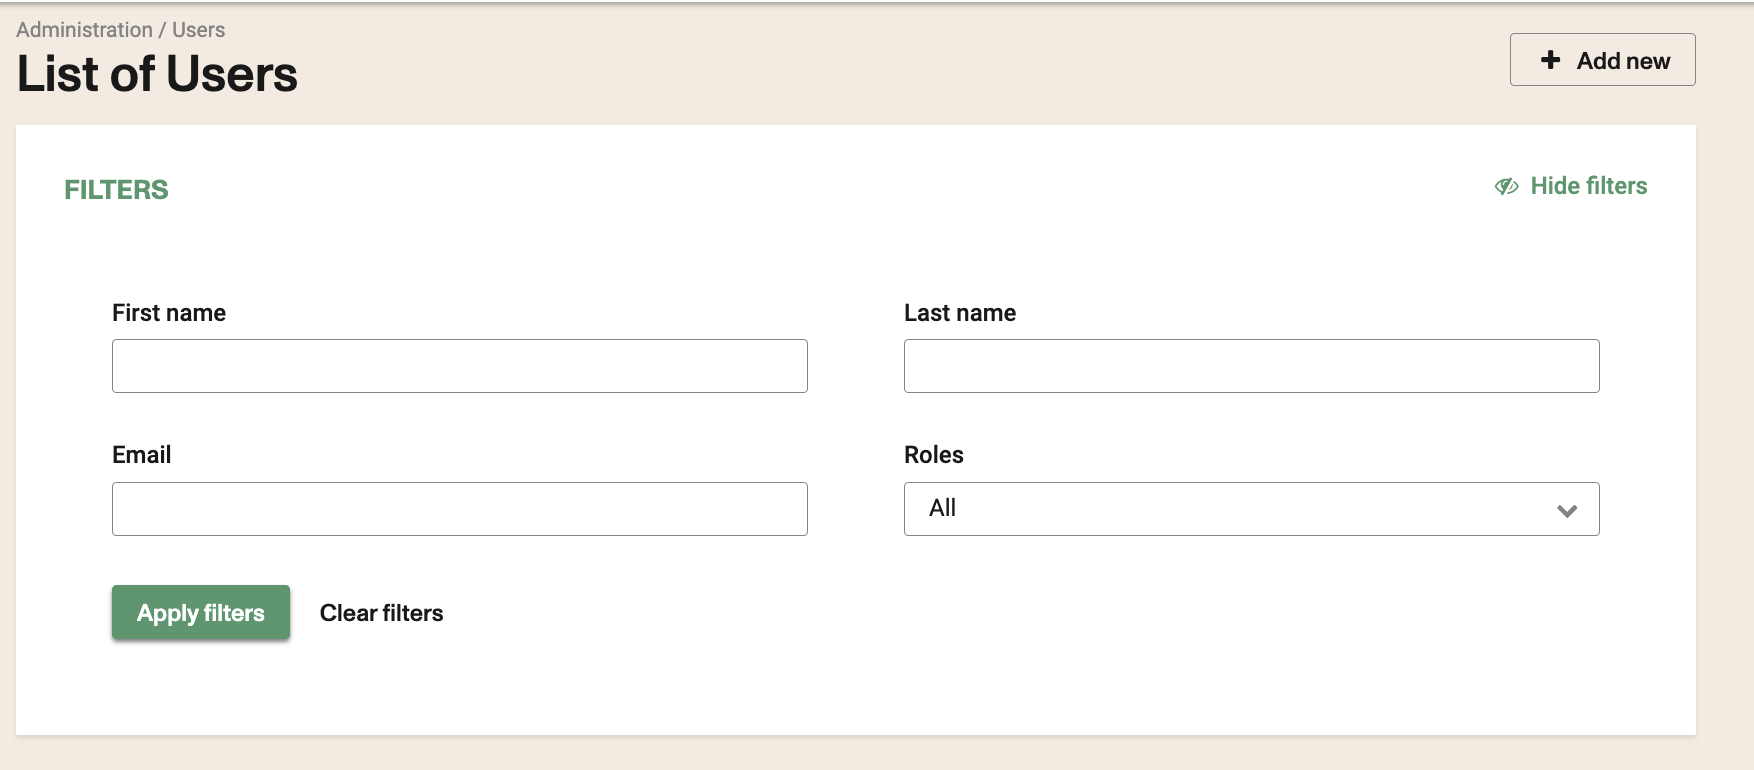
To create a new user, select + Add new user to arrive to the New user screen to begin the configuration. If you would like to edit a user, select the existing user to make the update.
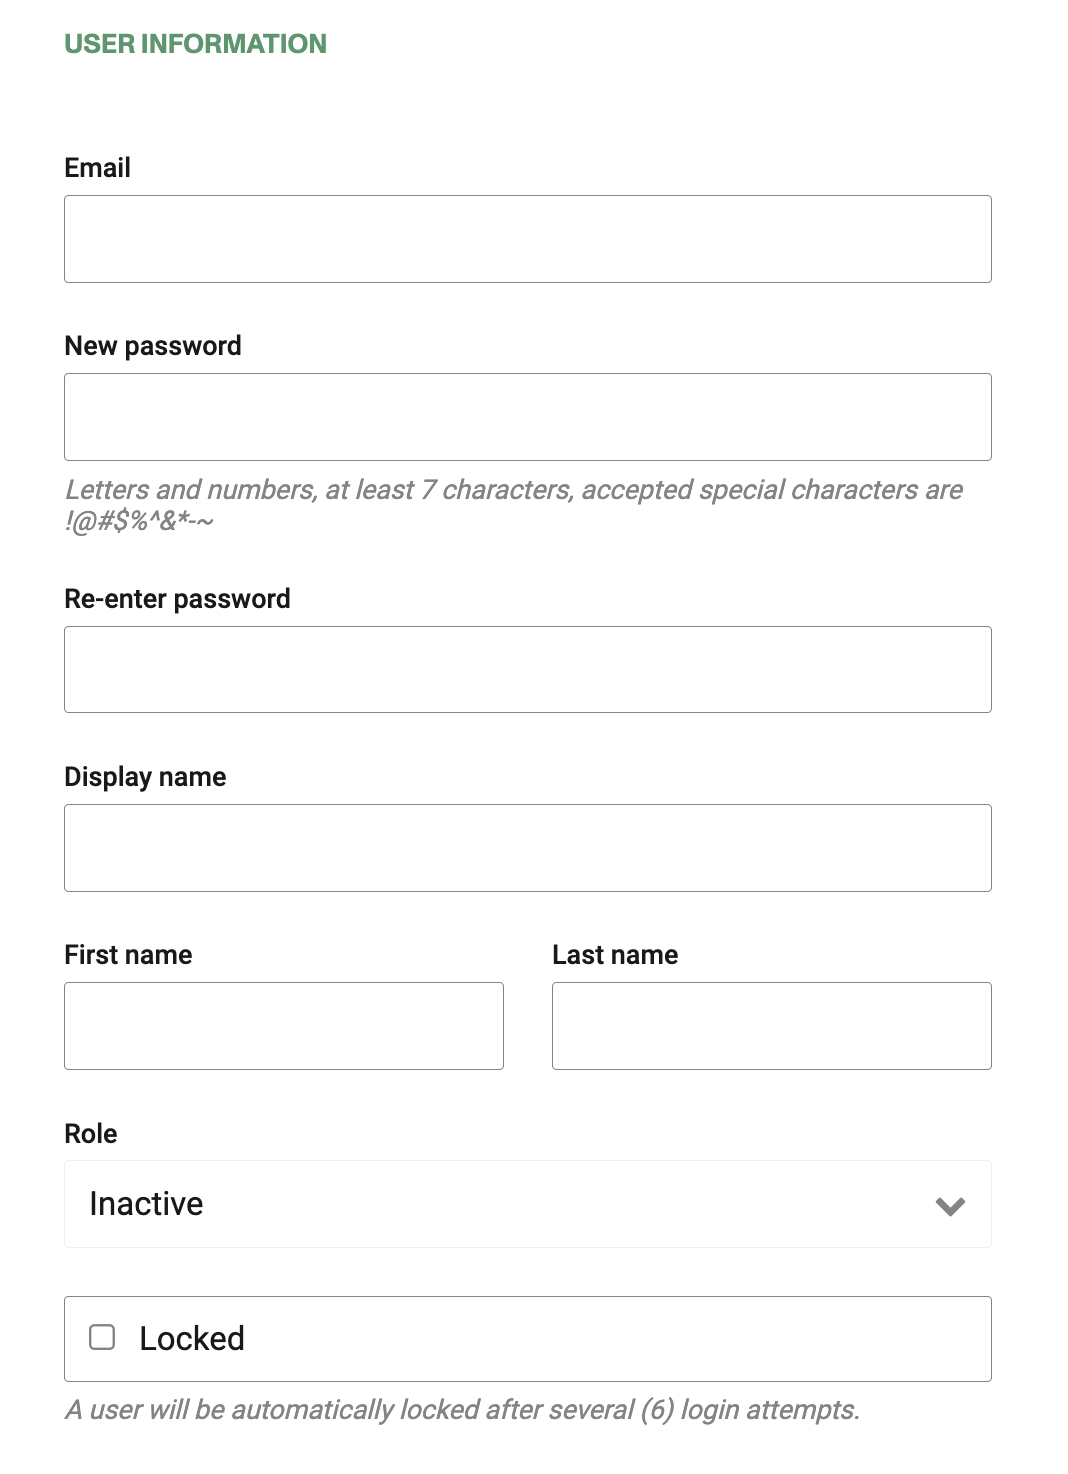
User Information
Email: Enter the email that will be used by the user to login.
we recommend regularly checking you have access to this email. Password recovery and other features will send emails to this address.
for your network agency accounts, we also recommend keeping an admin user to manage the other agent users. It is not possible to edit or create network agency users from your Backend account.
New password: Enter the intial password that the user will use to log in for the first time. If the correct permission is enabled, the user will be asked to reset the password after the first initial login. Letters and numbers, at least 7 characters, accepted special characters are !@#$%^&*-~.
Passwords expire after 1 year. Changing them is not mandatory, but a reminder page will appear until you do so.
Re-enter password: Re-enter the password entered in the previous step.
Display name: Enter the name that will be displayed for the new user (This field must be completed if user is to be able use the scanner application to scan fallback codes).
First name: Enter the first name of the new user (This field must be completed if user is to be able use the scanner application to scan fallback codes.)
Last name: Enter the last name of the new user. (This field must be completed if user is to be able use the scanner application to scan fallback codes)
For any user to have the ability to use the scanner application and scan fallback codes, First Name, Last Name and Display Name field must be completed in the user configuration.
Role: Select the role to be assigned to the new user. NOTE Only a user with Administrator role may assign a new user a role.
Locked If =true, the user will be locked out of the account.
A user will be automatically locked after several (6) login attempts.
Options
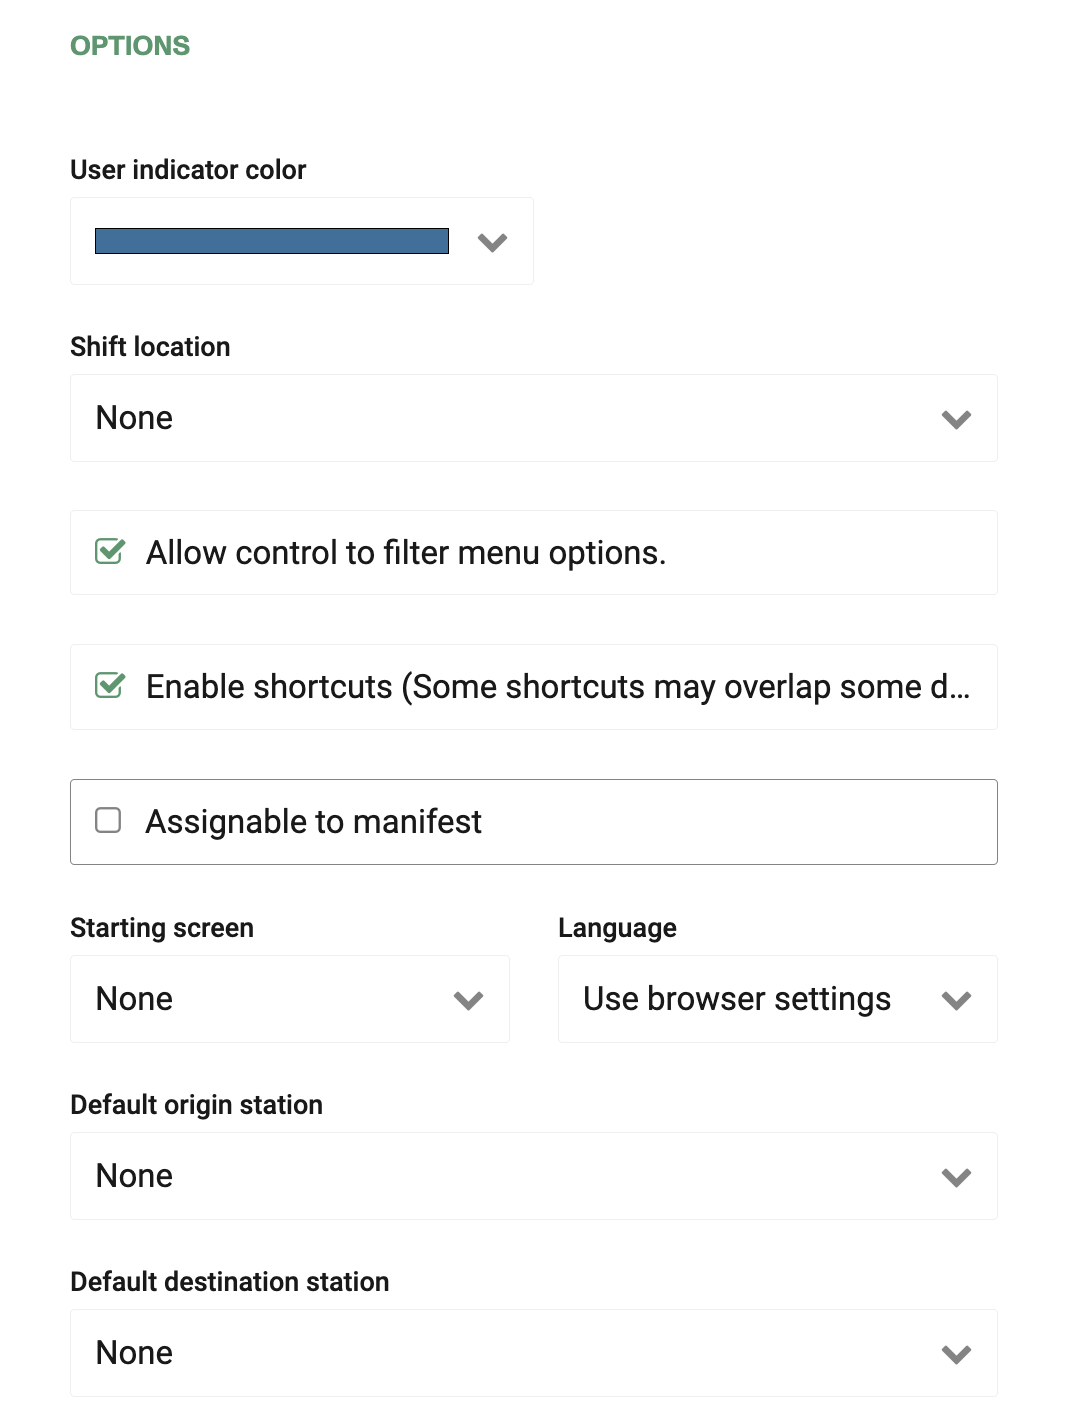
User indicator color Select the color used to display the user in manifests avatar
Shift Locations Select the shift locations which will be available for the user to open a shift for the sales flow. Only into the selected locations, user will be able to open it. By default, "All" option is set, so that all options will be available, included the new created stations. You may select one or more stations. We suggest to validate this specially when used in combination with shift location closures and/or trusted machines.
Allow control to filter menu options. (Alpha): If =true, this will allow the user to enable a filter for use in the Operations menu, the Intelligence menu, and the Admin menu.
Enable shortcuts This would allow user to use shortcuts. (Some shortcuts may overlap some default behaviour).
Assignable to Manifest If =true, the user will be able to be assign to manifests (ex: A Driver). Enabling this will create a section to fill out further down the configuration with the fields set as required for check in.

Can see all trips in drivers app: This will enable visibility of all available trips in the trips page for the Scanner/Driver's app. This setting should be used in combination with the trip selection settings under Admin > Scanning.
Force SSO: This will make the use of a SSO integration mandatory. When this setting is enabled, the user won't be able to login unless they use an available SSO option (only OpenId based ones). Please make sure to set this up beforehand. For more information check Admin > Integrations > OpenId.
Starting Screen Configuration in this option will direct the user to one of the following home screens directly after completing login: Sales, Dashboard, 5 Day Outlook and Manifest.
Language: Select the default language for the user. Leaving the selection as Use browser settings will automatically select the language configured at the browser level.
Default Origin Station: Selecting a station will default the sales flow to have the Origin station always selected as the selected station.
Default Destination Station: Selecting a station will default the sales flow to have the Destination station always selected as the selected station.
Multi-factor authentication (MFA)
Multi-factor authentication (MFA) adds a second step to sign-in by requiring a one-time code from an authenticator app (e.g. Google Authenticator) in addition to the user’s password.
- MFA status: On Admin > Users, the list indicates which users have MFA enabled (e.g. an “MFA enabled” label or column, depending on your view).
- Enable MFA for a user: Open the user for editing and use the Enable MFA action (or link) in the MFA section. The user will need to complete MFA setup the next time they sign in: they will see a QR code to scan with their authenticator app and then enter a 6-digit code to confirm. For the full flow, see Signing in with MFA.
- Disable MFA for a user: For a user who already has MFA enabled, use the Disable MFA button on the user edit page. You may be asked to confirm. After disabling, that user can sign in with only their password (unless MFA is required for all users at the account level).
Users need a compatible authenticator app on their phone or device to get the 6-digit token. Google Authenticator ( Android | iOS ) is recommended; other TOTP-based apps (e.g. Microsoft Authenticator, Authy) also work. For more detail on the app and the sign-in flow, see Signing in with MFA.
Scanner Badge
Email Scanner badge Selecting this button will create and email the user a pdf of the scanner QR badge that will allow the user to scann the badge to be able to log into the scanner application.
Print Scanner badge Selecting this button will create and download a pdf of the scanner QR badge that will allow the user to scann the badge to be able to log into the scanner application.
Check in Information
The information captured in these fields will be used as the check in information of the user when is assigned to a manifest. This fields are configured in the menu Administration > Check in.
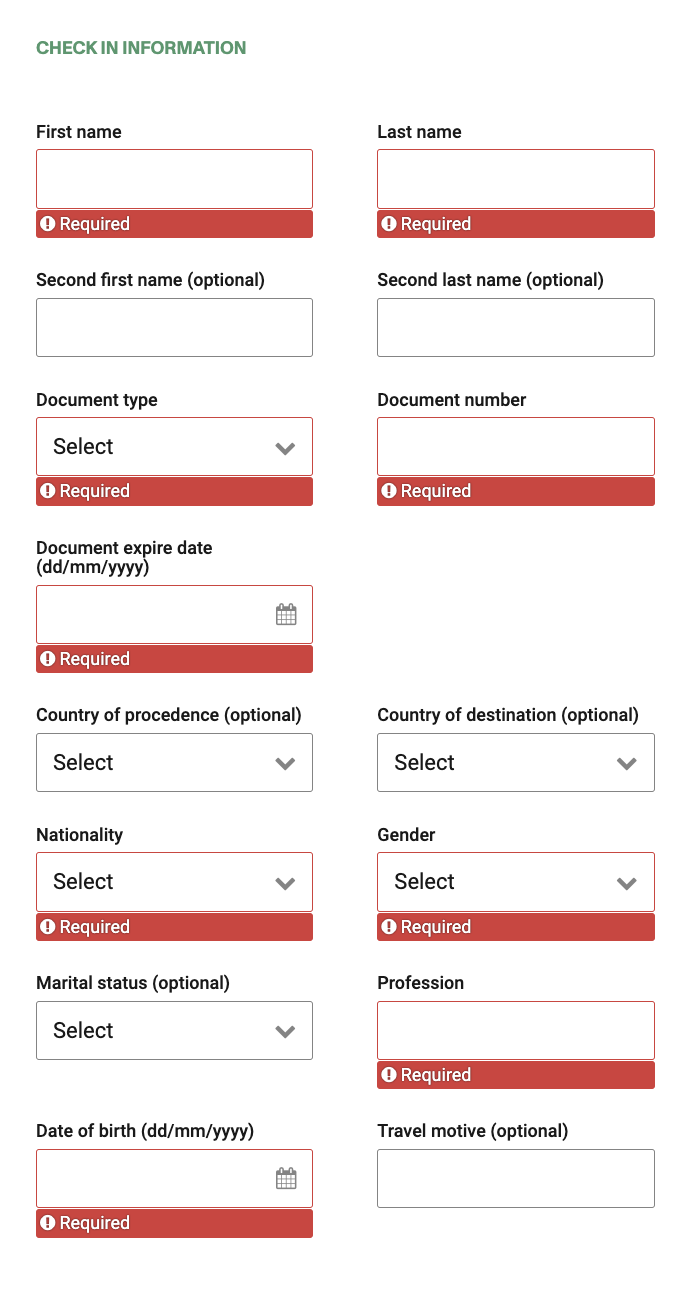
Click Save to save your changes and/or updated user settings.
Password recovery
In case you lose your password or access to your account, you can use the Forgot my password link.
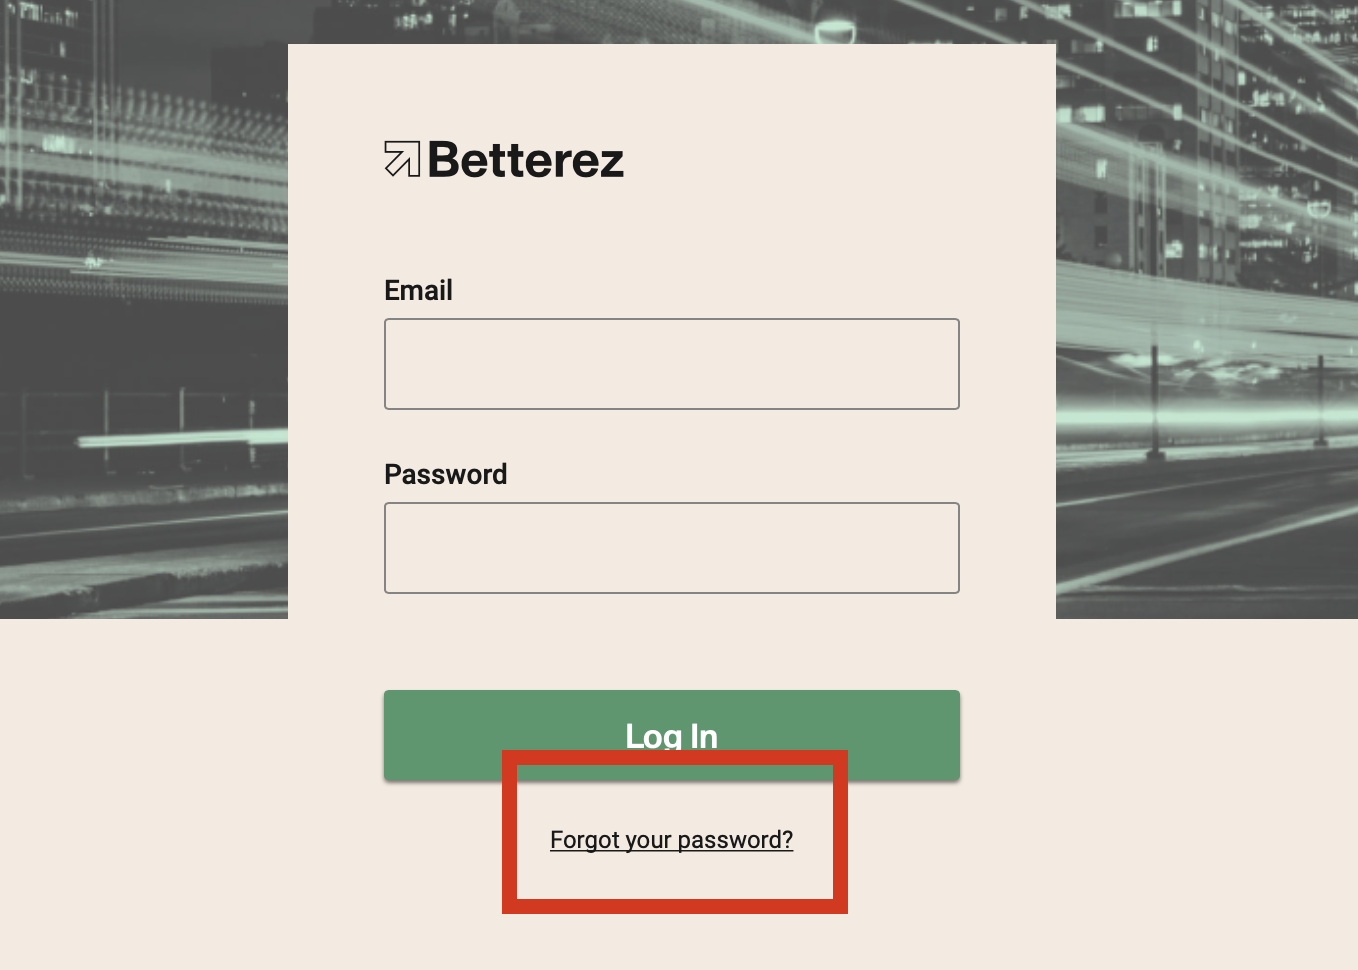
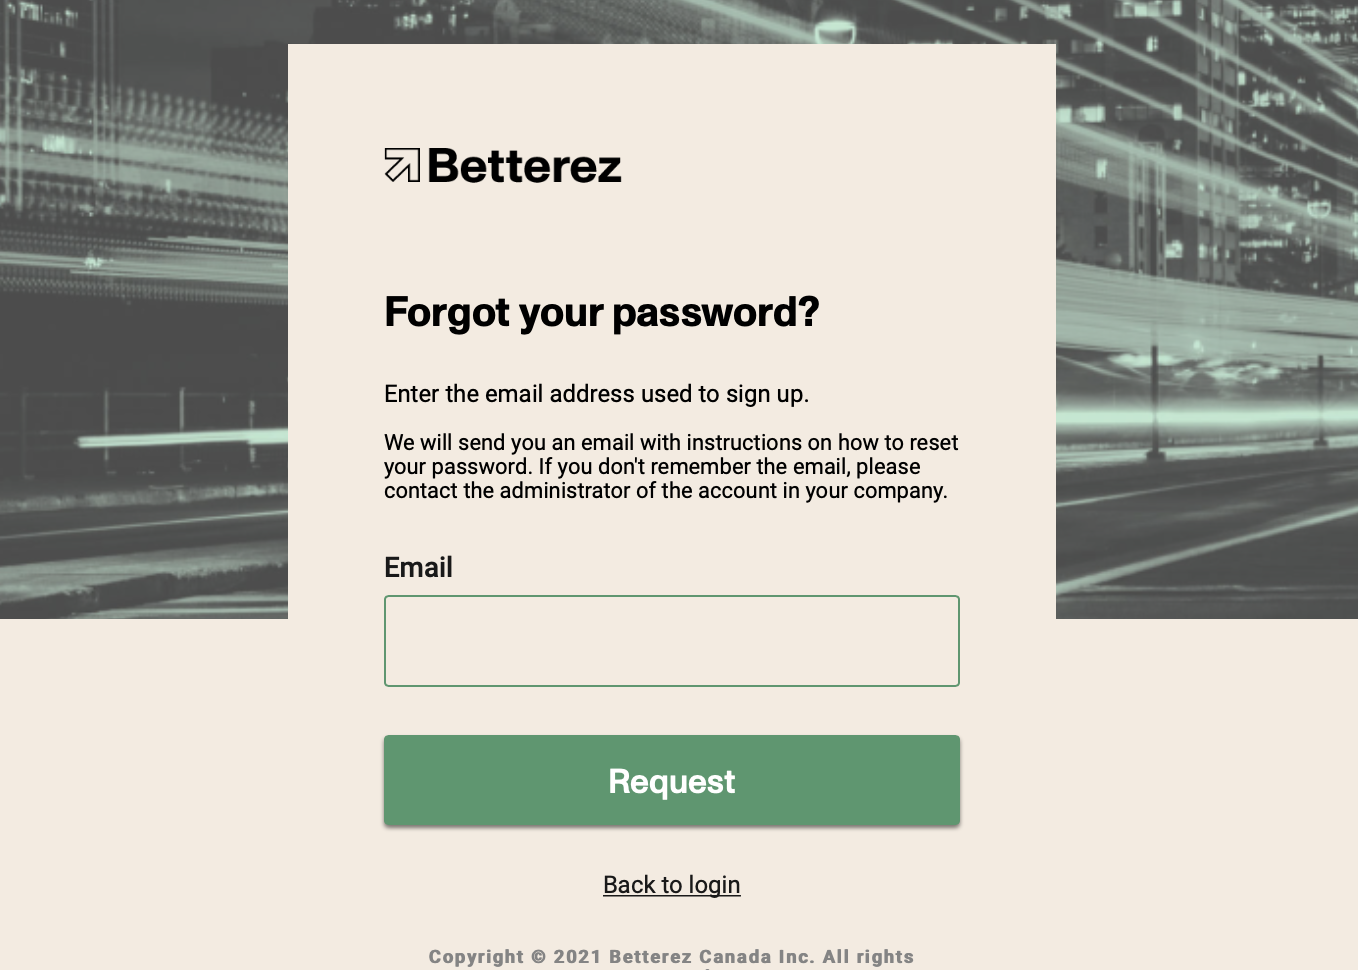
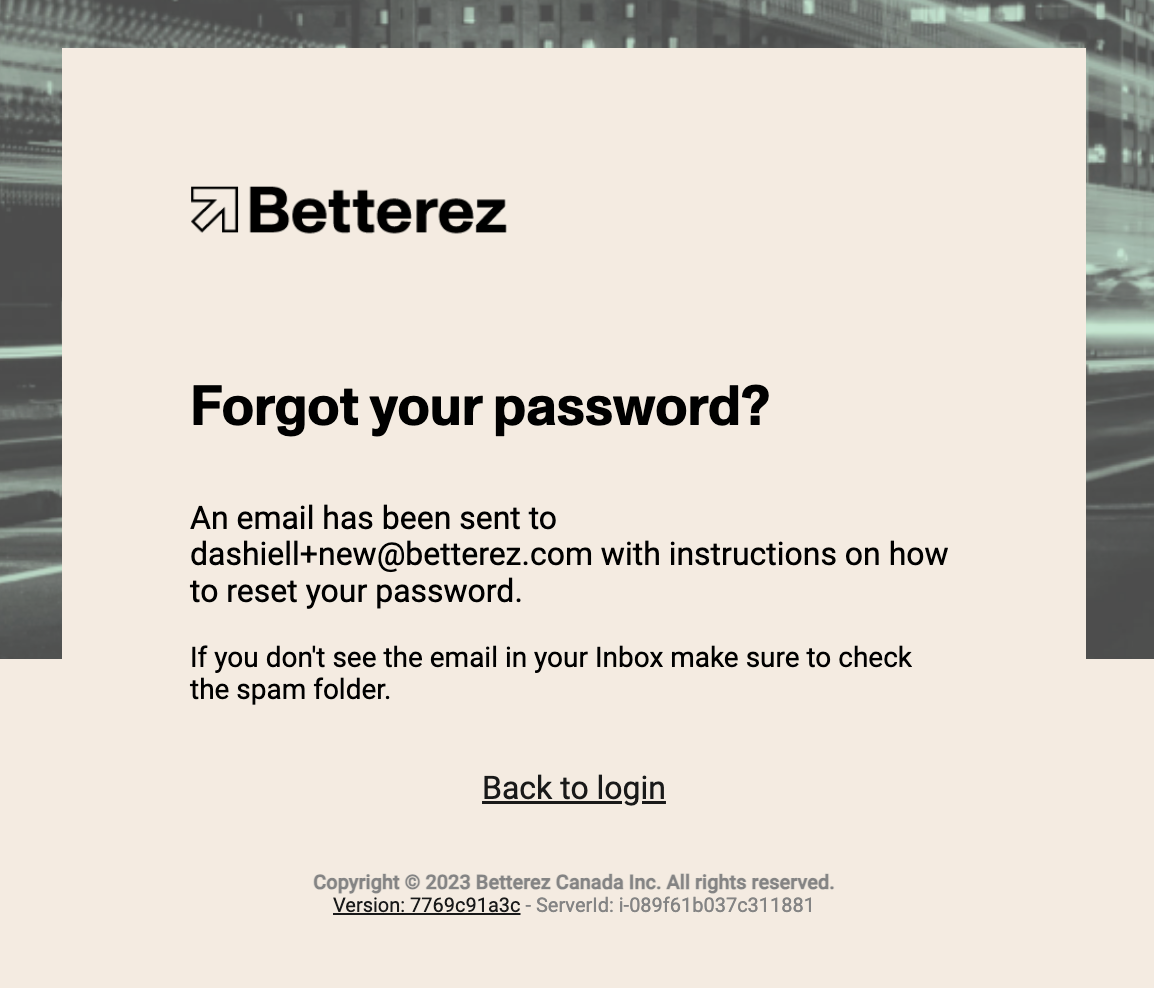
An email will be sent to the address you used (if the user exists), so you can change your password. Please make sure you check your spam folder as well.
After finalizing your account set up, click on the following link to continue with your mandatory admin configuration steps.