Creating Vehicles
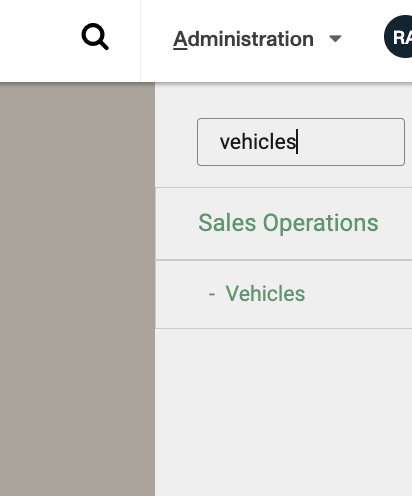
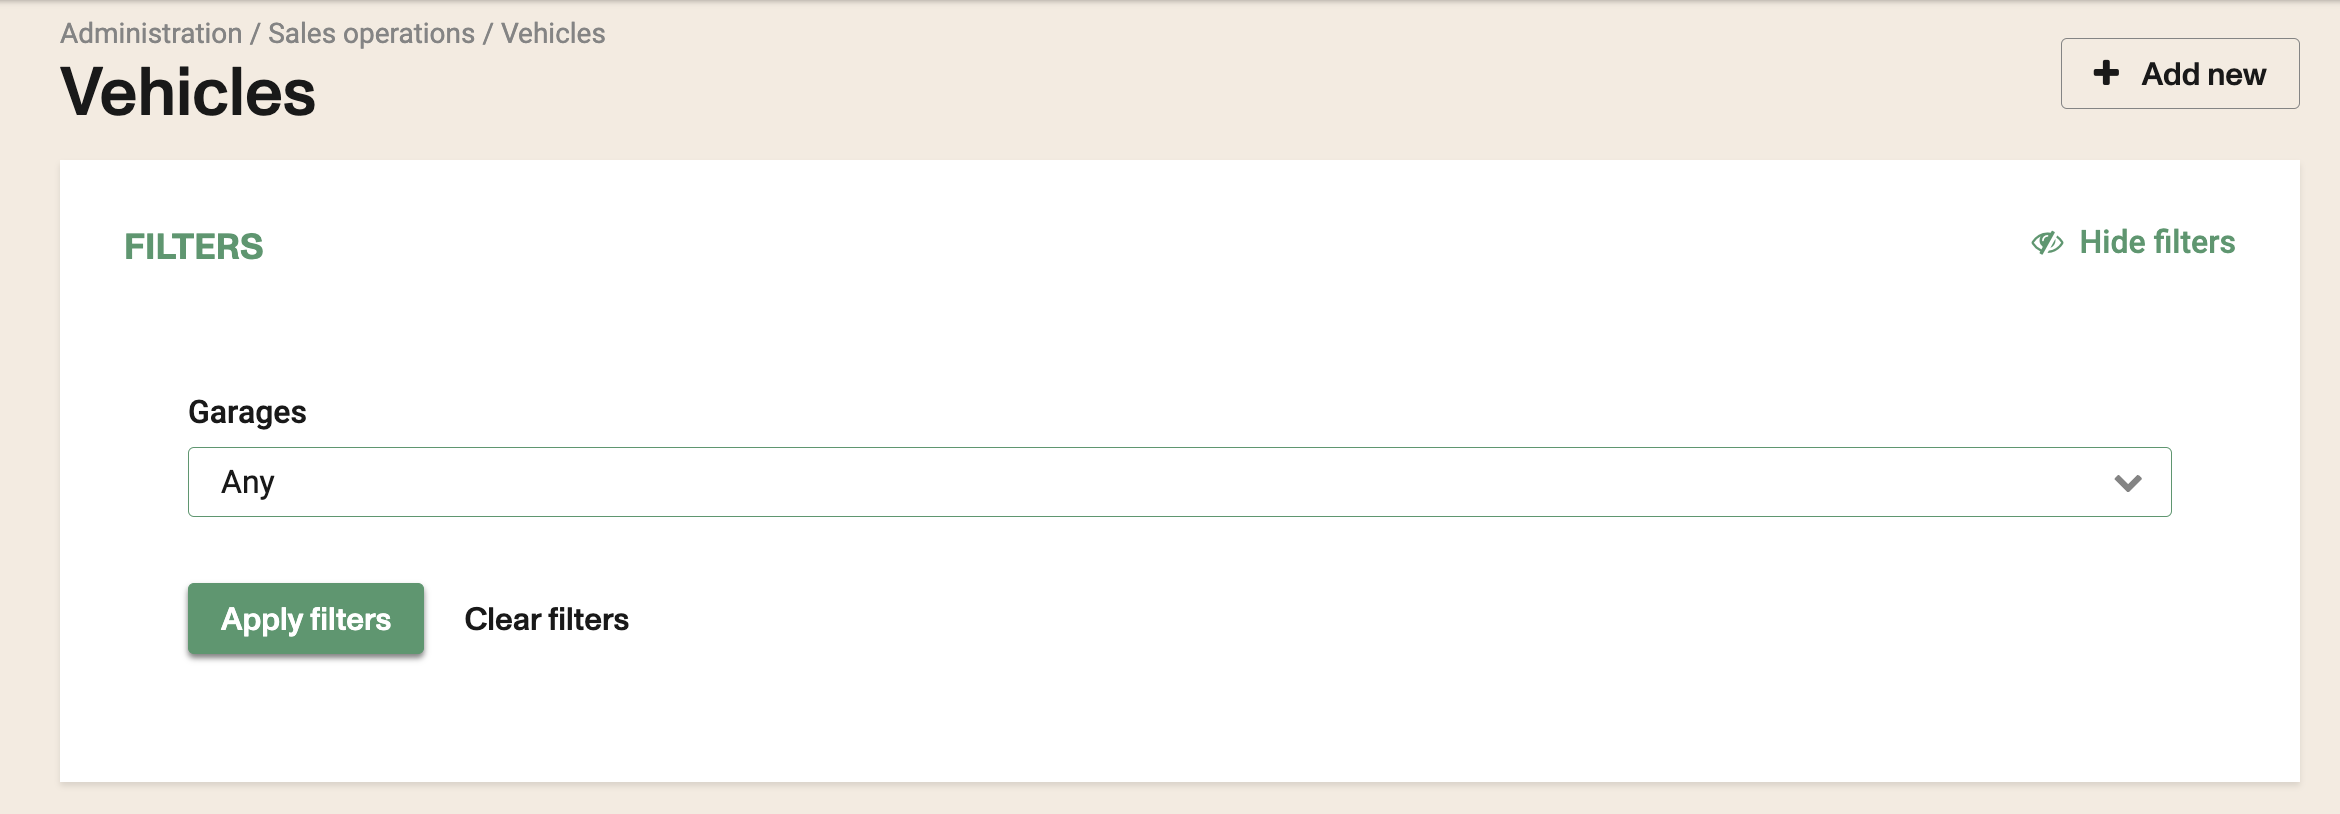
Navigate to the Administration > Sales Operations > Vehicles
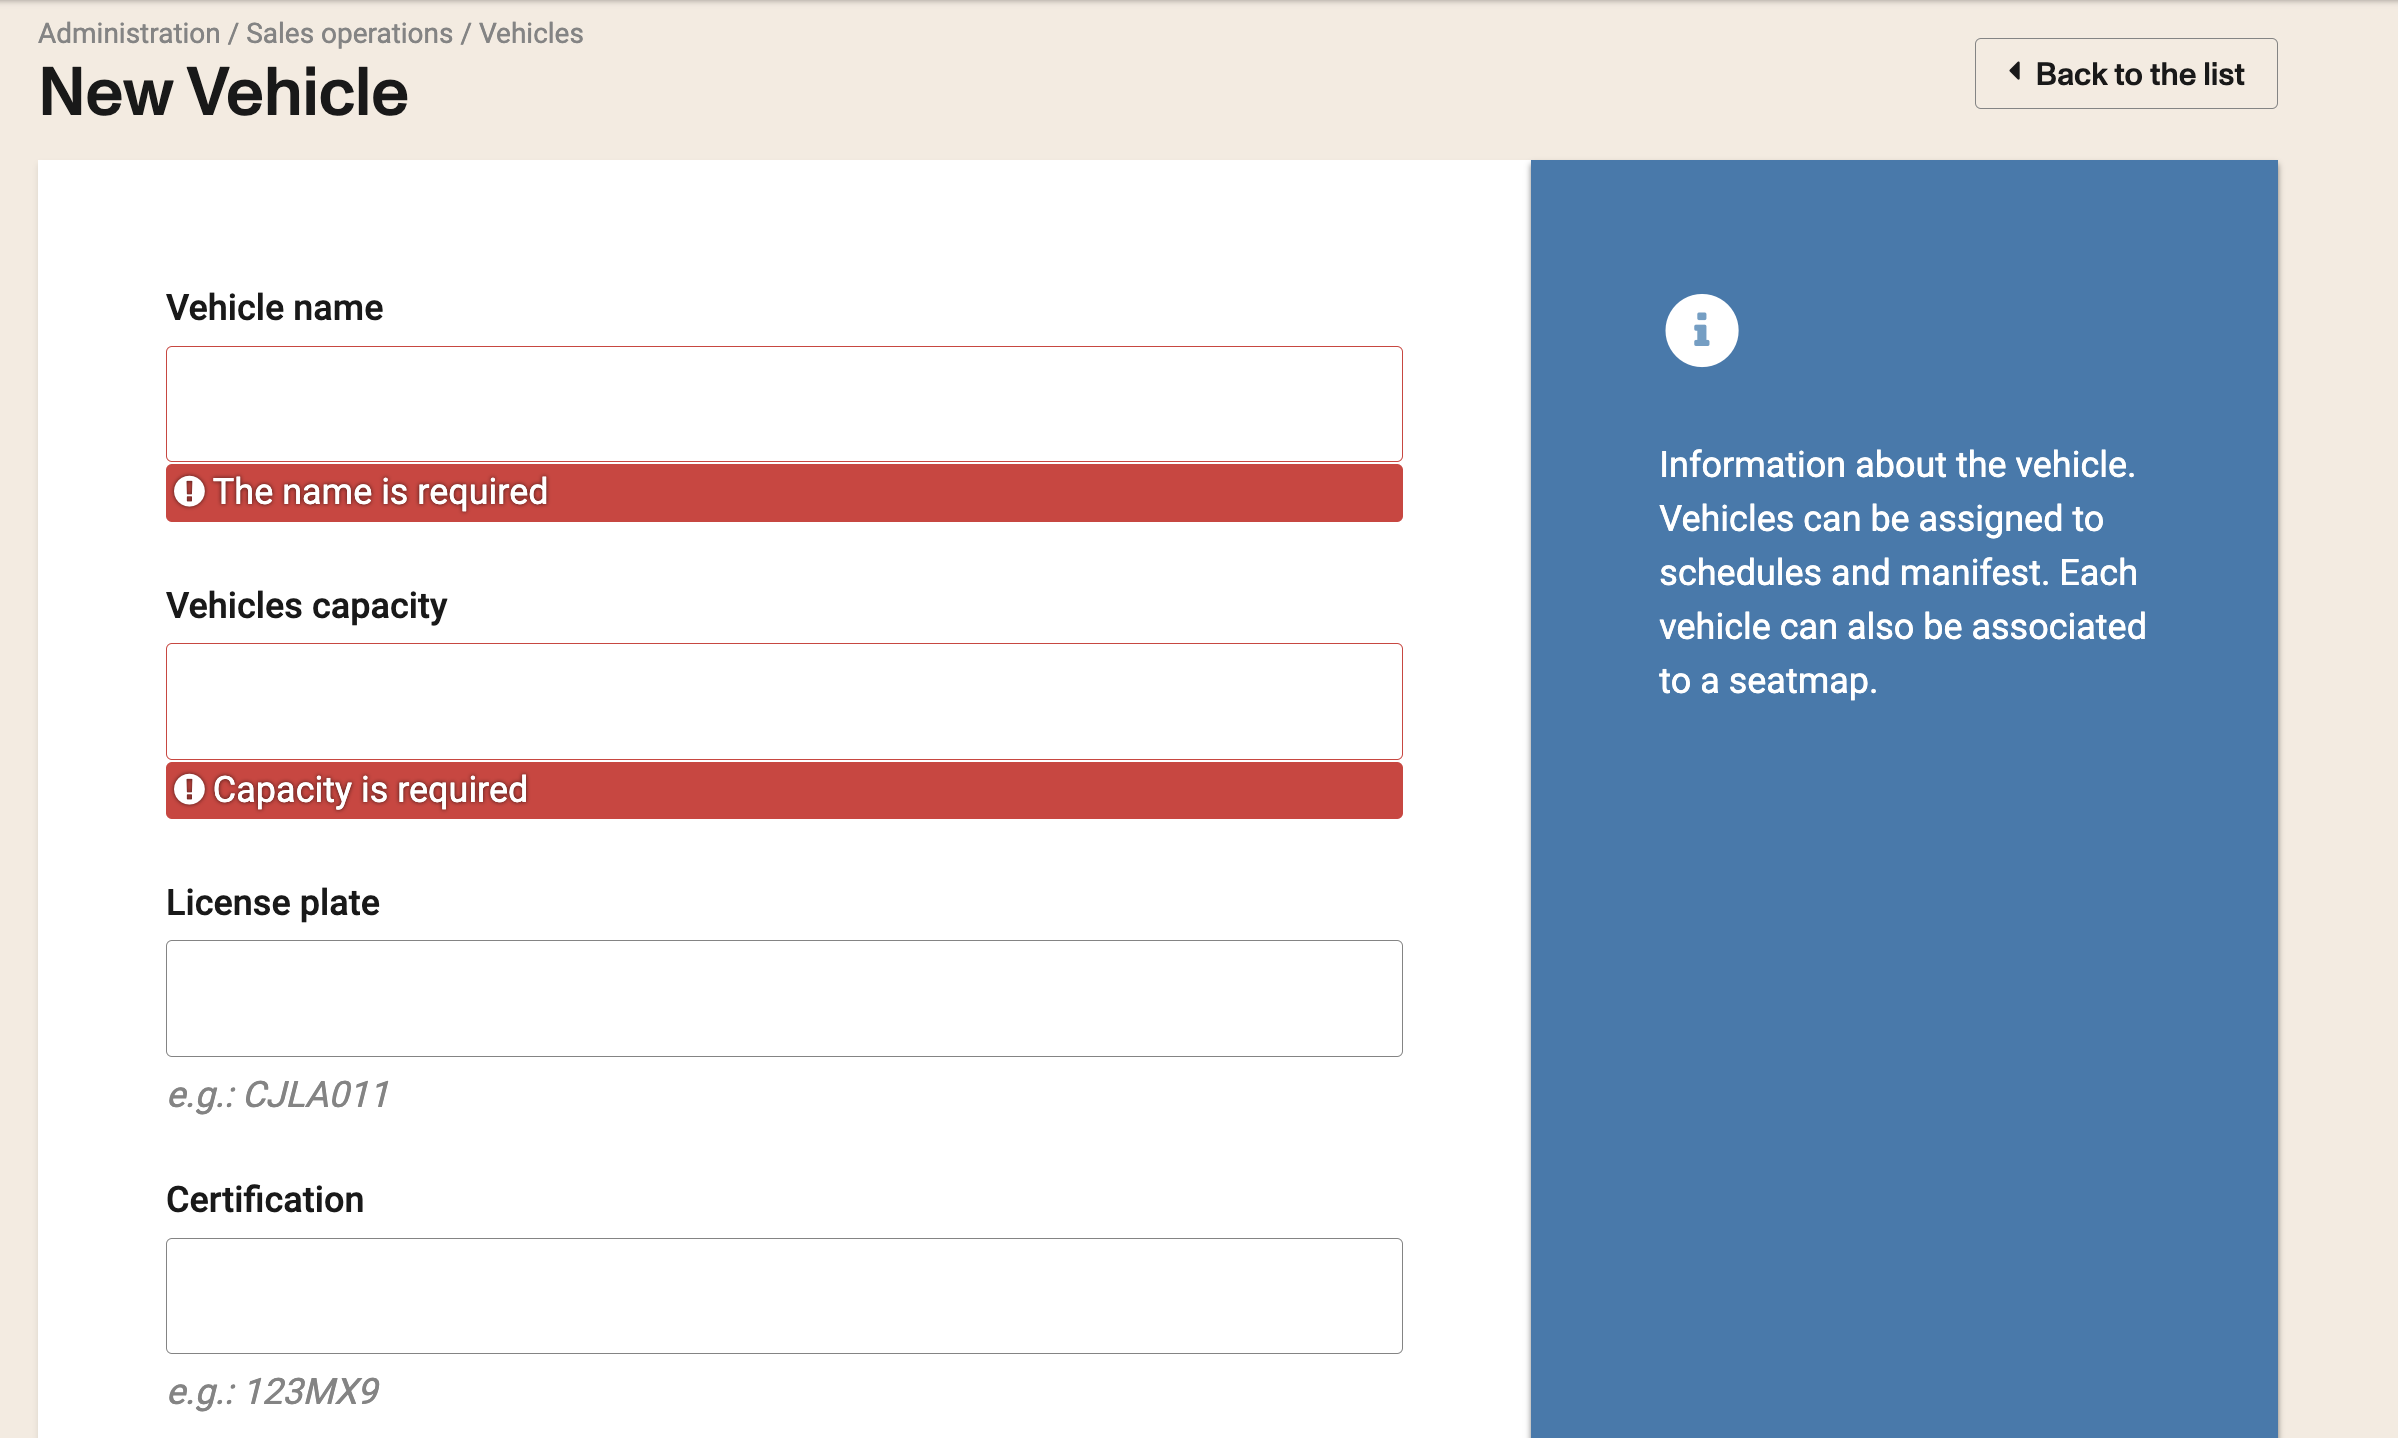
Select +Add New and input the required information:
Filled out the required information about the vehicle.
Vehicles can be assigned to schedules and manifest. Each vehicle can also be associated to a seatmap.
Vehicle name: Enter the name of the inventory item. Vehicles capacity: Enter the capacity of inventory item. License plate: Enter the license plate. Certification: Enter the certification number of the vehicle.
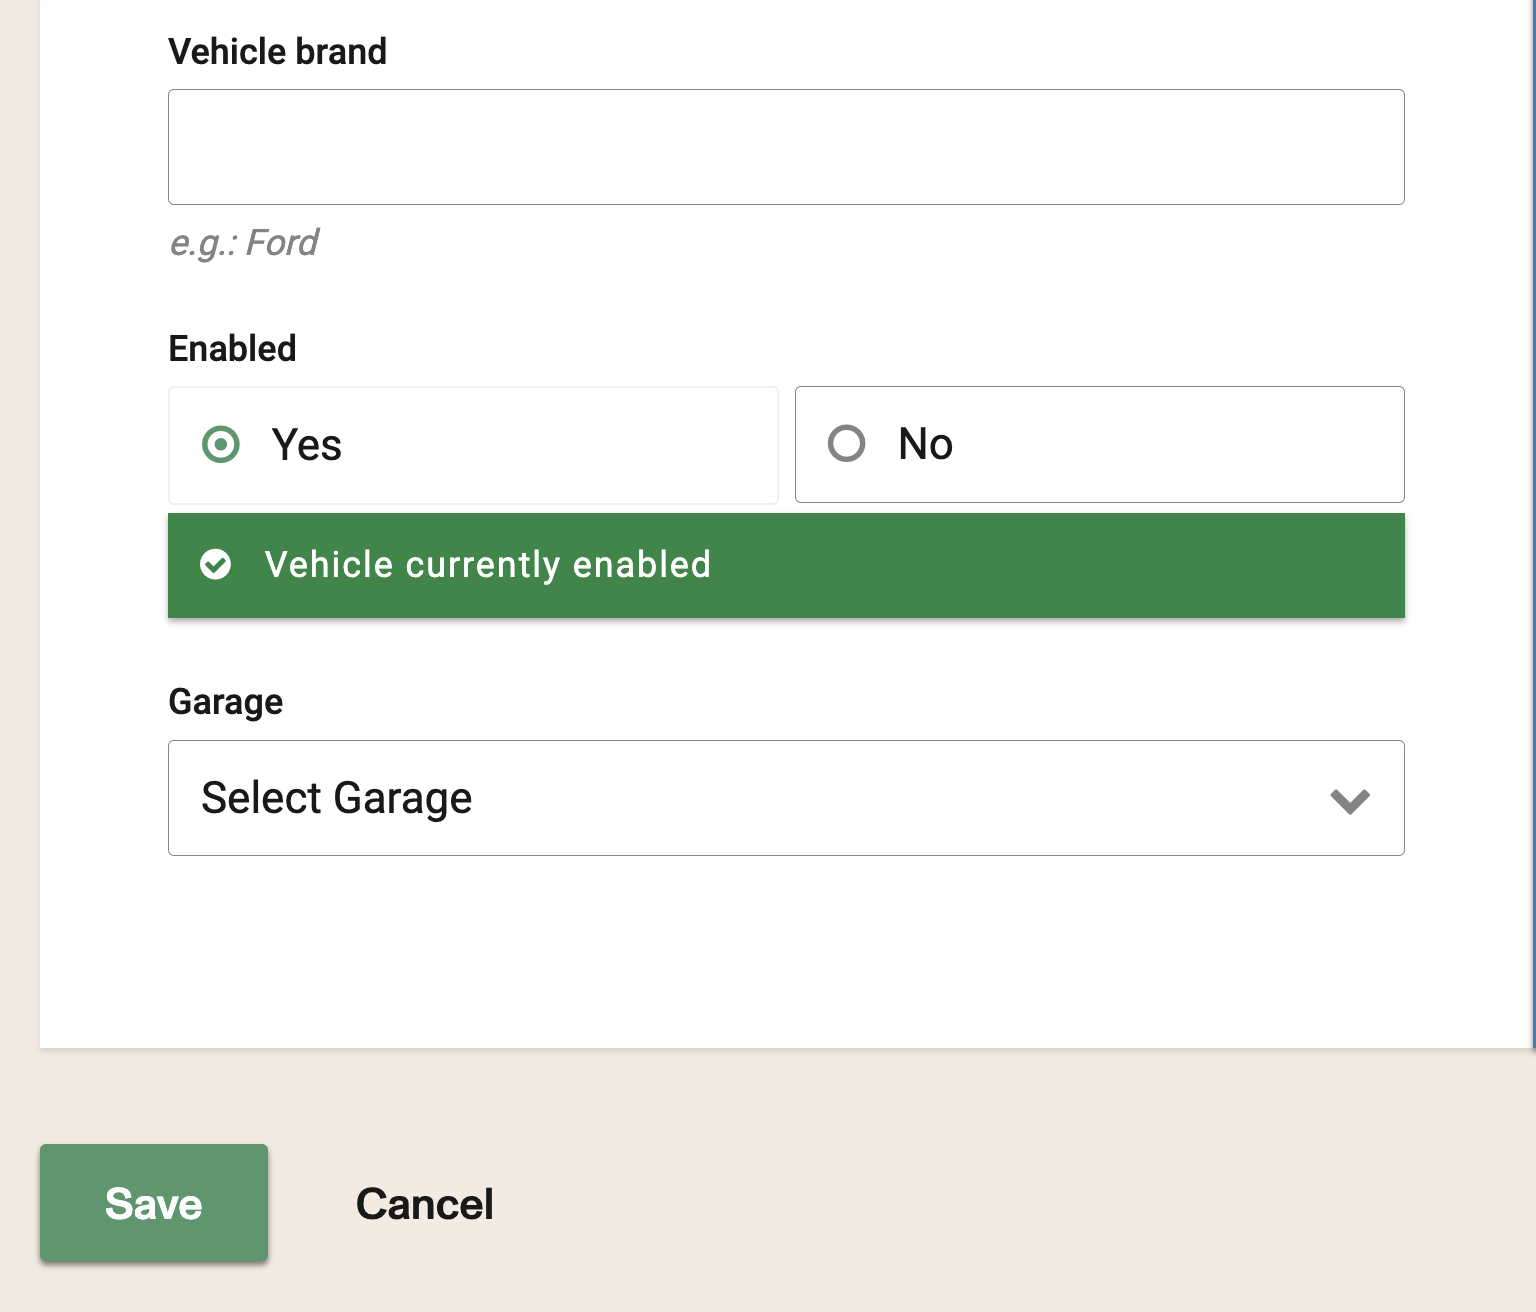
Vehicle brand: Enter the brand of vehicle. Enabled: You would need to select if tyhe vehicle is currently in used or not. This could be modified in the future if the vehicle is taken out of the road for any reason. Garage: You can link a vehicle to a specific garage.
Click here for more information on how to configure your Garages
Click Save.
Once you the vehicle has been saved you need to click on it to modify it and add a seatmap to it.
Make sure to select the seatmap from the drop down and click Add Seatmap.
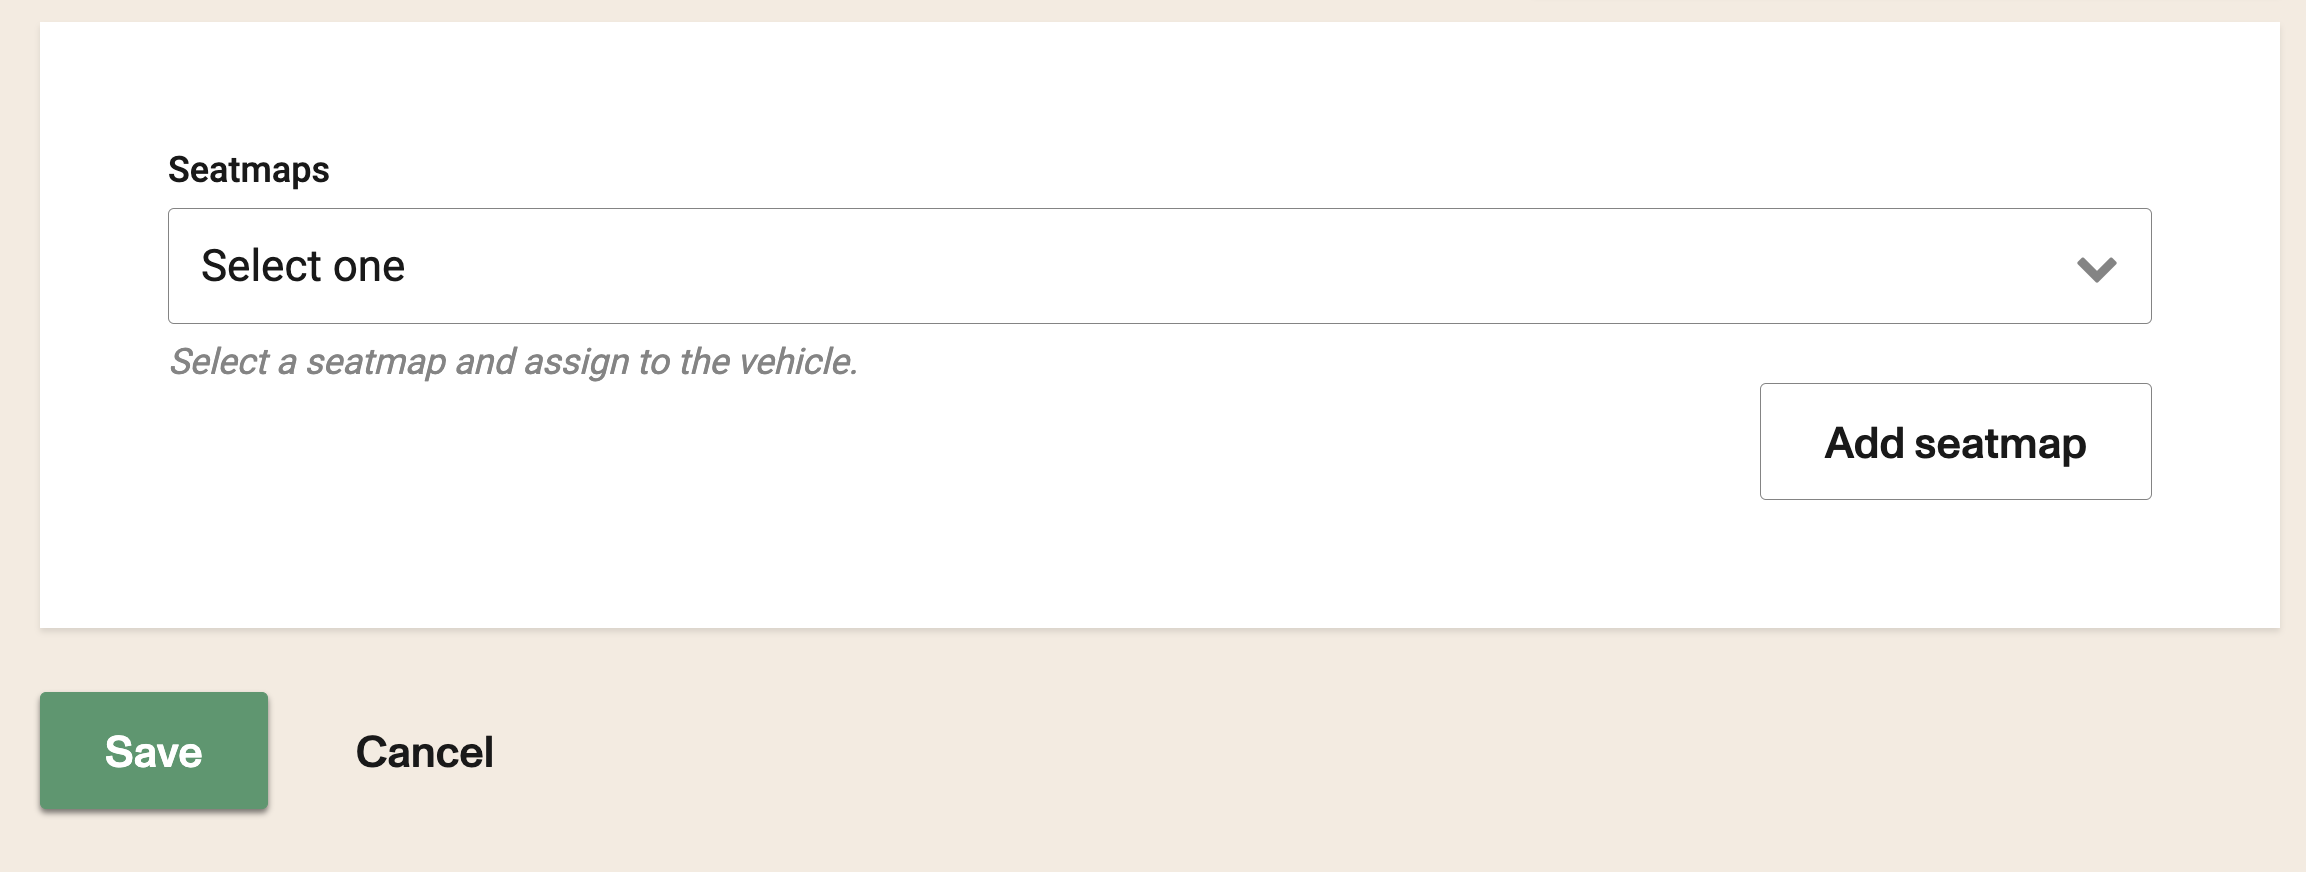
ONLY associate one seatmap per inventory item. If you don't have a Seat Map already made, you may select 'New Seat Map' to create one. NOTE: The capacity of the inventory item must match number of seats on the seat map.
Click Save to save your changes.