Payments Providers: System, flex pass method
Setting up the System provider, 'flex pass' payment method
Before you can create the Flex pass product, you must first create a Flex pass payment type.

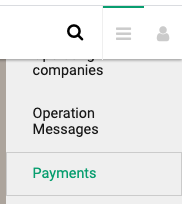
Navigate to admin->payments and select the flexpass payment type in order to continue with configuration of the flexpass payment method.

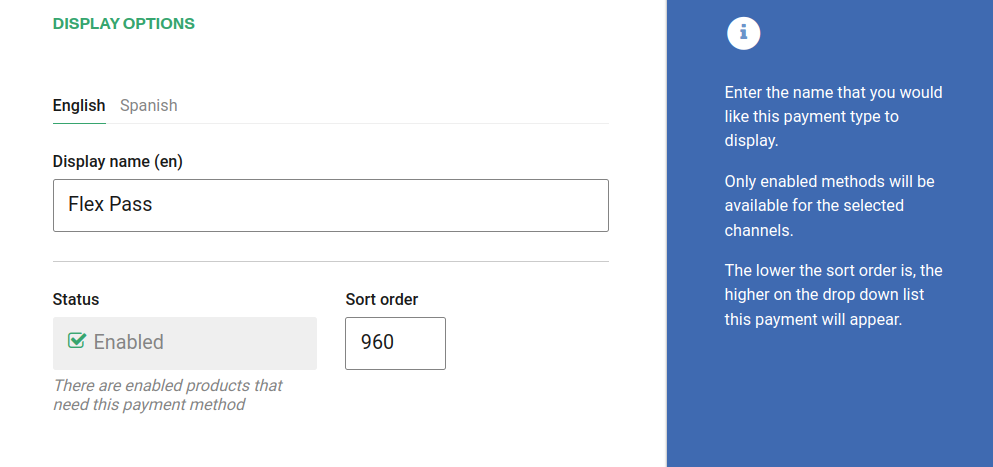
Once on the Edit payment method screen the user will be required to configure the following fields:
Display Name The name you would like displayed in the shopping cart list of payment methods.
Enabled If checked, this payment method will be available for those sales flow channels it'll be configured.
Sort Order The higher the number, the lower in the list of payment methods this payment method will appear.
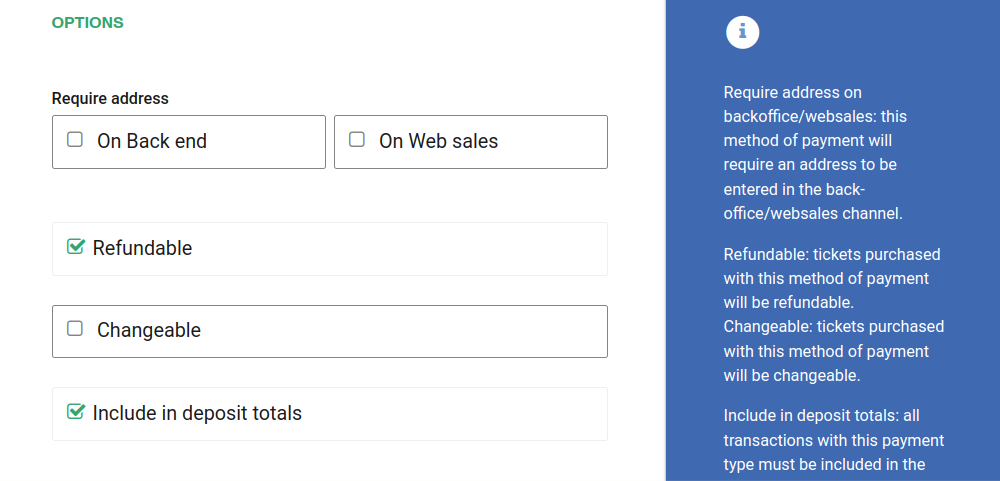
Require address on Back end If checked, this payment method will require the address of the customer in the back end sales flow.
Require address on Web sales If checked, this payment method will require the address of the customer in the web sales sales flow.
Refundable and Changeable If checked, tickets purchased with this method of payment will be refundabled or changeable.
Include in the deposit totals If checked, this payment type will have documentation that is necessary to include with seller shift deposit before closing a shift.
If Allow to combine is checked, the payment method can be combined with any other payment method on the payment form. You can also set a list of payments which can't be part of that combination:

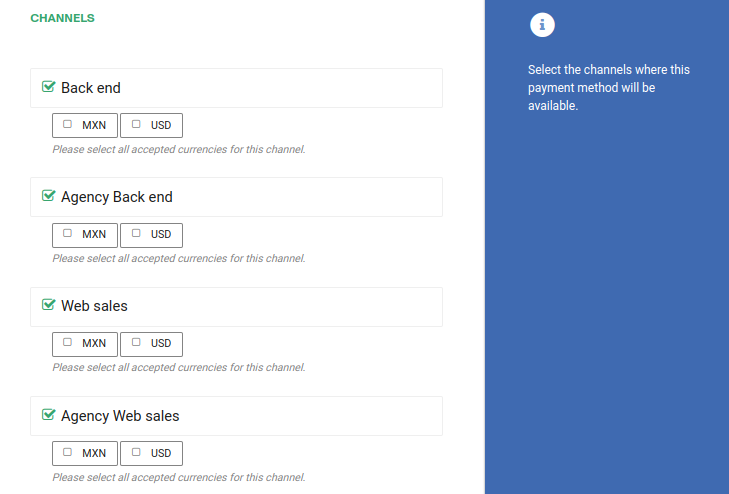
Make sure to select the right channel. If the account is a multi-currency account, at least one currency per enable channel will be required:
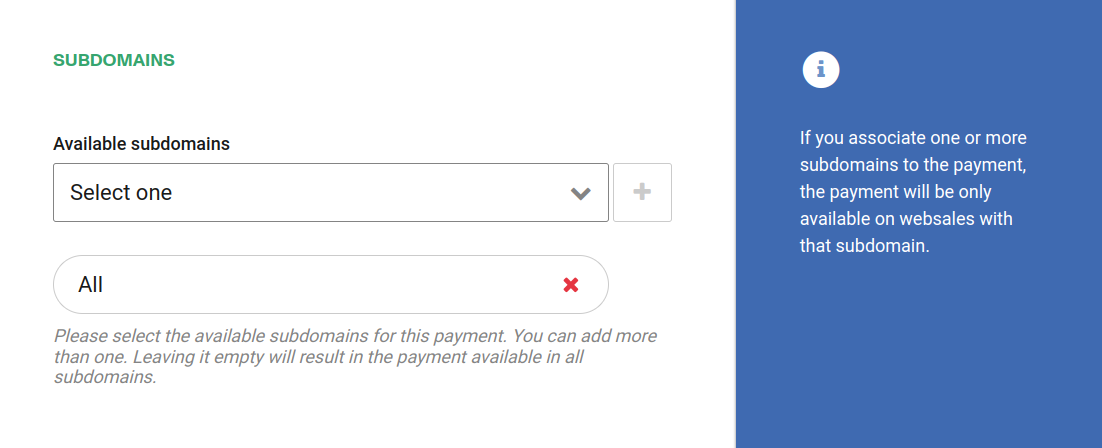
If your account has custom subdomains you can also configure the domains this payment method will be available for.
The last step is to click Save to save your prgress.
To create a pass product, please refer the article Flex pass product
To redeem a pass product, please refer to the article Redeem flex pass