Page summary
- Sales behaviour
- Attach to ticket / Allow this item to be added to a ticket
- Apply to Station
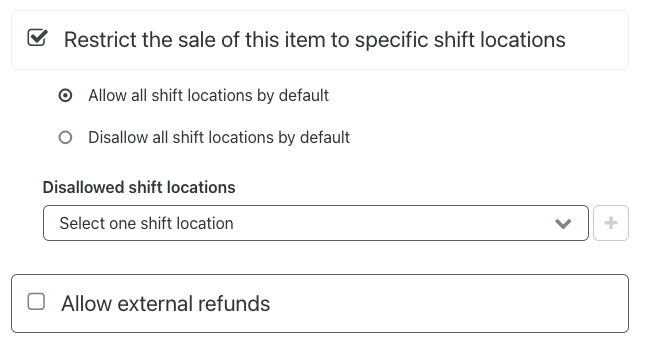
- Restrict the sale of this item to specific shift locations
- Allow external refunds
- Pricing
- Additional Fields
- Show a "Description" field in the sales flow
- Show a "Notes" field in the sales flow
- Validate that the content of the "Description" and "Notes" fields are identical
- Show a separate Description and Notes field for each quantity purchased
- Station Paid in Items in Web Sales
- Station Paid in Items in the Betterez App
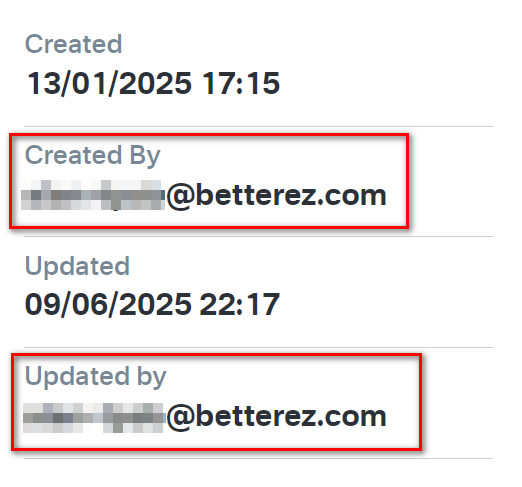
- Display Created by on the UI
Paid in item create
In order to configure a paid-in item, go to Admin > Items and select + Add New Item to arrive at the New Item screen to begin the configuration.
You will be able to create an item ONLY if you have previously created a Paid In Item product.

Continue filling in the common fields:
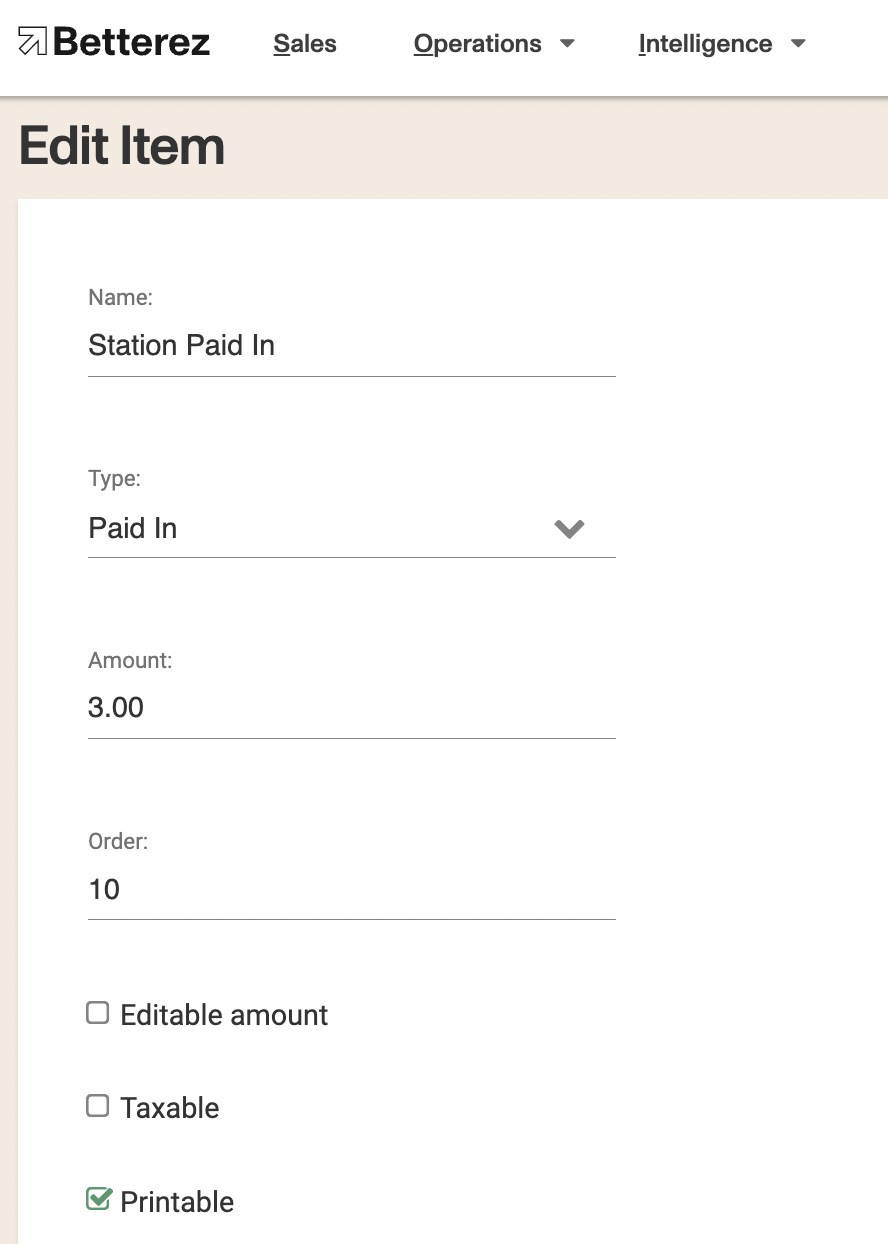
Name: Add the name of the apply in station item.
Associated Product: Select the product from the drop-down menu to which you would like to associate the apply in station item. Apply in station items will only appear as selectable if Paid in item product is selected.
Operating company: Select the operating company that will be allowed to use this item. Applies when attaching this item to a reservation ticket.
Display order: The order in which this item will appear in the items list.
Enabled/Disabled: If =true, the paid in item will not be available for sale.
Description and notes content should be identical: If =true, the content entered into the description field and notes field must be identical in order to proceed with the purchase.
Attach to ticket: refer to section below - Attach to ticket
Apply to station: refer to section below - Apply to Station
Sales behaviour
You may define if an item can be attached to a reservation ticket or during the sales process (applicable in the simplified sales flow).
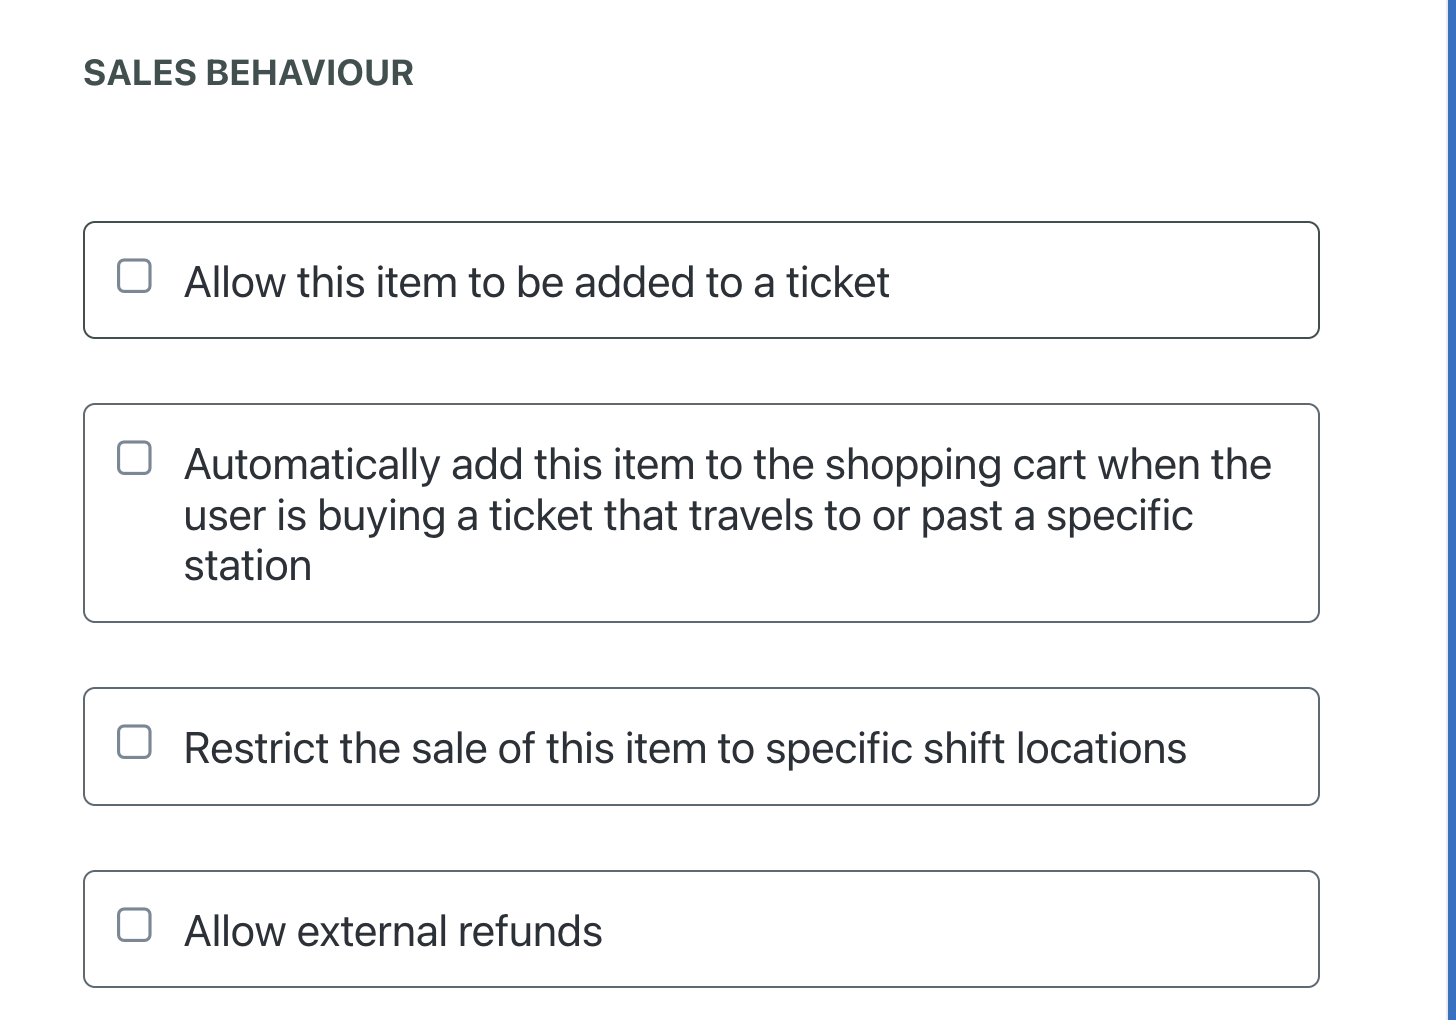
Attach to ticket / Allow this item to be added to a ticket
This option is available only if you're using the new "Simplified Sales Flow"
Creating and using an Attach-To-Ticket paid-in item follows the same process as creating Paid an item product and making it available for sale. However, with this option users will have the chance to choose it or not when adding passenger information. This only applies for the new sales flow

- You may define the Product where this item should be offered
- The item may be pre selected by default. Users/agents may unselect it if they don't want it.
- You may define if the item is applied per ticket or per journey (in connection trips)
- You may associate this item ONLY to a list of pre-selected Amenity groups
- You may associate this item ONLY to a list of pre-selected Brands
One thing to notice is when you set a paid-in item to be Attach to ticket, you won't be able to use it as an Apply-To-Station paid-in item since both options are mutually excluded. Once you turn the Attach to ticket flag ON, you have to choose a reservation product to relate to the current paid-in item. They could work either with value type "Amount" or "Percentage". A paid-in item set as Attach to ticket can be purchased as regular items with the chance to ask for an editable amount if required, but ONLY if their value type is "Amount". Otherwise, it won't appear as an option to a regular purchase at all.
Apply to Station
Creating and using an Apply-To-Station paid-in item follows the same process as creating Paid an item product and making it available for sale. There is, however, one small difference as it pertains to the purchase flow of that item.
In some cases, there are instances where an operator may want to include (and charge) an item that will be automatically purchased upon arrival at the destination station.
Notice that if a paid-in item is set as Apply-To-Station it can't be set as Attach-To-Ticket since both options are mutually excluded. A paid-in item set as Apply-To-Station can ONLY accept the value type "Amount" and also it can be purchased as regular items with the chance to ask for an editable amount if required, but ONLY if their value type is "Amount". Otherwise, they won't appear as an option to a regular purchase at all.
The case of a ferry station can be used to highlight this feature. A passenger who will be arriving at a ferry station by bus will typically have the intention of boarding the ferry to continue the journey to the final destination, so in this case, it may be convenient to include the cost of the ferry ticket in the price of the journey from the origin to the final destination.
As a separate ticket will be needed to board the ferry, for this case, the "Apply to station" item function is used.
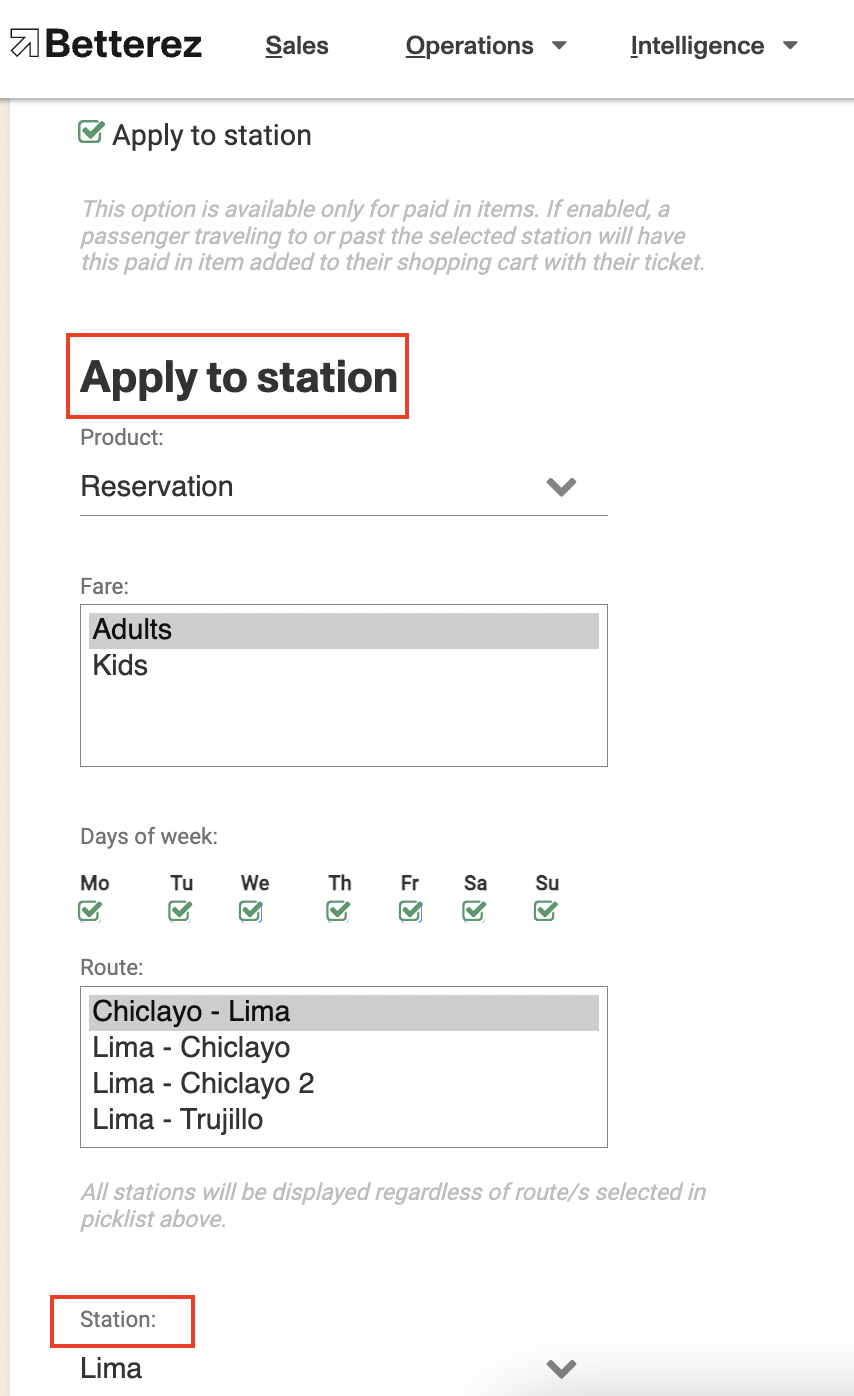
Apply to station: If =true, new Apply to station configuration options will appear.
Product: Select the reservation product to which you would like to associate the Apply to station item.
Fare: Select the fare type to which you would like to associate the Apply to station item.
Day of the week: Select the days of the week when the Apply to station item option is available.
Route: Select the route which contains the station to which the Apply to station item will be associated.
Station: Select the station to which the Apply to station item will be associated.
Click Save to save your progress.
In a situation where more than one station along a passenger's route has an "Apply to station" item, the last station a customer passes through with an "Apply to station" item will be associated. This means you cannot have more than one item attached to a single ticket.
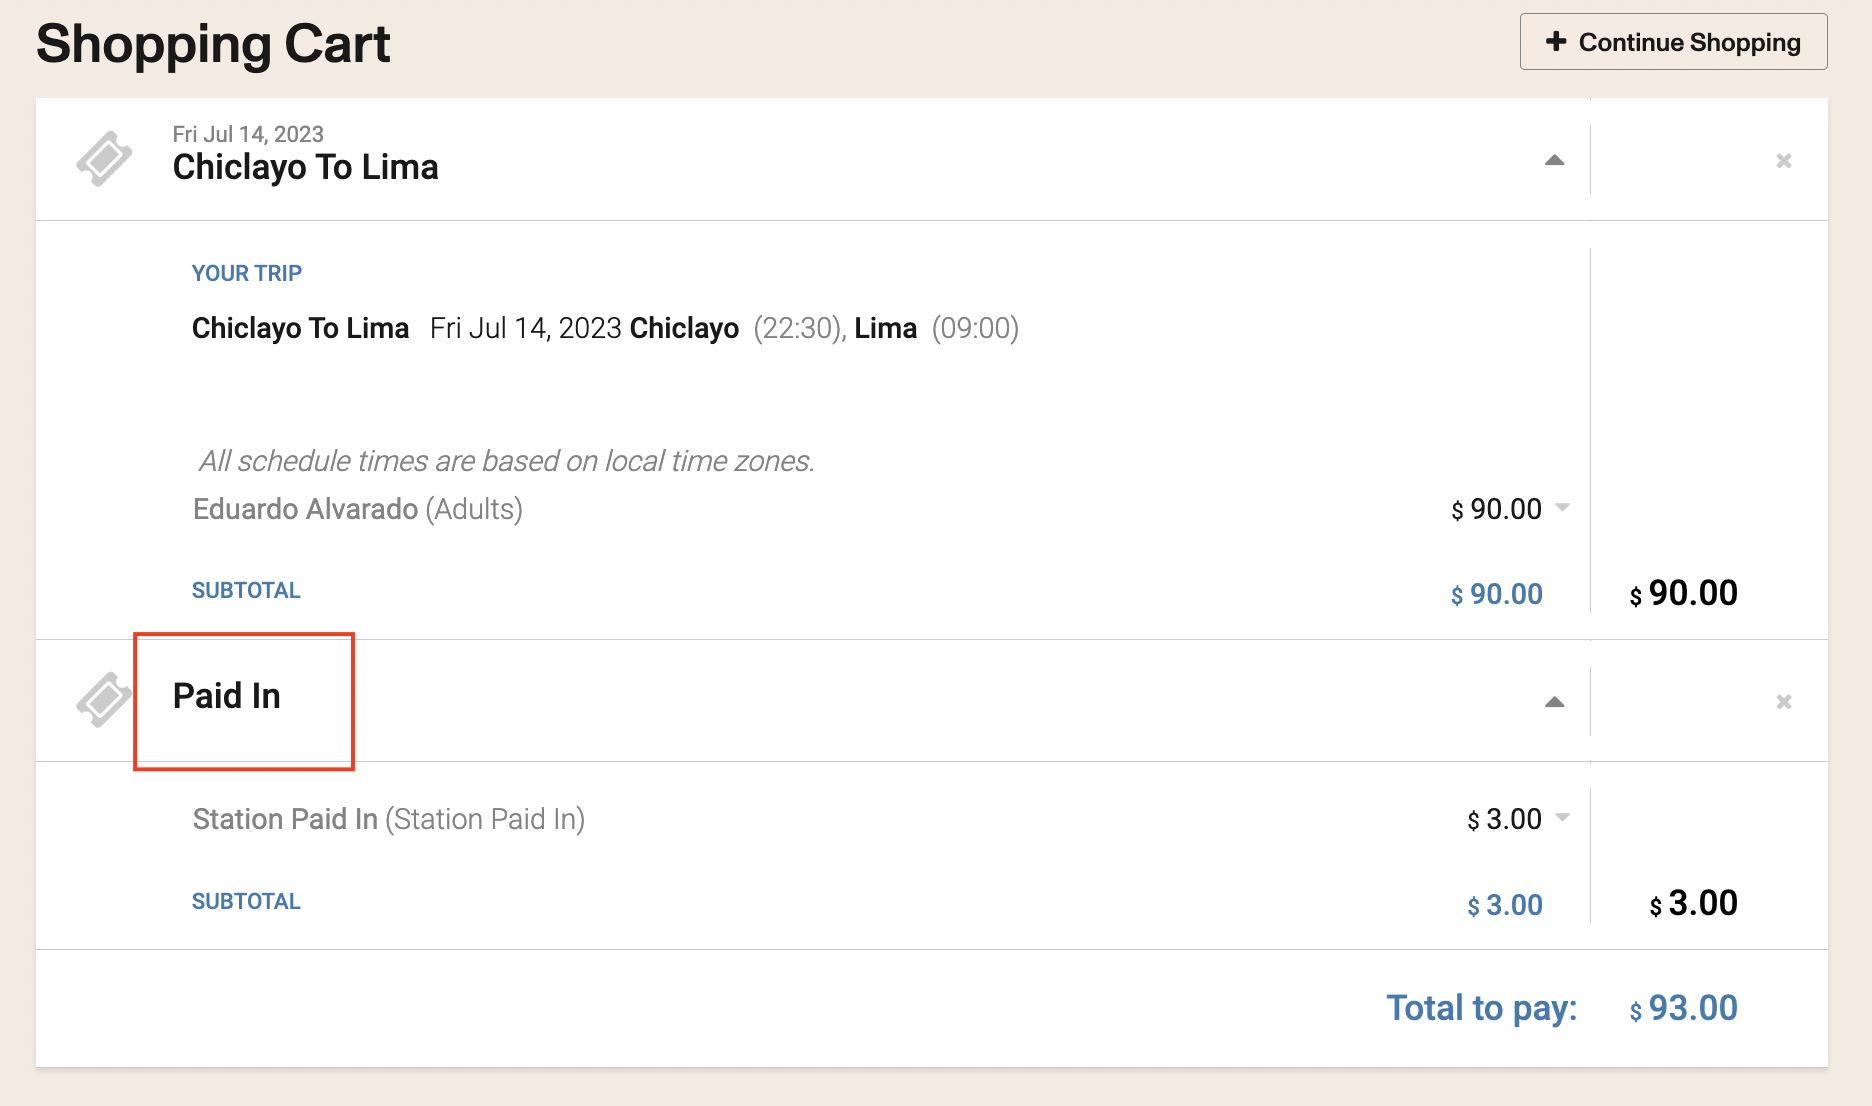
Now when buying a ticket, the Paid in item will be shown in the summary of what is going to be charged
Restrict the sale of this item to specific shift locations
The paid in item can be restricted to certain locations, you may choose the default logic and complete a whitelist OR blacklist accordingly.
Allow external refunds
In progress - external.
Pricing
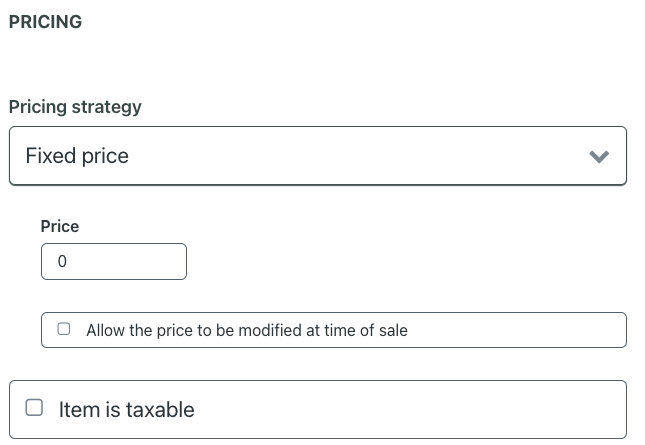
You may define if prices for the item are either Fixed:
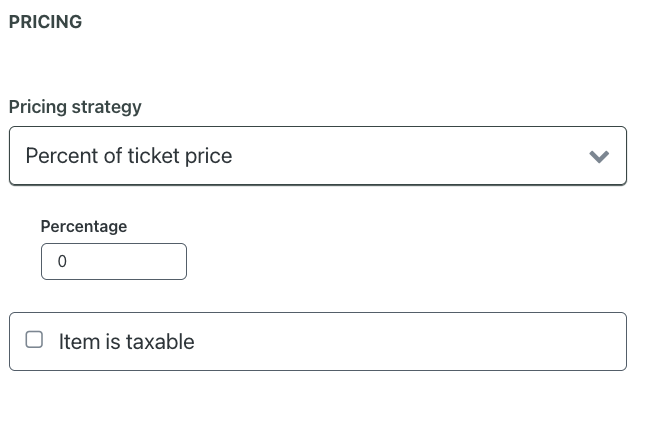
Or you may define it as a percentage of the ticket it is attached to:
Alternatively, you can define it as a variable by date.

You may define whether the item is taxable or not.
Additional Fields
Choose which additional fields should be displayed at the time of sales
Show a "Description" field in the sales flow
- Default field value: Text that will appear by default in the description text box.
- Require a value to be entered in this field: If =true, the text box cannot be empty to continue to the checkout.
- Show this field when printing: If =true, the Description contents will appear in the printed receipt.
- Customize the field label

Adding a predefault value adds a value to the text box, so it could override the "required" condition.
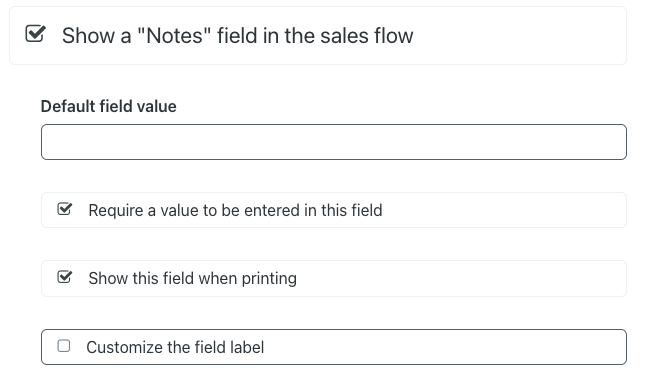
Show a "Notes" field in the sales flow
- Behaves in a similar way to the Description field, and has the same options.
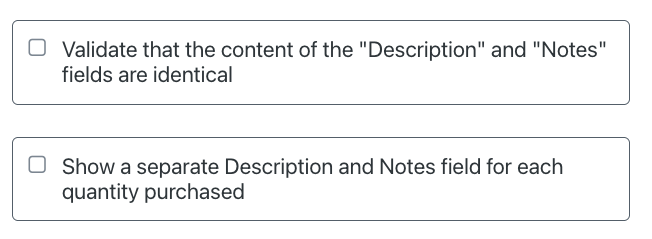
Validate that the content of the "Description" and "Notes" fields are identical
Will compare these fields. The user input for these should be the same before the system lets you continue.
Show a separate Description and Notes field for each quantity purchased
Will show separate fields for each item purchased.
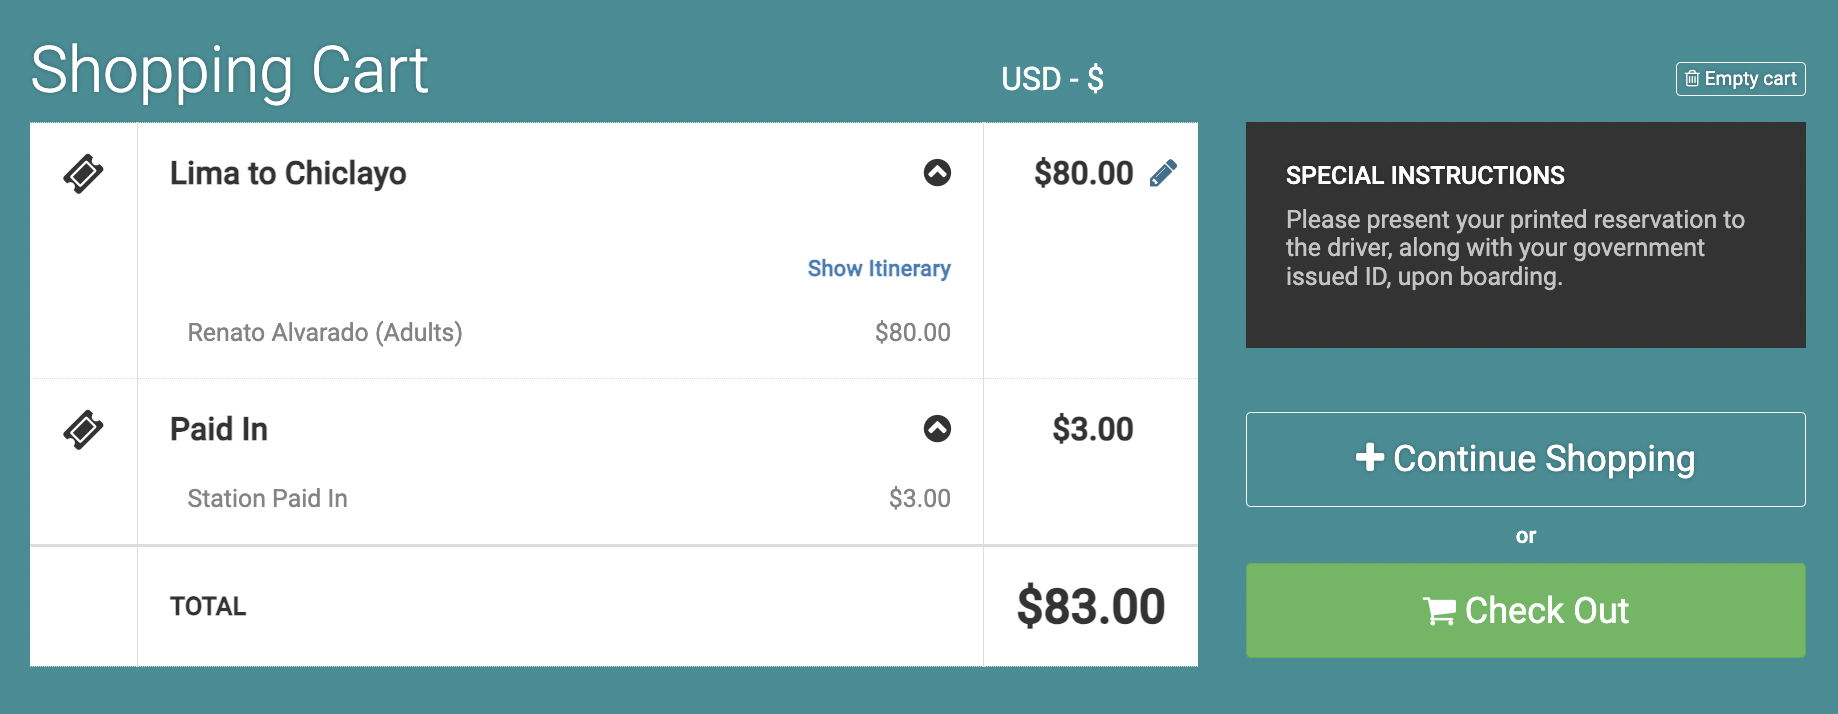
Station Paid in Items in Web Sales
At the time of checkout, you will see in the details to pay, the paid in item section
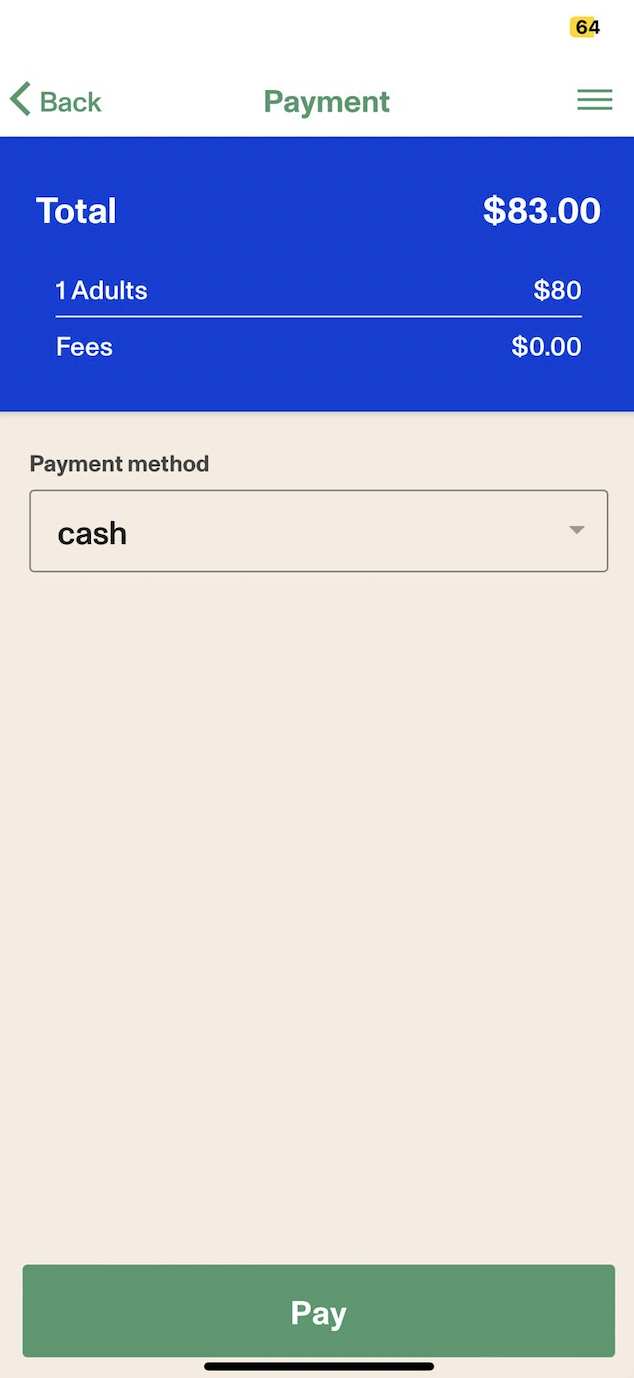
Station Paid in Items in the Betterez App
When you want to sell a ticket from the Scanner App and your product has a Station Paid In item, it will reflect in the price shown at the checkout but not in the details as a separate item.
Display Created by on the UI
When viewing an item's details page, users should be able to see who created the item and who last updated it. This improvement increases traceability, allowing users to quickly identify the origin and most recent changes to an item, which facilitates audits and tracking of modifications.
