Page summary
Seatmaps
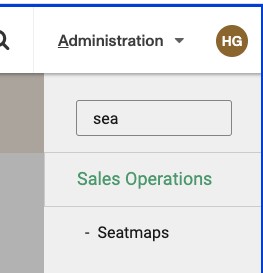
To create a Seat map navigate to Admin > Sales operations -> Seatmap
In the seatmap list you can delete existing seatmaps clicking the red X (if the seatmap is not in use).
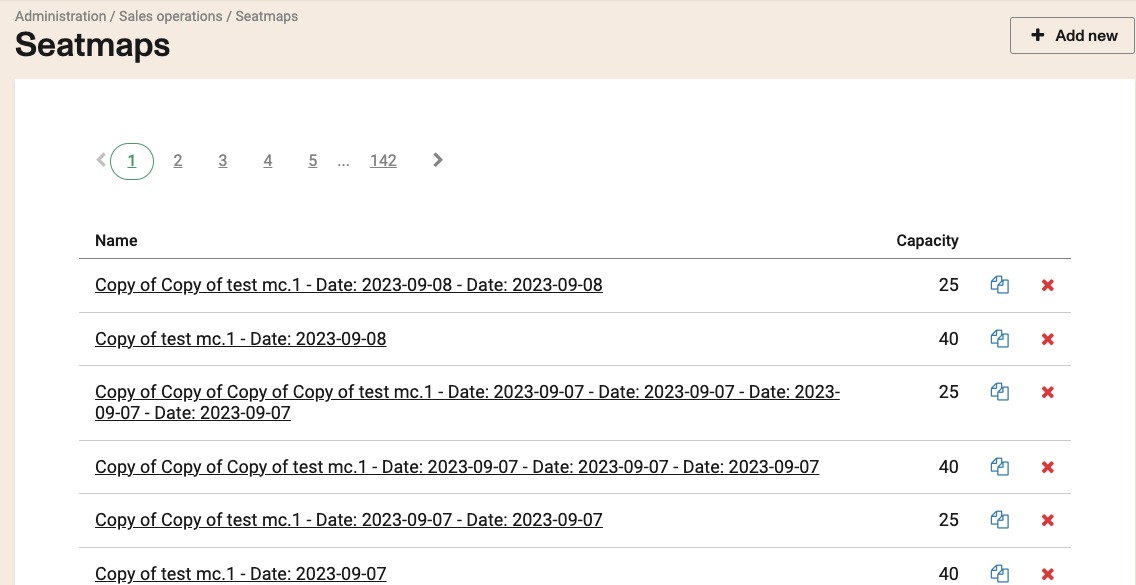
Copy a seatmap (clicking in the copy icon), edit a seatmap, clicking in the name or create a new clicking on the +Add new button.
Editing or creating a seatmap
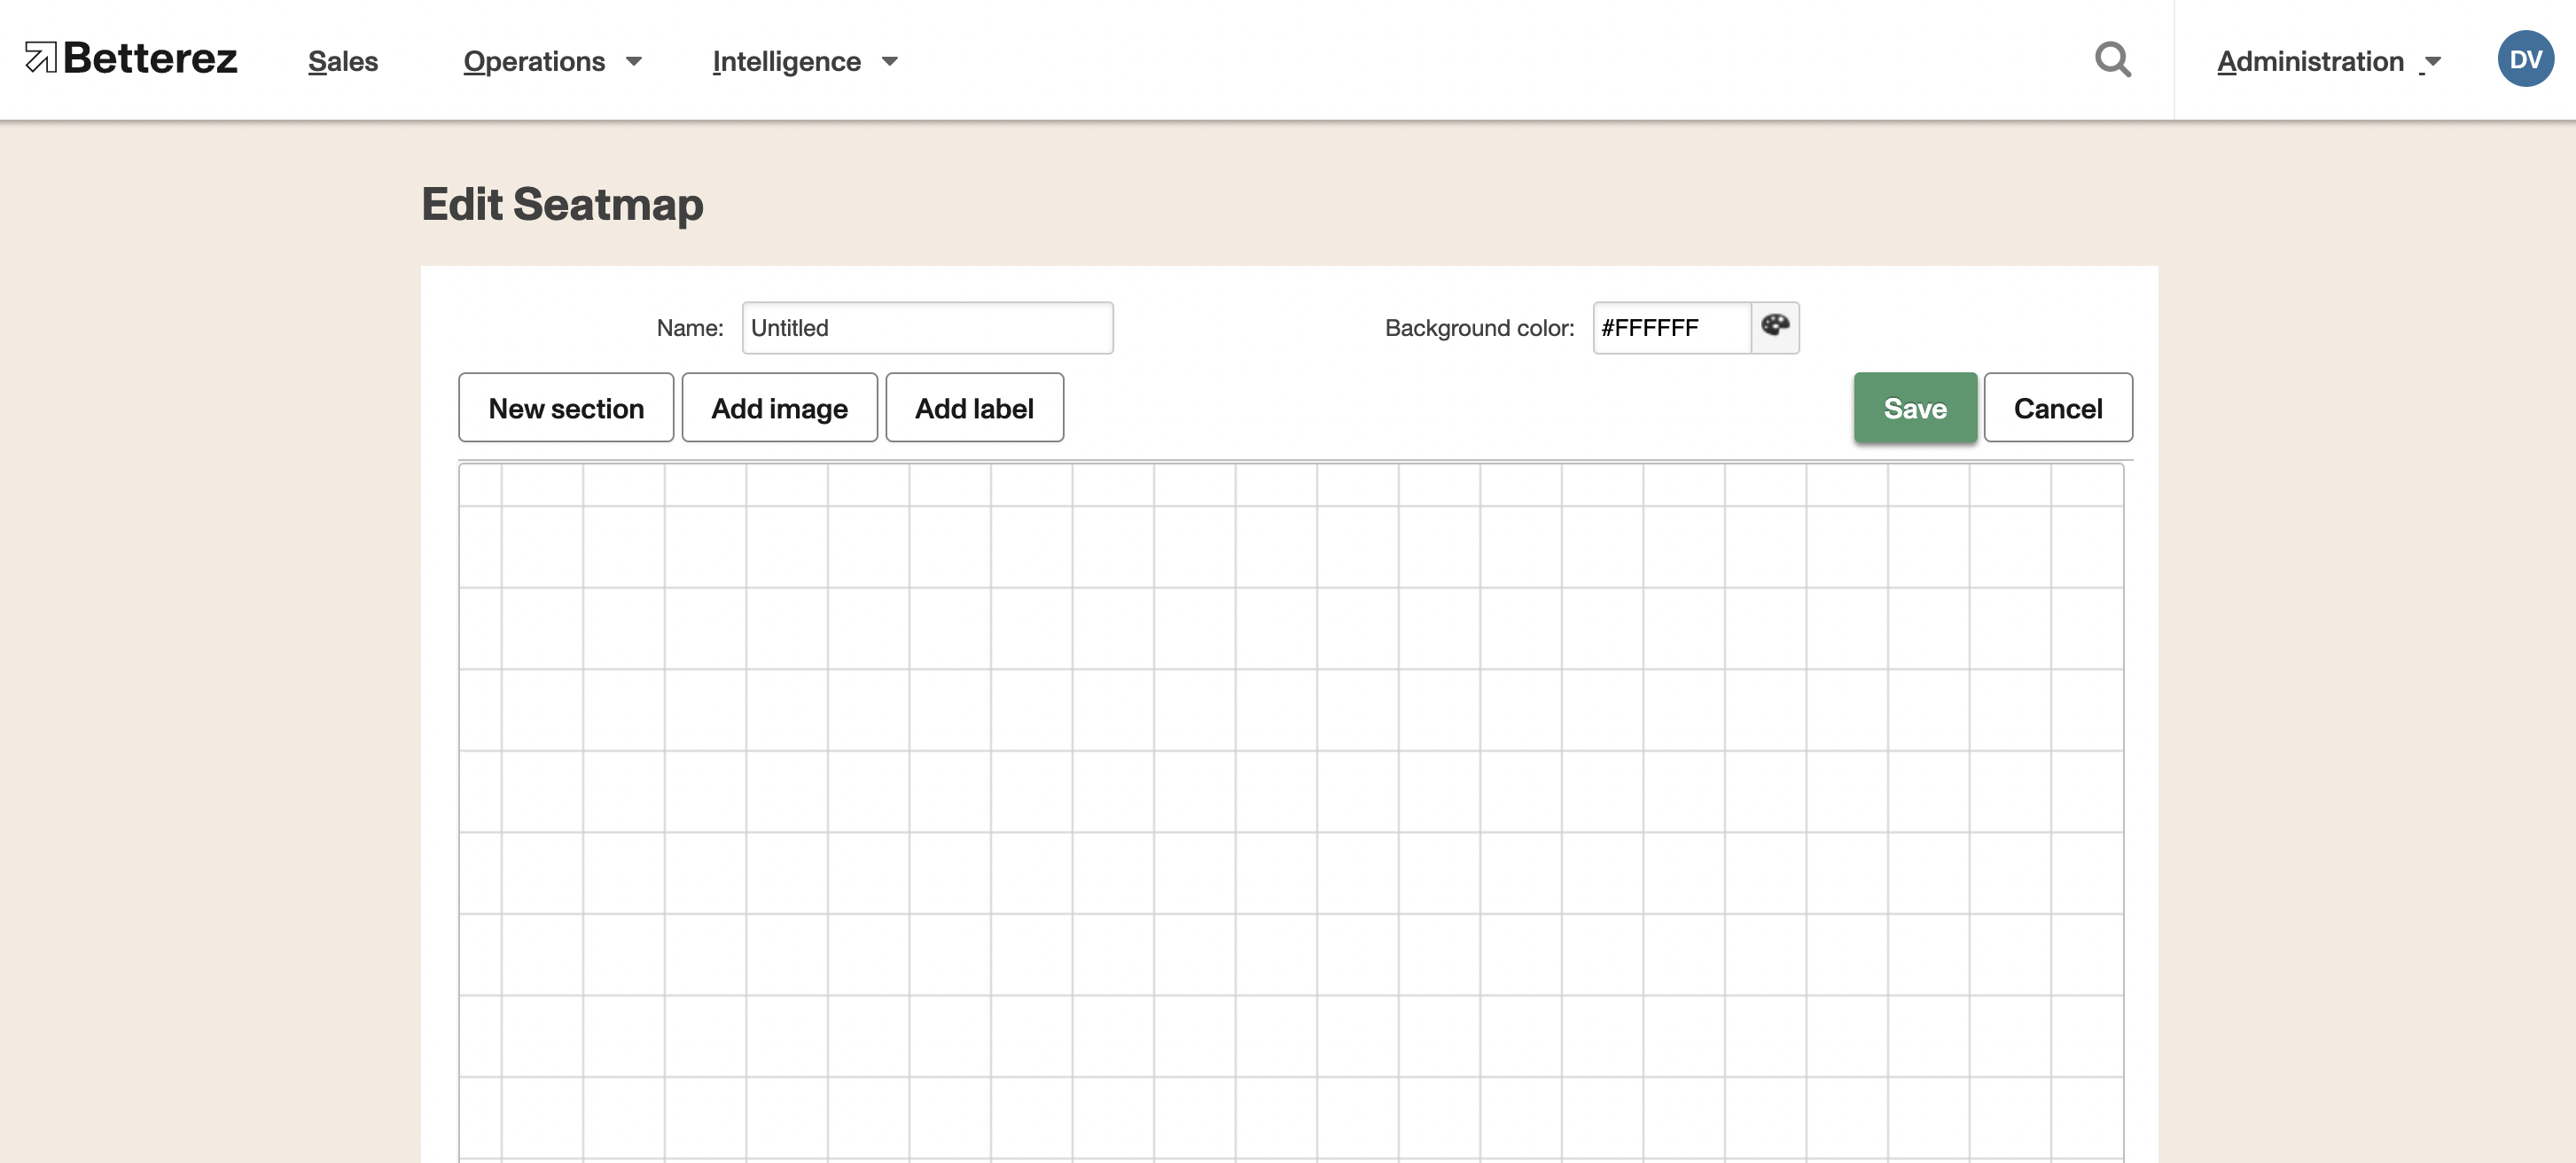
New Section
Click New section, you will be able to customize the seatmap based on your running vehicles.
When customizing your seatmap you can select a seat to change its type to:
Accessible
This would identified the seat for people with special needs. It will show a wheelchair. It is accessible to be booked via all channels)
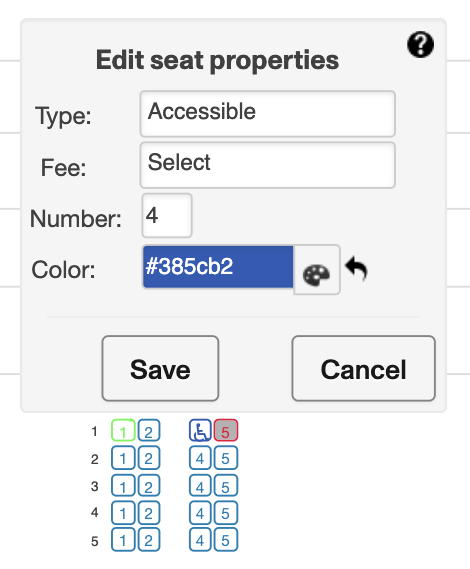
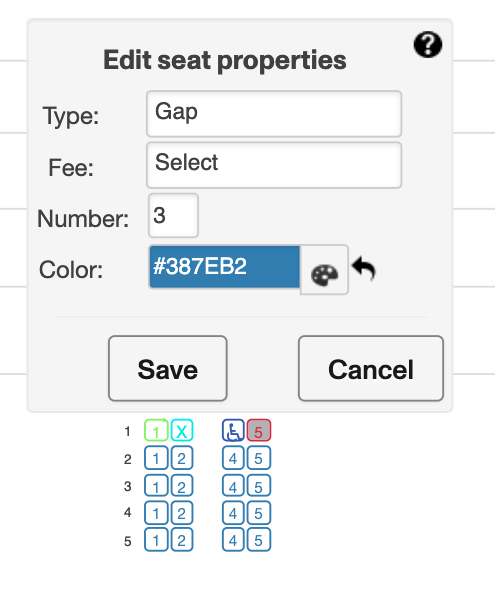
Gap
The seat wont show at all and cant be booked. It would serve to set the isle or a door or represent an empty space.
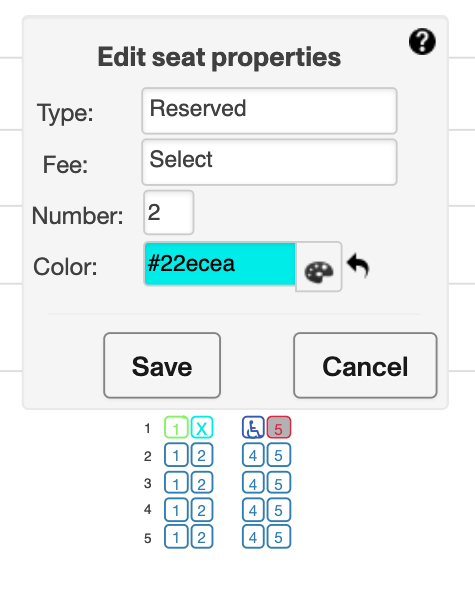
Reserved
This seat would be available only to be booked via back office channel. It wont be able to be booked though websales.
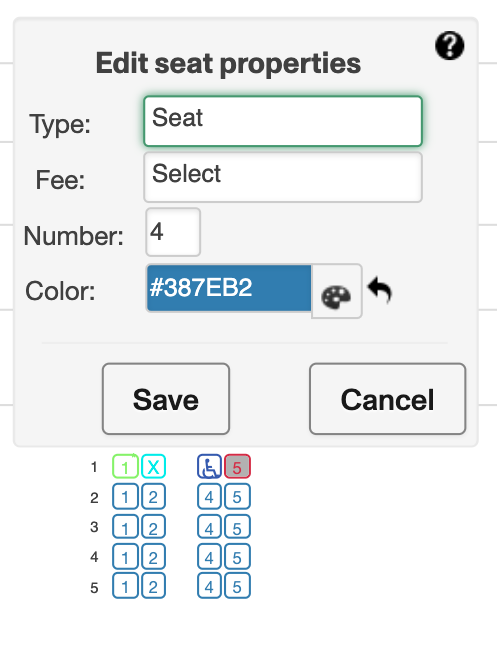
Seat
This would be your regular seat. It would be available to be booked via all channels.
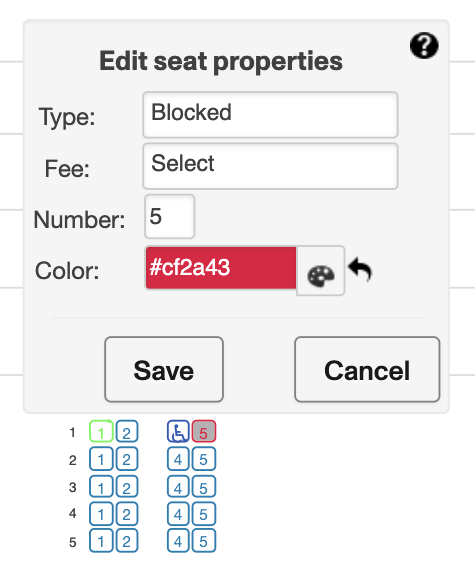
Blocked
This seat is not available and cannot be booked via any channels. It would serve to control social distancing. Blocked seats affect capacity.
Seat Fees
You can also set a fee to your seats if wish to do so and sell some seats at a premium.
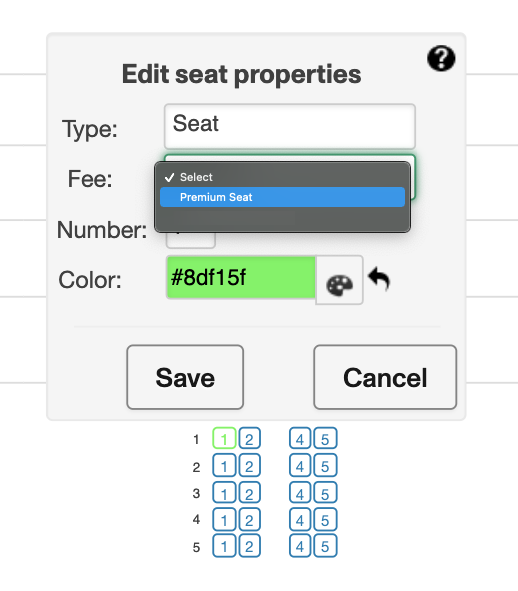
To learn more on how to set up a seat fee please please click on the following link to our documentation on Seat Fees
Seat Classes
You can assign a Seat Class to each seat as well. Please note that once you assign a seat class, you should do so for every seat in the seatmap. Seat classes allow you to define different prices for each class. Changes to pricing for each class will be reflected immediately for the enabled schedules.
! -warning leaving a seat without a class, or not adding prices for a seatclass will make the seat(s) unavailable.
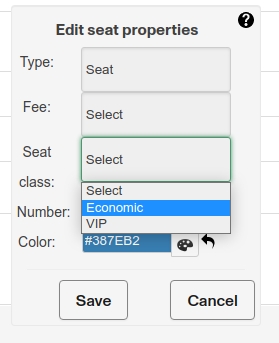
More info on seat classes
Seat colors
As part of your seat customization you can also change the color of the seats to differenciate the different types.

Add image (deprecated)
If you click Add image you will be able to add a .png image over which you can construct your seat map.
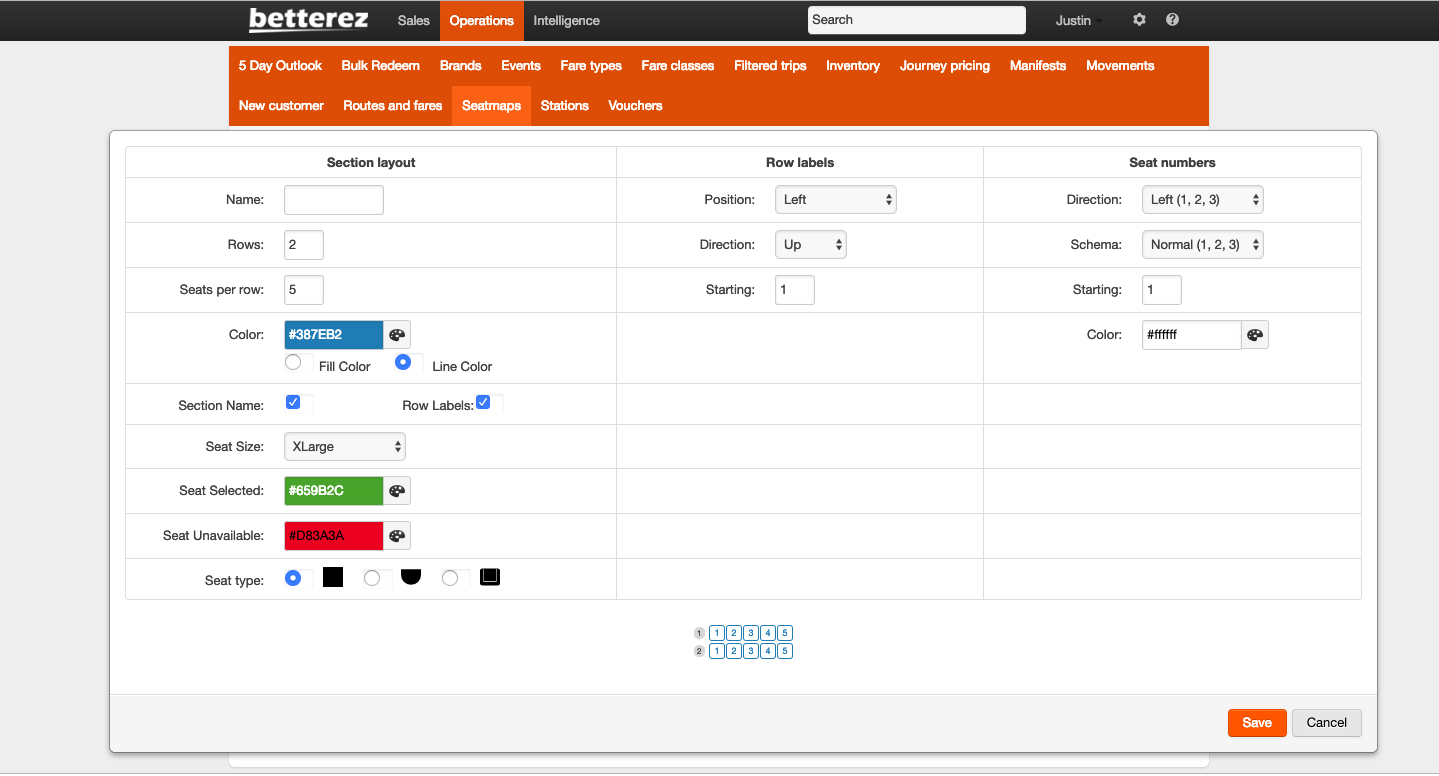
Once you have created the seat map, you will have to associate the new seatmap to the vehicle.
Add label
If you click Add label you will be able to add a label to the seatmap, this can be useful when labeling different sections inside a bus clearly.
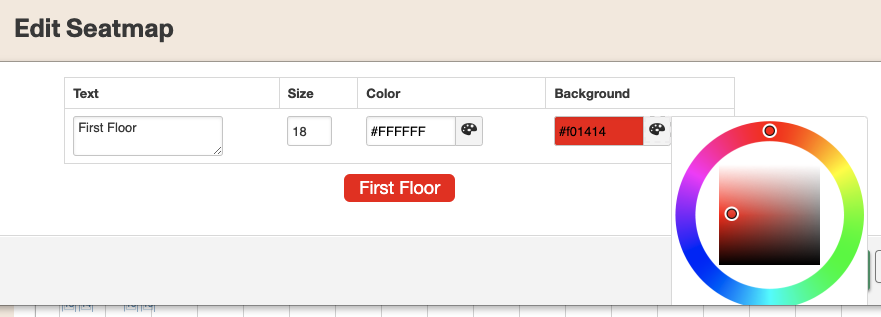
Assigning a seatmap to a vehicle
To learn how to create a vehicle item, click here.
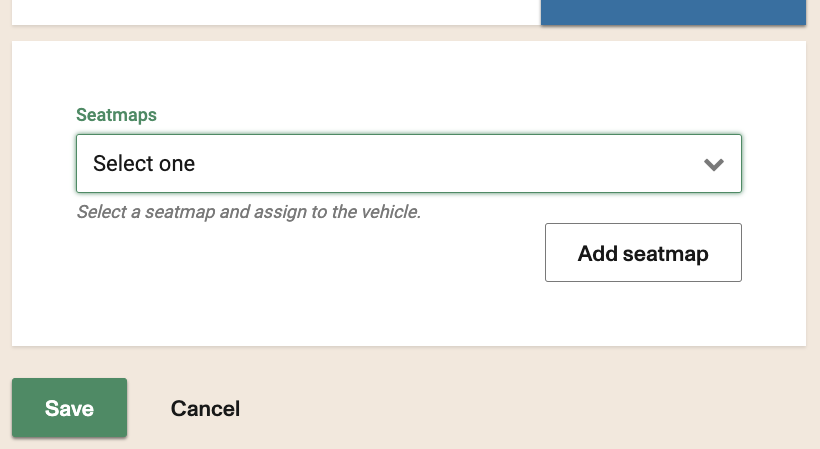
Navigate to Admin -> Sales operations -> Vehicles, then select the Vehicle you want to assign a seatmap to. Keep in mind that a vehicle must be created before being able to assign a seatmap. Then, scroll to the bottom and select +Add seatmap.
Remember to click on the "Add seatmap" button. Otherwise it won't save.
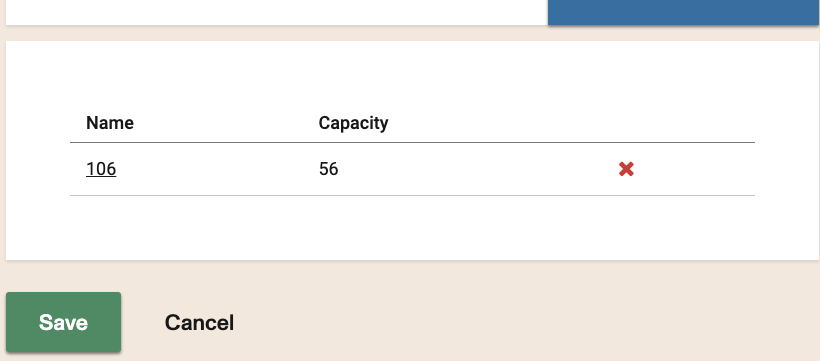
It should look like this once the seatmap is assigned to the vehicle.
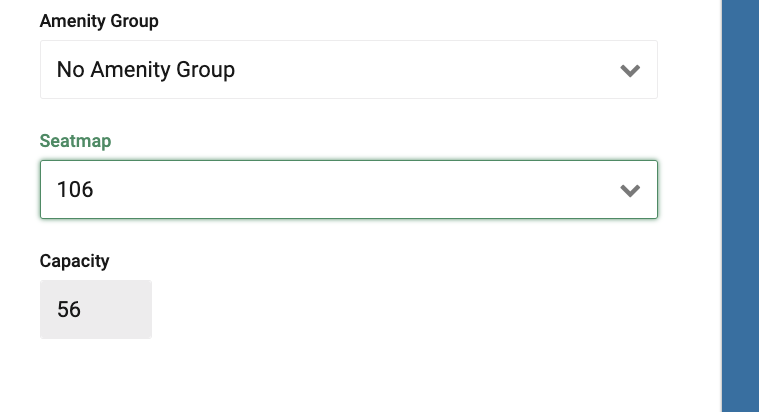
The last step is to assign the new inventory item and seat map to the schedule. To do this, navegate to Admin -> Sales inventory -> Routes, and select the route and schedule and from there you can assign the seatmap to the schedule.
Only assign the seatmap to a new schedule, for being able to asssing the seatmap to a schedule that has sales on it please reffere to the following article
Click the link to learn how to move the seat selection from after the passenger details to before the passenger details screen
Once in use, seatmaps can't be changed or modified. They need to be copied into a new version. This can be done in each manifest. Alternatively if it is meant to be a long term change, you can create new schedules with the new seatmaps, move the tickets from the old schedules to the new ones and expire the old schedules with the old seatmaps.