Page summary
Products - reservations
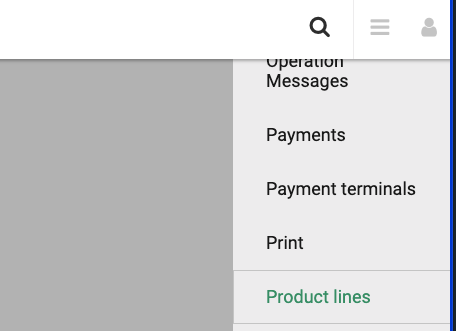
Navigate to admin>products.
The Reservation family of products allow you to sell one way, roundtrip or open return tickets for a specific trip on a specific route and schedule. The sub products to sell, pricing and taxing schema can vary by channel based on the configuration(s) you select.
Create a reservation product
Click the Add new button

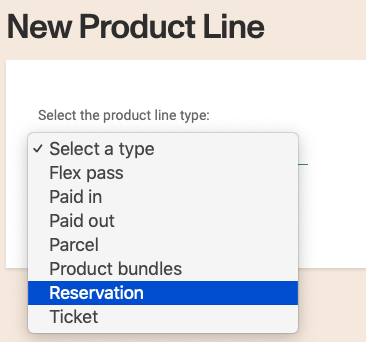
First you will have to select the Reservation product family from the drop down list and click the next button.
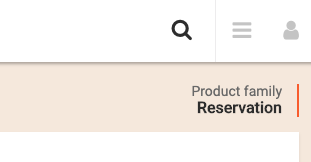
before continuing verify at the top right corner that you selected the right product family. In this case it should reads "reservation".
Display properties and terms and conditions
In this section enter the name, descriptions and icon that will be used to display the product in the product selection page during the sales process, as well as the order in which the product will be displayed in the page.
You will need to enter the name and the description in each of the languages you support. (In the screen below the account supports 5 languages).
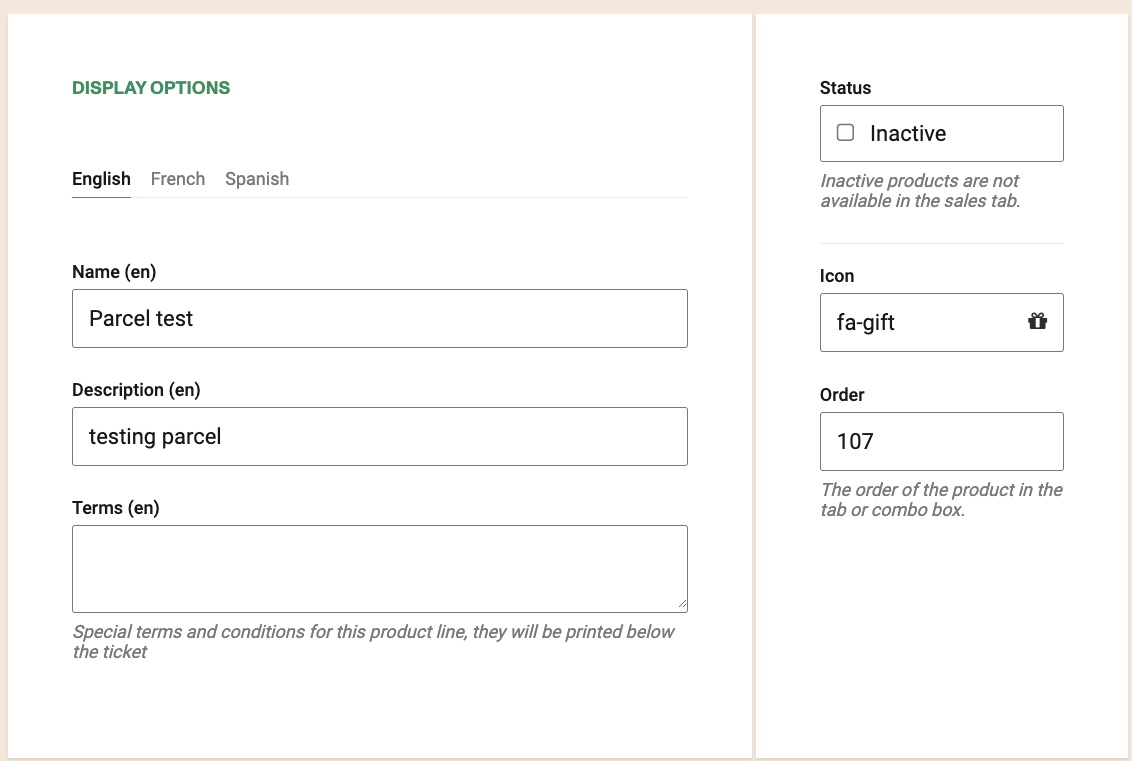
The name will also be used in combo boxes across the application (for example: report filters).
You can enter special terms and conditions for a given product in this text areas. Enter the terms in the different languages your account support.
This terms and conditions will be printed in the ticket
You can disable this product by checking the Inactive checkbox.
If you disable the product it means it will not be available in any of the sales pages, but the name will still show up in some combo boxes across the application to allow you to access historical data.
Cutoff times
You can manage what trips will be shown to the customer based on the time of purchase and the times of the trips.
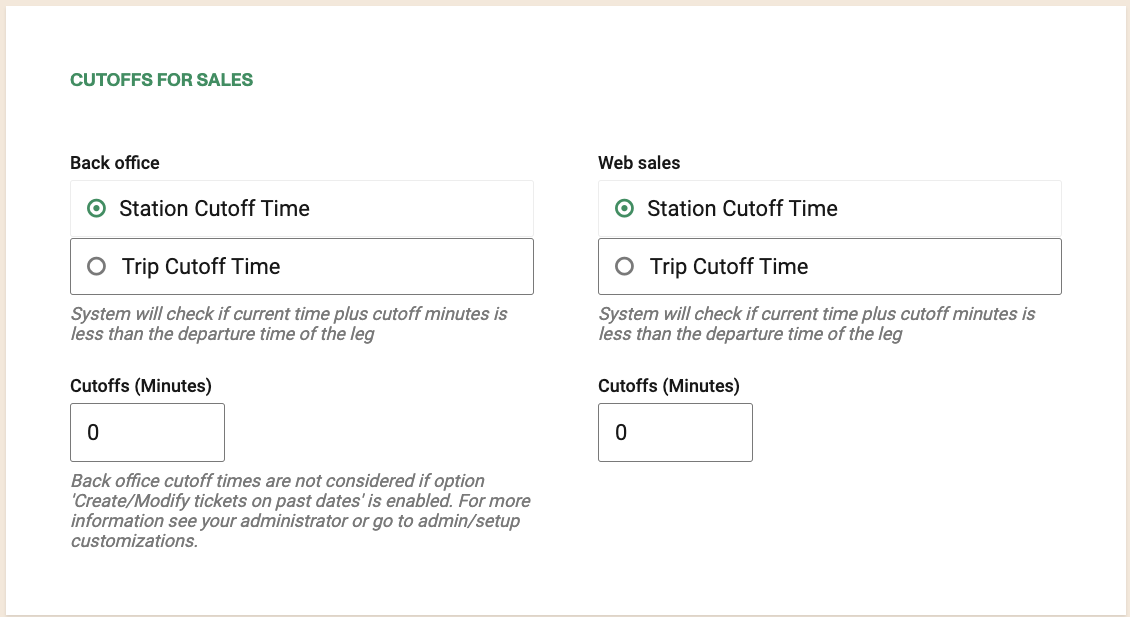
And you can have different cut off times for new sales and tickets changes
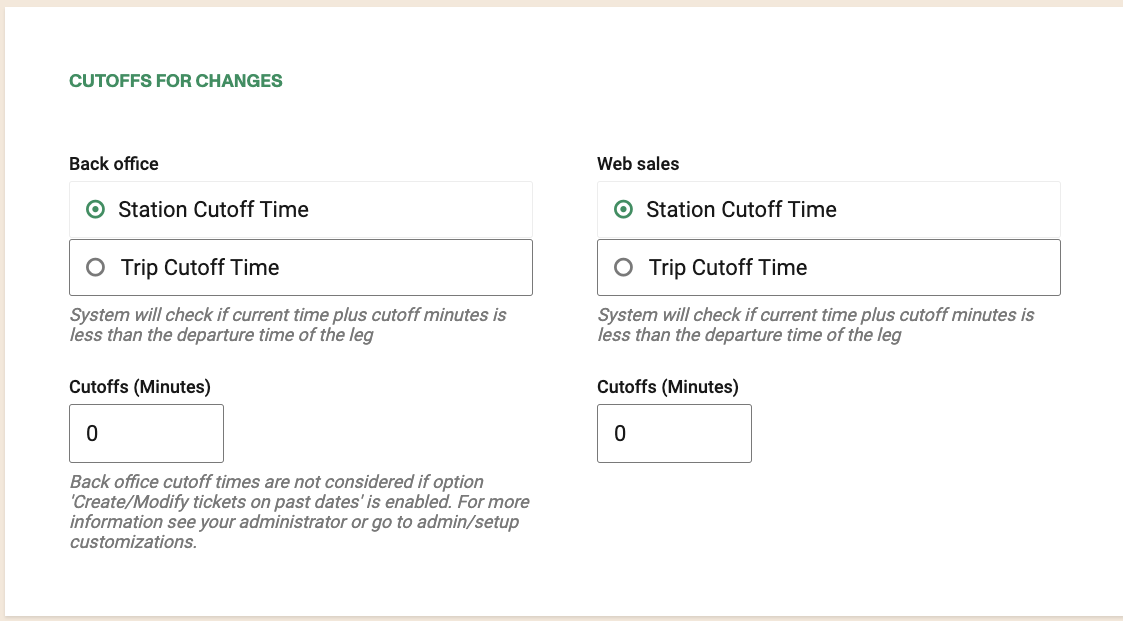
You can setup different times and strategies by channel.
Strategies
You have two different strategies, Station Cutoff Time and Trip Cutoff Time
Station Cutoff Time
It will apply the cutoff time (in minutes) based on the time the vehicle will be at the departure station selected for the trip.
Example: You selected this strategy and you enter 90 in the value field. Given a series of schedule A->B->C->D and doing a search from B to D at 8:00 AM, you will only see results where the vehicle is at B at 9:30 AM or later.
Trip Cutoff Time
It will apply the cutoff time (in minutes) based on the time the vehicle will be at the departure station selected for the trip.
Example: You selected this strategy and you enter 90 in the value field. Given a series of schedule A->B->C->D and doing a search from B to D at 8:00 AM, you will only see results where the vehicle is at A (the station where the trip starts) at 9:30 AM or later.
Cutoff for Refund
This feature allows to cancel by setting a time prior (positive numbers) or after(negative) the departure time.
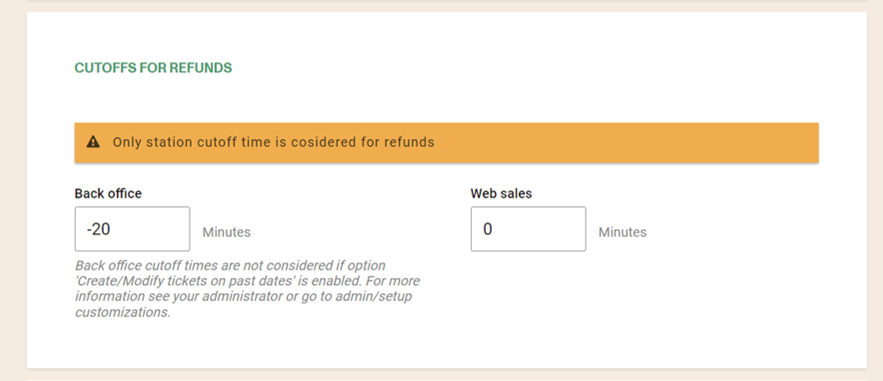
The system will display an error with the legend :" Some of the selected items are invalid or missing” when a cancellation can not be made because of cuttoff time for refund has expired.
Negative values
You can enter both positive and negative values, negative values will allow you to sell tickets after the vehicle left a given station. This is useful in cases where the vehicle is usually late to arrive to a given stop.
Changes made will be retroactive to any expired tickets.
In general you should only use negative values for the in person channel, where an attendant can validate that the passenger will be able to get in the trip.
In general, when use negative values on the cut off times, the expiration time of the product must be set on equal or superior of the cutoff time to be able to sale, change or cancel a tickets. If the expiration time is less than the cut-off time, in terms of sales the tickets will be emitted with the expired status and will not be able to be scanned, in terms of changes or cancellations there will be no way to perform these operations.
If your account has the Create/modify tickets on past dates (back-end only) enable, the cutoff times will be ignored in all back-office channels.
Pricing schemas
Betterez offers three possible pricing schemas for products of the reservation family, Point to point, Journey and Market pricing.
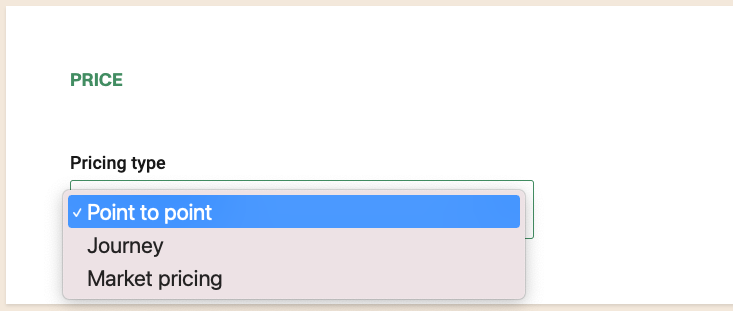
Point to point
The point to point schema works adding a price triangle in each route. You will be able to enter prices for the O & D combinations in each route. Connecting trips (if connections are enable for your account), will be calculated as the sum of each individual price as defined in each of the triangles of the routes.
Journey
When selecting Journey as your pricing schema you will enter prices for given pairs of O & D, regardless of direct or connecting trips.
You can learn more about journey pricing and how to set it up here.
Market pricing
When selecting Market pricing as your pricing schema you will expand you options, combining the power of Journey pricing with the simplicity of point to point pricing.
Open return
Open return reservations, are a variation of the product that allow the departure part of a trip to be a firm reservation (with a given day and trip) and the return portion of it is a redeemable item that can be converted in a proper reservation at a later day.
You can only enable open return when the pricing schema is one of Journey or Market pricing
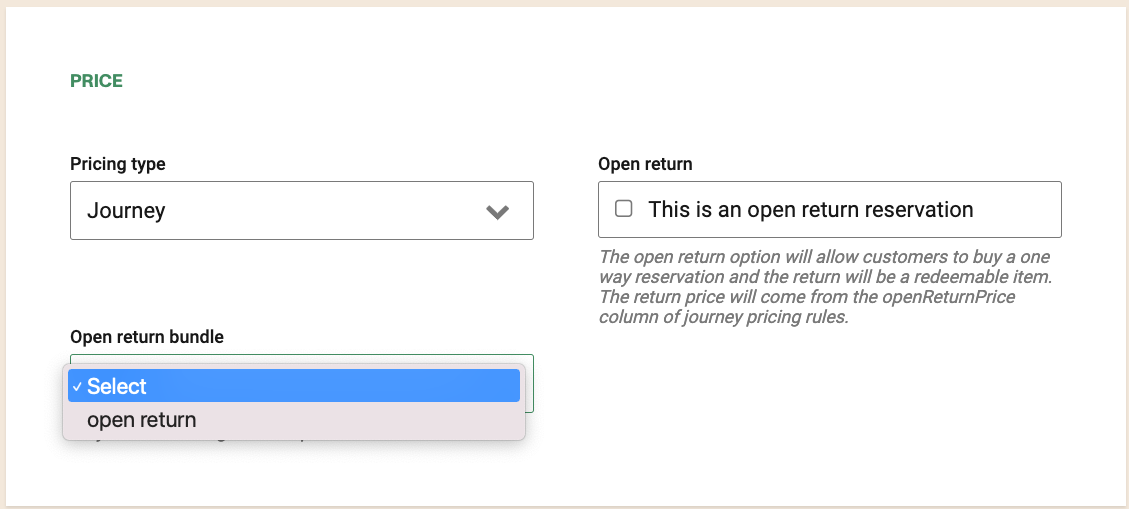
Once you activate the open return option you will need to select a bundle product configured as an open return.
Journey Pricing prices for open return ticket.
The final step before accessing the purchase flow for an open return ticket is to upload the pricing for your O & D's for an open return ticket type. This will be done using Journey pricing file]. Reviewing the template you will find a column specifically labelled OPEN_RETURN_PRICE where you can enter the price and upload the file in order to price your open return.

Prices for the open return part of the trip will be applied as following. If the JP record for the reservation part has an openReturnPrice, that price will be used for the open return price. In that case all Fare discounts will be applied to the open return part of the trip.
If the JP record for the reservation part does not has an openReturnPrice, we will load the JP record that matches the O & D for the return and we will check if that record has an openReturnPrice. If it does we will use that price (without applying any fare type discount in this case). If there are several JP records where the O & D match, then the lowest price will be used.
If we can't find any record with the openReturnPrice. The purchase can't be completed.
Using Market pricing for open return tickets.
If you have Market pricing the prices will be taken from the fare tables in the Market pricing admin area. You can further adjust those prices using the MArket pricing modifiers
Open return is not available in our vanilla websales although it is available via our apis to do your own development and sell it in your customer facing website.
Channels
Products can be configured to be available as backoffice (all backoffice channels) or websales (all websales channels).
You can still configure what product is available to each agency when creating an agency.

Note that this setup will also limit availability to the channel via APIs.
Taxes configuration
If you don't use taxes in your account you can skip this and leave the default Any in this configuration.
You have three strategies while deciding how taxes are applied to this product.
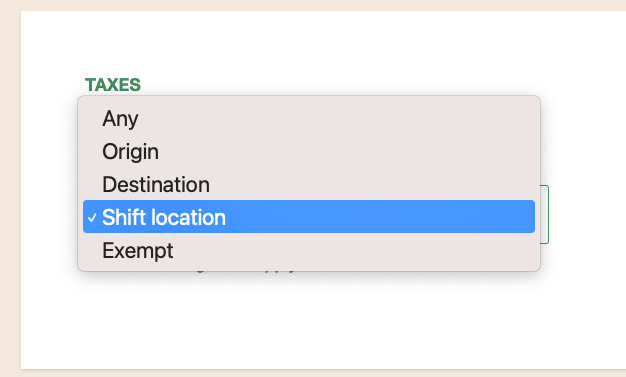
Any
All taxes defined in your account will be applied to the product. It wont check for province or country, it will apply all valid ones.
Origin
Only taxes that match the province of the origin station for the trip will be applied. On roundtrip trips, the taxes are matched for each trip.
Ex: If I have a return A->B trip. For the A->B part of the trip the system will apply taxes that match A, but for the B->A part of the trip the system will apply taxes that match B.
Destination
Only taxes that match the province of the destination station for the trip will be applied. This is the exact inverse as the logic for the Origin strategy
Shift location
Only taxes that match the province of the shift location will be applied.
Excempt
No taxes will be applied
Sales flow
We can configure a few options for the sales flow of this product in this area.
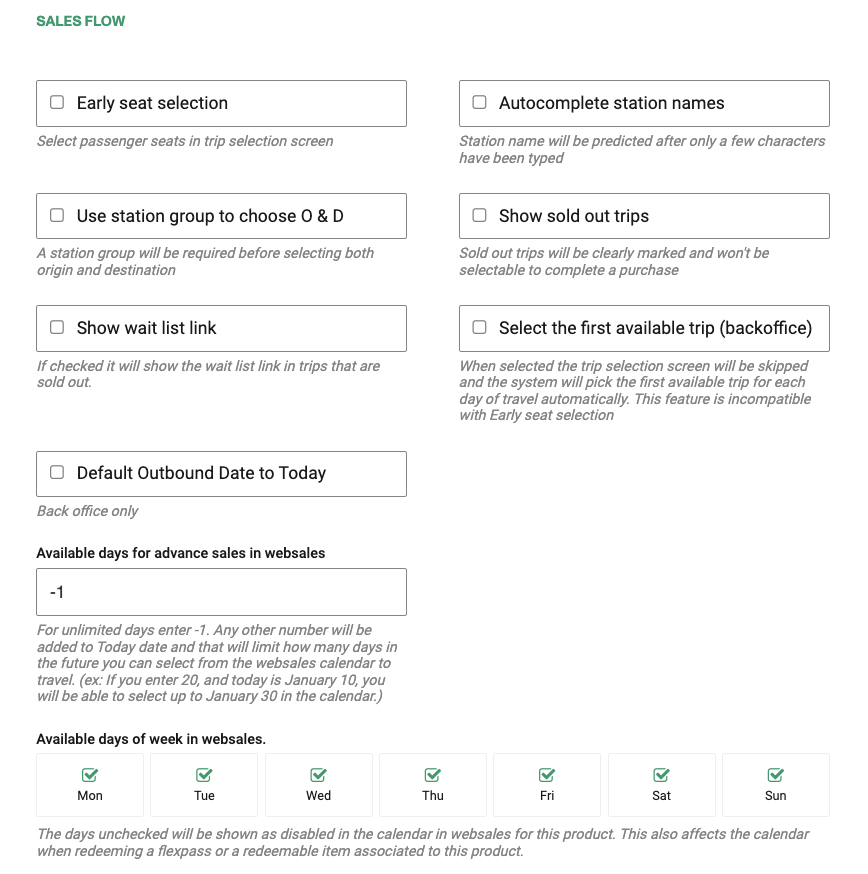
Early seat selection affects where the seatmap is shown for schedules that use seatmap. When this checkbox is checked you will see the seatmap besides the trip results. If left unchecked the seatmap(s) will shown when entering the passengers details.
Early seat selection only applies to the backoffice channel.
The station list in the search page are by default displayed using combo boxes, if you want to use an autocomplete control instead, check the Autocomplete station names.
Use station groups to select O & D is only relevant if you have configured station groups in your account. If this checkbox is checked and you have station groups configured in your account (you must in this case). The search screen will require that you select a HEAD station first and select a child station from the group second, for both O & D.
The Show sold out trips checkbox will indicate if sold out trips are shown in the trips results page. These trips will be clearly marked as sold out and the user will not be able to purchase them.
The system calculates capacity based on the parameters of the search. For example a seat with one seat left will be shown as sold out if the passenger is trying to purchase two or more tickets. So some trips will be shown as "Sold out" with respect of the search parameters even when they are not technically sold out and some seats may be available.
The Show wait list link setting works in combination with the previous one (Show sold out trips) and it will show a link that will allow the user to enter information for a wait list regarding the trips that are at the moment of the search marked as Sold out.
To speed up the selling process you could check Select the first available trip (back office). When this is selected the trip selectoin screen will be skipped and the system will pick the first available trip for each day of travel automatically. Although this feature is incompatible with the early seat selection feature.
The search screen for the reservation product requires to enter travel dates. You can check the Default Outbound Date to Today (only back-office) checkbox so the departure date will be auto-complete on load to today's date. This saves some time on backoffice since most of the tickets are usually bought for the current date.
For websales, you can configured how many days in the future the calendar will allow the user to select.
The default value for Available days for advance sales in websales: is -1, this means that the customer can select ANY date in the future. You can change and limit that with a positive number that will be added to Today date.
Ex: If you enter 20, and today is January 10, you will be able to select up to January 30 in the calendar.
Also for websales you can limit what days of the week are selectable in the calendar.
This is helpful if you offer trips only in a few days of the week.
The default is all days of the week.
The days unchecked will be shown as disabled in the calendar in websales for this product.
This also affects the calendar when redeeming a flexpass or a redeemable item associated to this product.
Product types
When creating a new product of the reservation family, it will be created with 2 default "sub-products". Those products can be edited and changed after creation.

Editing a reservation product
You can edit all the properties described above in creating a reservation product
You can also edit the sub products.
To edit each sub product click in the pencil icon.
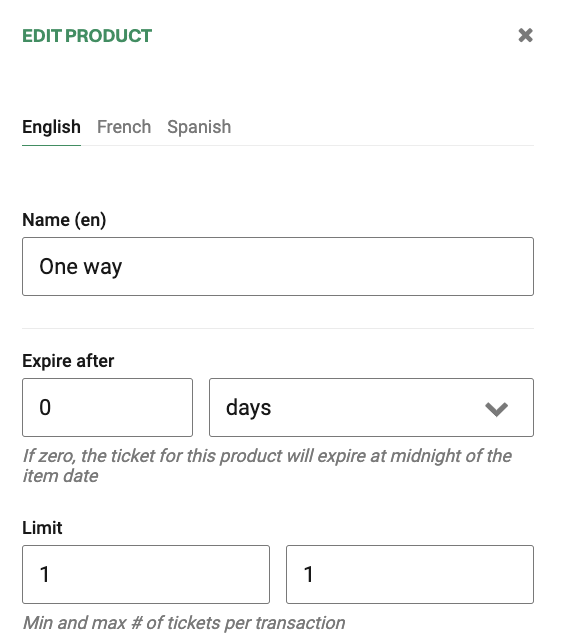
You may need to scroll up the page if you don't see the editing form for the sub product after clicking in the pencil icon.
Sub product name
You can change the name of the sub product, this will be reflected in both the websales and backoffice sales flow. You should change it in each of the languages configured for you account.
Ticket expiration
You can enter the ticket expiration for the particular sub product. This will be amount of time the ticket will expired after the "expected travel time".
You can set this value in days or minutes.
If zero, the ticket for this product will expire at midnight of the travel date.
for refunds, you may set a separate expiration time in Admin / setup. (so the ticket expires and can't be used, but you can still make a refund after a certain time.
Sub product channels
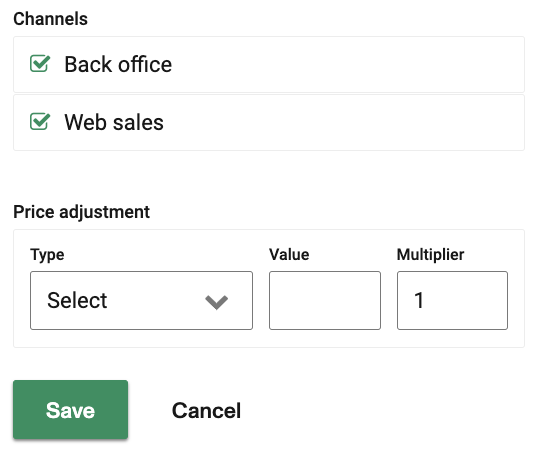
You can configure the channels where to show this sub product.
Back-office will affect all the back office channel. Websales will affect all the websales channels.
This is used to "HIDE" a sub product in a given channel where the main product is shown.
If you reservation product has only the backoffice channel and the sub product have the websales channel. the product won't show in websales in the first place, so the channels for sub products have less precedence.
Sub product price adjustment.
This is mostly only used if you are using the point to point pricing schema.
You can select three options to modify the price calculated in the price schema % percentage, $ dollar or Override
Percentage
If selected the price will be modified by the given percentage (positive or negative) and the given multiplier.
Ex: given a set up of 20 % and a trip price of $ 120 in the price triangle, the user will be presented with a a value of $ 144
Dollar
If selected the price will be modified by the given amount (positive or negative) and the given multiplier.
Ex: given a set up of $ 20 and a trip price of $ 120 in the price triangle, the user will be presented with a a value of $ 140
Override
If selected the price will be ignored and the override will be used.
Ex: given a set up of $ 200 and a trip price of $ 120 in the price triangle, the user will be presented with a a value of $ 200
Sub product return option
This setting is only available for the return sub product.

If Default return date to departure date is checked. When selecting a departure date in the search page, the return date will use the same value by default.
this feature is only available in the backoffice channel
Once the above settings are completed, make sure to click save at the bottom of the page to save your changes.
Click here to continue to the following step in your admin mandatory configuration.