Page summary
- Station list
- List columns
- Downloading station list
- Searching for a station
- Create a new station
- Display options
- Short Code
- Status
- Address and location information
- Airport
- Alternative station names
- Check in
- Connections
- Parcel Properties
- Printed Ticket and email
- Sorting
- Station groups
- Series number
- Station sequence numbers
- External ID
- Financial information
- Location Purchase Limits
- Custom fields
- Editing a station
- Station Types: Terminals, Stops, and Sales Points
Stations and locations
Stations (and locations) can be created and managed under the Operations>Stations menu.
Locations and stations are the same object in Betterez and it depends on the use context if they are treated as an station or a location.
Locations are just stations that are used as shift locations.
First navigate to Operations>Stations.
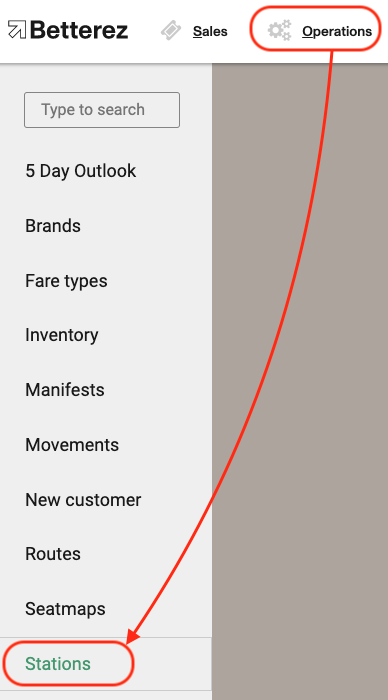
Station list
You can use the list to review certain station properties and export the station list to a csv file.
List columns
The station list contains the following columns:
- Id
- Name
- Province/State
- Type
- Order
- Zone
- Time zone
- Postal code
- Latitude
- Longitude
- Don't use for connections
- Enabled


These are the same columns you will get if you decide to download the station list.
Downloading station list
You can download the list to an excel compatible file using the download button.

You will find the download button at the top of the station list with the rest of the list controls.

Searching for a station
There are a handful of filters you can use to find stations.
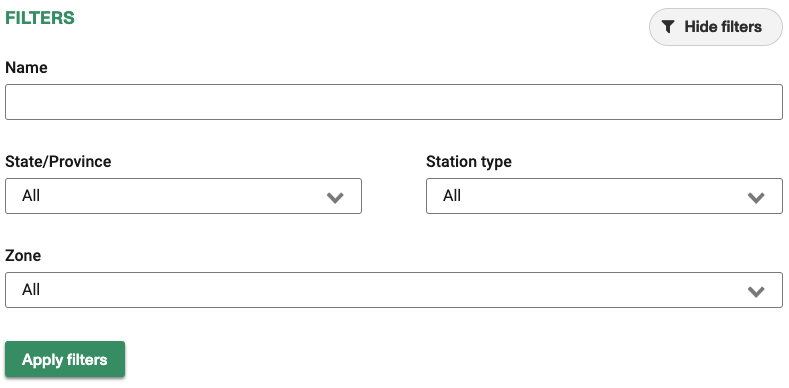
You can find stations by name or part of the name.
The name search can match exact matches or partial matches. Partial matches will only match the beginning of the station name. If you have a station with the name 'Cumberland' you can find it entering just 'cumber' but you WILL NOT FIND IT if you enter 'land'.
You can also use the Province/State, Zone or Station type filters.
You can combine these filters to further restrict the list of stations to display.
Create a new station
Click in the Add new button at the top right of the screen.

Display options
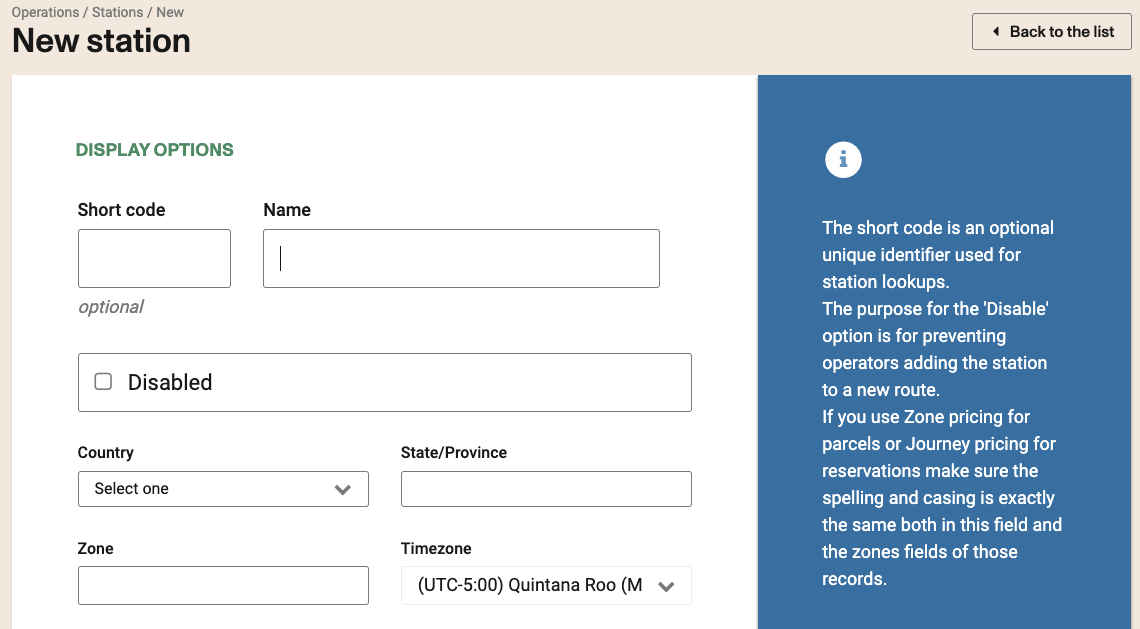
First enter a unique name for the station. Some characters are not valid.

The following characters are not valid when creating a station. @ . \ / * # $ % ^ & + "
Short Code
You can add an optional short code, which can be typed in the trip search to find the station quickly. This is only available when the "autocomplete names" is enabled at the Product Level.
Short codes must be unique to each Station.
Status
In the status section you can enable or disable a station and/or disable it for the connection engine.
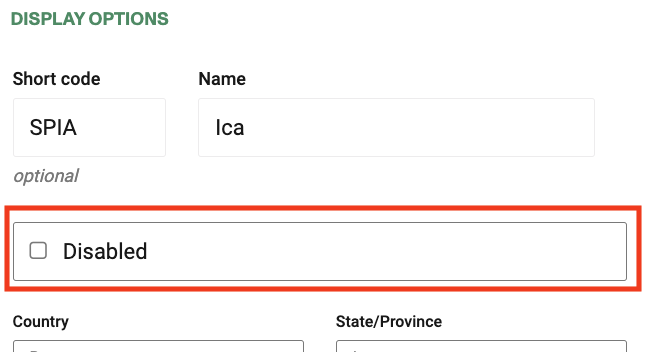
Disabled The station will not be available to create new routes, but the station will still show up in all combo boxes, inclusive for trip searches. However, a disabled station will not appear as an option to open a shift or to enable a trusted machine.
To remove a station from trips searches you need to make sure is not used in any pricing schema.
Address and location information
In this section you can complete location information. Most of the location information is optional. Some fields are required in only certain circumstances as indicated below.
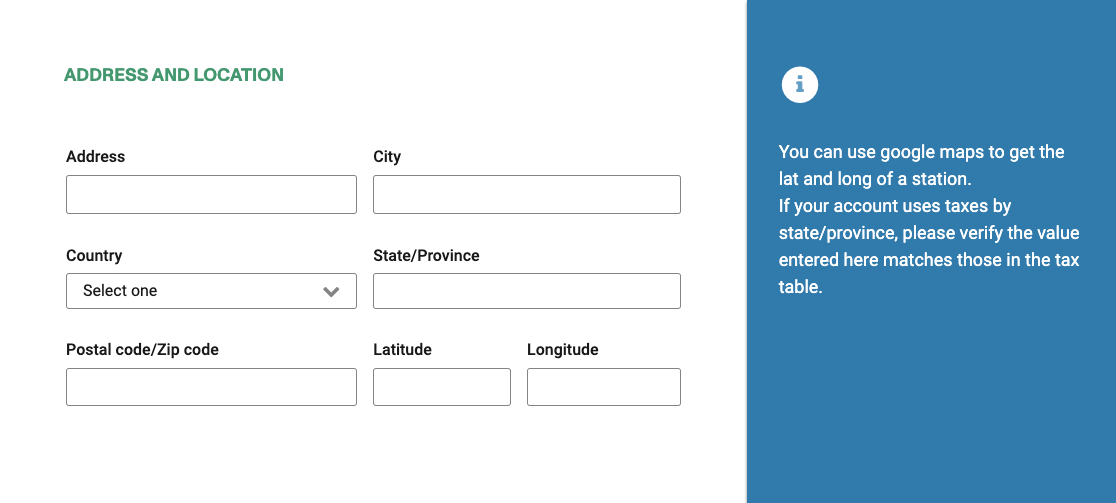
Address: Enter the stations address (optional)
State/Province: Enter the full name of the state or the province
If your account uses taxes by state/province, please verify the value entered here matches those in the tax table
The province entered here will be pulled from the taxes in cases where you apply taxes by province and changing a name here will affect the taxes as well. You will have to go back to the taxes page and fix the associated taxes.
Google maps: Go to google maps and select the exact point where the station is located, after that copy to URL of the webpage and paste it here. This will automatically update the latitude and longitude. This step is optional. (just use the URL from the browser's address bar, the short URL pulled from the "sharing" option might not work).
Postal Code: Enter the postal code. (required for parcel)
if you use this station in a parcel product, see below the parcel section, you will need to enter a valid postal code in this field.
Latitude: Enter the station's latitude to at least 4 decimal points. (optional)
Longitude: Enter the station's longitude to at least 4 decimal points. (optional)
Latitude and longitude are mandatory for GPS station auto select in drivers app and for OTA integration (such as Busbud marketplace). You can use google maps to get the latitude and longitude of a station.
If your account uses taxes by state/province, please verify the value entered here matches those in the tax table.
Zone: Enter any free text name, number, or identified to group stations by zone. This value can be used in the journey pricing schema.
Timezone: Using the drop down menu, select the appropriate timezone in which the station is found. by default, a newly created station will inherit the timezone of the main account.
If you have stations in different timezones, you can adjust the timezone for that particular station so it accurately reflects the local time in that station.
Airport
If your station is an airport, check the box to further configure it.
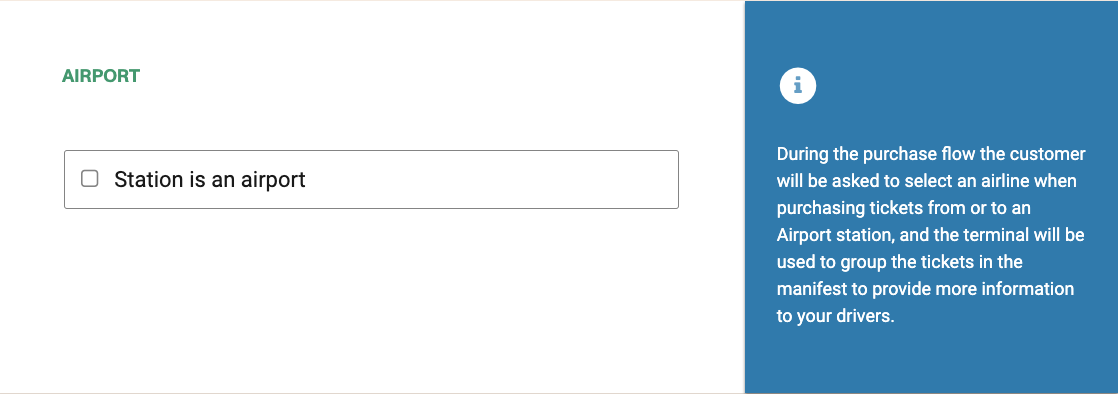
Once checked it will allow you to add Terminals and Airlines.
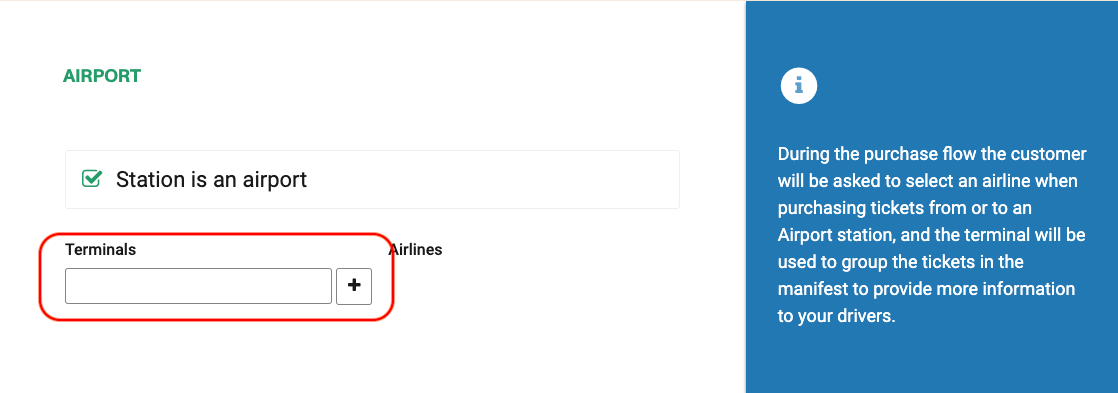
You will need to assign at least one airline per terminal.
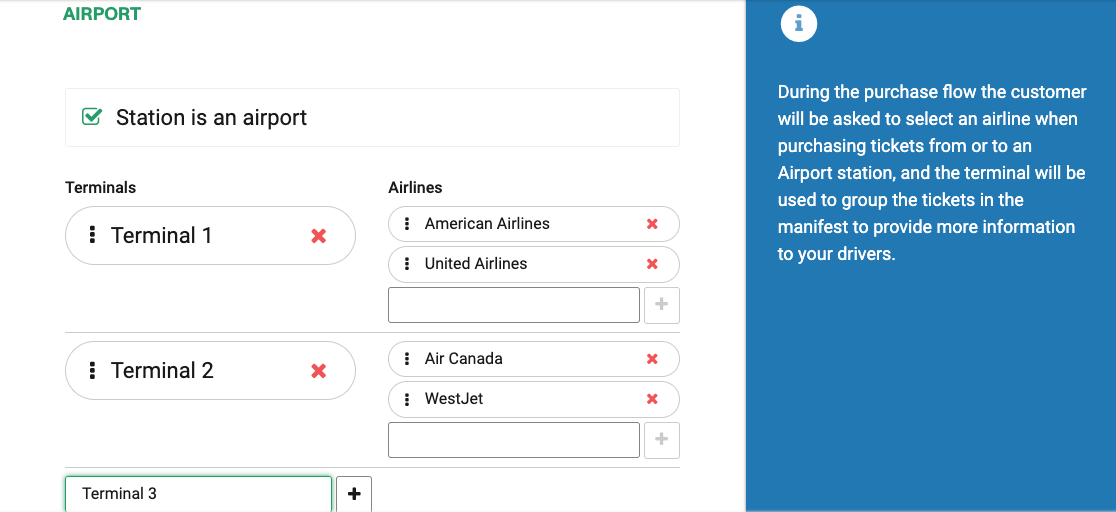
- You can delete terminals and airlines by clicking in the red X and add new ones again in case they change at some point.
During the purchase flow the customer will be asked to select an airline when purchasing tickets from or to an Airport station, and the terminal will be used to group the tickets in the manifest to provide more information to your drivers.
Terminal and airline information will be added to the manifest and also is available in the tickets report.
Alternative station names
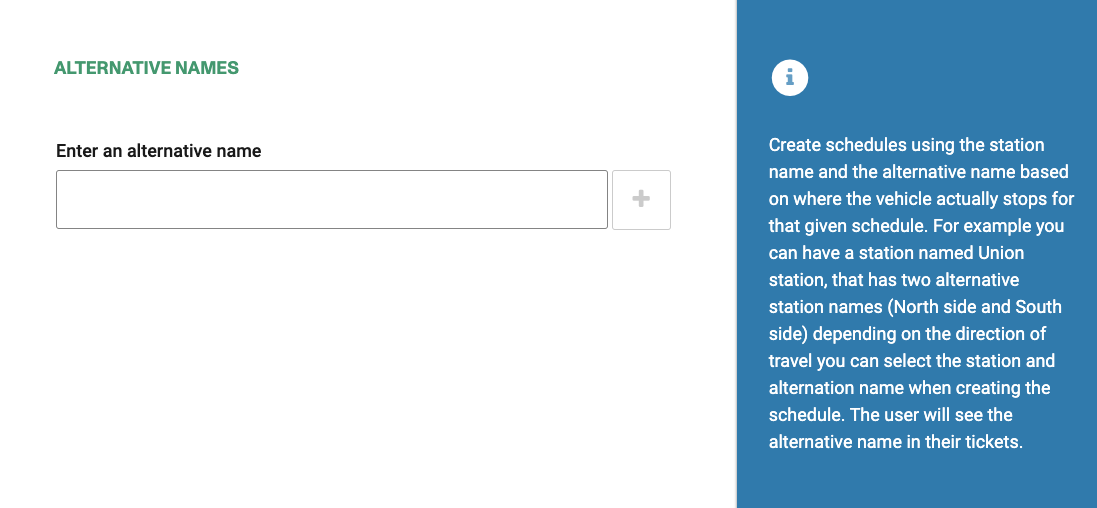
Have you ever experienced a situation where the real name of a station was known as one thing, but locally, it was actually known with a different name? How about a situation where the bus stop was on different sides of the street depending of the flow of traffic?
Ex: You may have an station named New York City so users can search by that name, but the vehicle will actually stop at a few different addresses based on the schedule, for example 200 W 72nd St and 100 W 52nd St
Betterez offers the ability to create Alternative station names as a solution.
In this case you will create an station with the name Manhattan and you will add two alternative names to the station: 200 W 72nd St and 100 W 52nd St. Always make sure to click on the PLUS sign to actually add them before continuing.
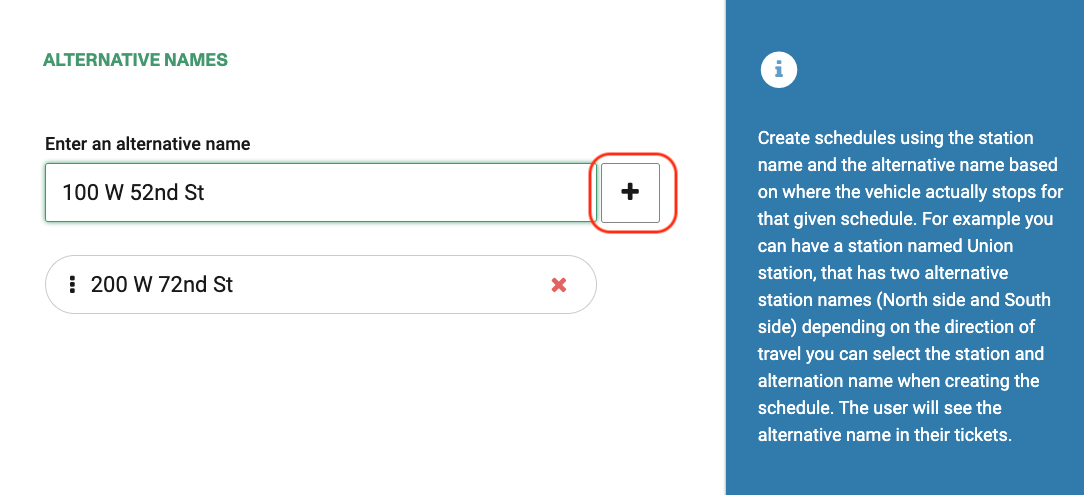
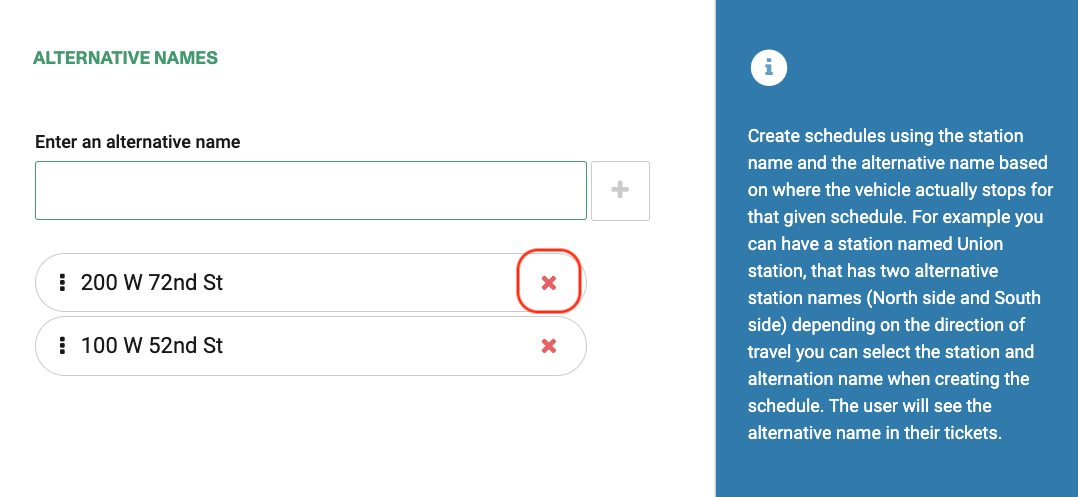
You can delete the altermative name clicking in the red X next to the name and just add a new one if that were to change.
Once the alternative names are added to an station you will create schedules using the Manhattan station but also indicating the alternative name based on where the vehicle actually stops for that given schedule.
When the user completes the purchase, the ticket will be printed with the alternative name, so the passenger knows where to get on or off the vehicle.
Check in
If the account has the check in preference enabled it will show this section that have two fields to fill:
Country custom: Indicates that this station is a international border/custom or not.
Border code: The border code that identifies this station in the check in reports, only enabled if country custom is selected.
Connections
If the account is configured for connections in Admin->Connections then all stations will be considered for connections. If you want a specific station to not be consider for connections just click the "Don't use for connections"
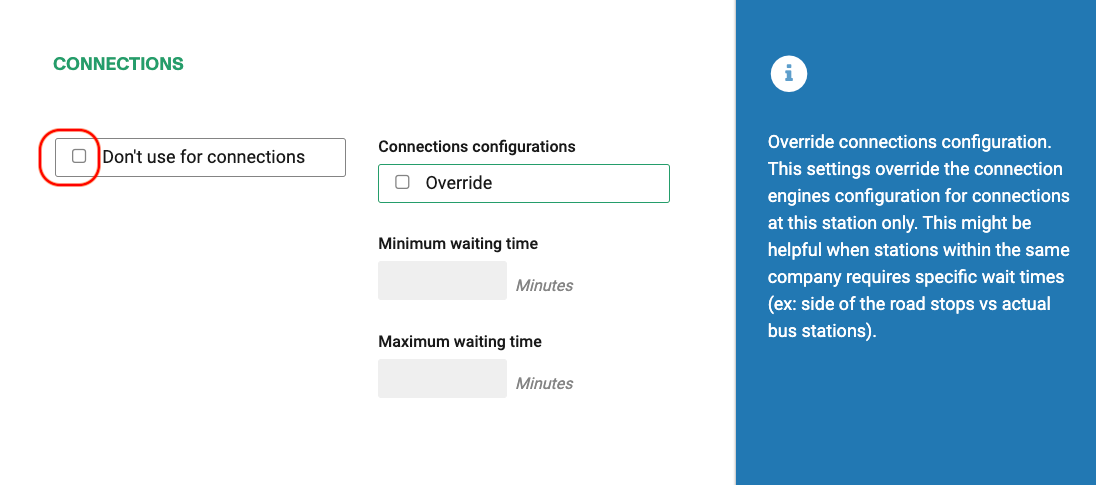
If the station will be used for connections but its configuration needs to be different from the one established in the connection settings of the account you can override the connection configuration.
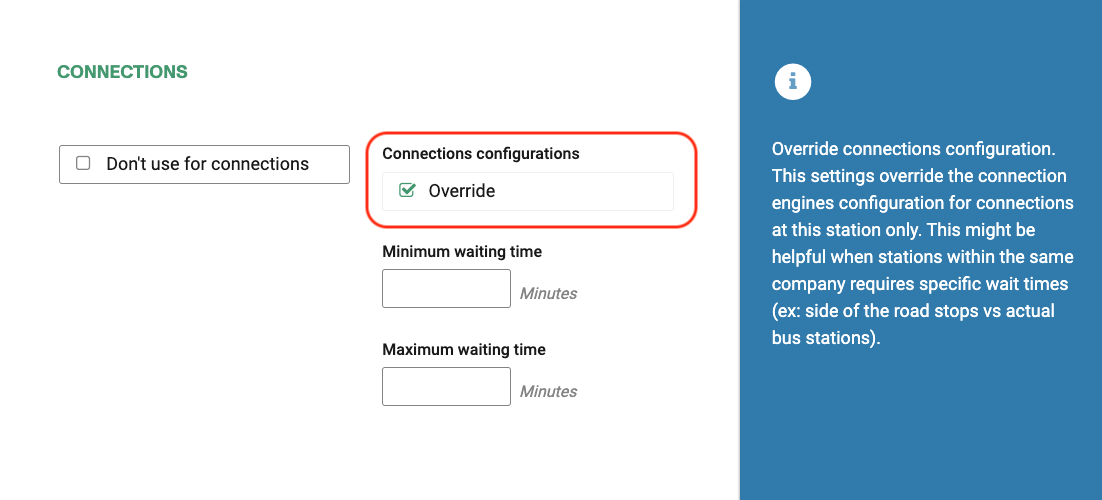
Station waiting times
This settings override the connection engines configuration for connections at this station only
This might be helpful when stations within the same company are too different from each other.
For example, if one has gates that are too far away and could take the passenger more time than usual to get there.
Override Connections configuration: Click this to enable this feature. If not selected, the system will use the default connection settings.
Minimum Waiting Time: select the minimum waiting time when connecting at this station in minutes.
Ex 10 minutes = any connecting trips that have less than 10 minutes waiting time between transfers will be filtered out. This only applies to this station.
Maximum Waiting Time: select the maximum waiting times when connecting at this station in minutes.
EX. 120 minutes, then any connecting trips that require the passenger to wait over 2h between transfers will not be shown in the search results.
Parcel Properties
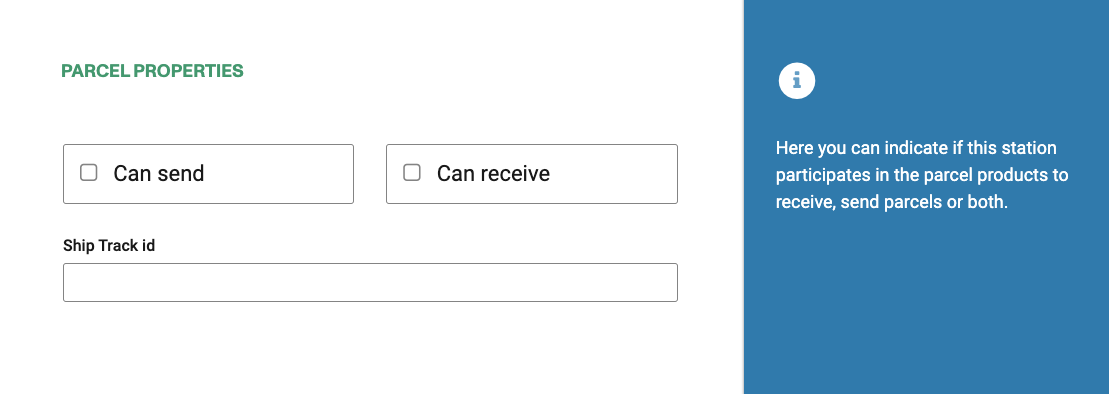
You will only see this section if you have parcel products in your account.
Here you can indicate if this station participate in the parcel product to receive, send parcels or both.
Can receive You can use this stations to send parcel to it.
Can send You can use this stations to send parcel from it.
Ship Track id This needs to be the exact ID this station has in the Ship track system.
Ship track id is case sensitive, make sure is EXACTLY the same, make sure you don't enter any extra spaces either.
Printed Ticket and email
In this field, you can put any details of the station that you would like to appear on the printed ticket.
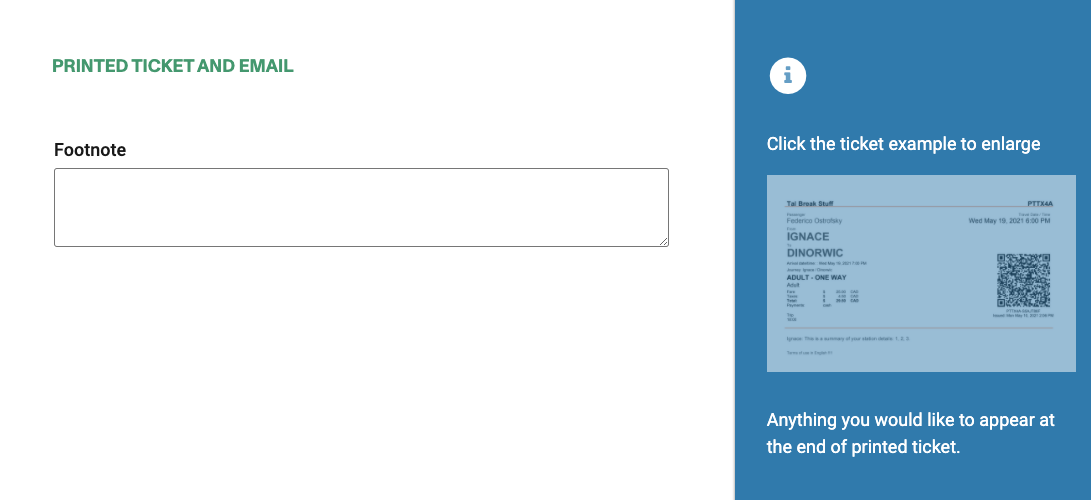
Sorting
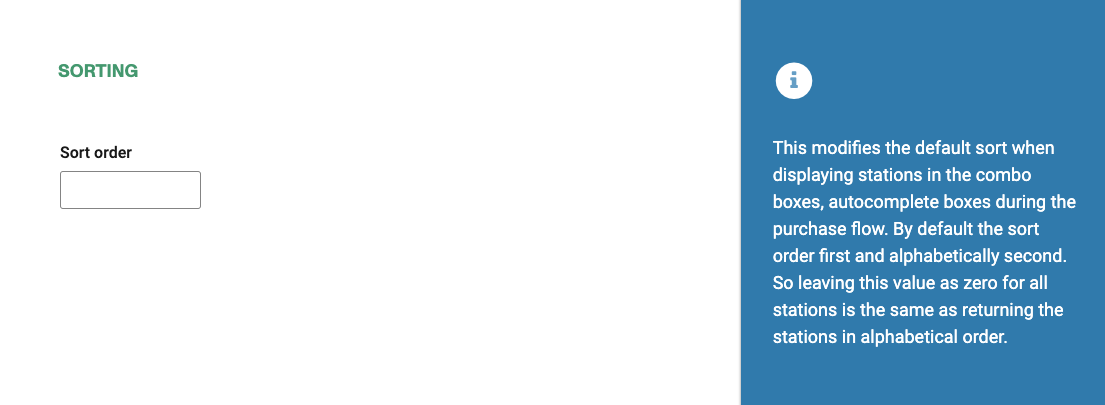
This modifies the default sort when displaying stations in the combo boxes, autocomplete boxes during the purchase flow. By default the sort order first and alphabetically second. So leaving this value as zero for all stations is the same as returning the stations in alphabetical order.
Station groups

There are two use cases for station groups:
- A group of stations where it may be possible for a passenger to onboard and scan or off-board at any of the stations that form part of the group.
- A station group can also be a filter that reduces the station list by allowing the passenger to select a head station, and them select one of a hand full of associated stations as the real origin, or destination for the trip.
For the first use case you need to check the Head station of a group of stations checkbox.
Also check the Print stations in group as boarding/unboarding stations in the PDF ticket.
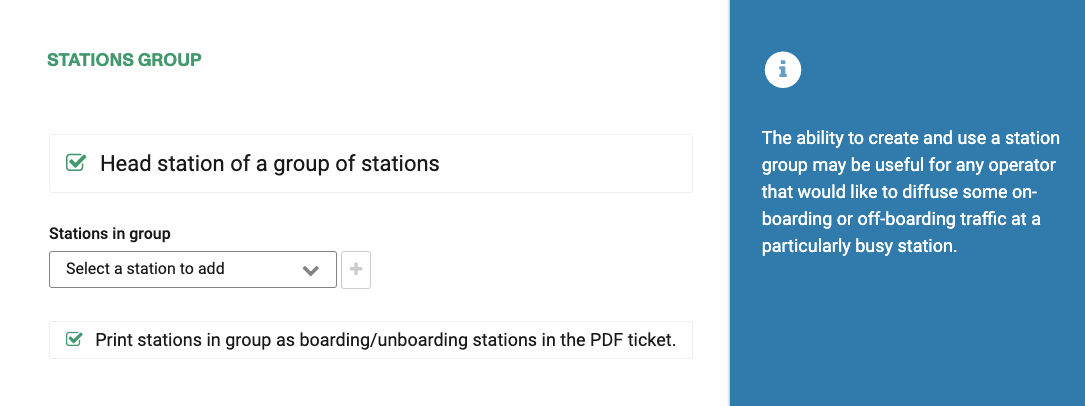
This option defines the ability to show on the ticket the station group name rather than the individual station.
Once Head station of a group of stations is checked, a field will appear where you can Add a station by typing the station name, selecting it from a dropdown menu and clicking the + button to add it.
You may add as many stations as you would like to include in the station group. Always remember to click in the plus sign to add the station before continuing.
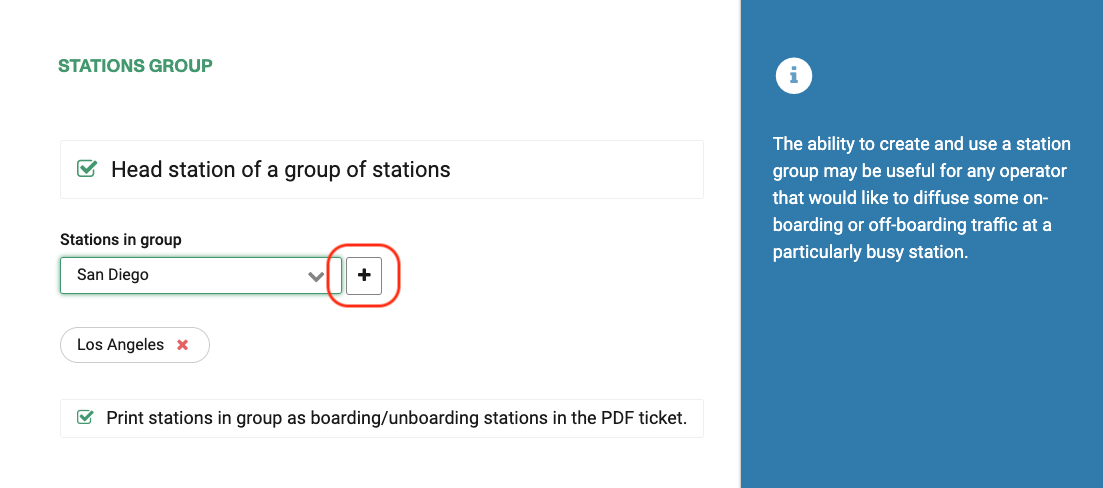
The station should already exists in order to appear in the drop down list.
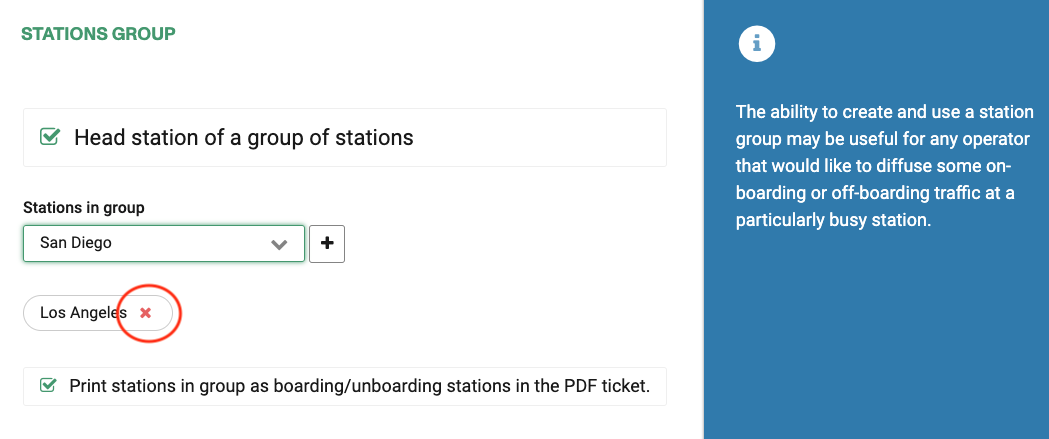
You can remove stations from the list by clicking in the red X.
When you create schedules we should add all the stations in the schedule, the order of the stations with respect to the station head will indicate if the user can get on or off the bus.
Stations that appear before a head station in the direction of travel can be used to get off the bus when travelling to the head stations. Stations that appear after a head station in the direction of travel can be used to get on the bus when travelling from the head stations.
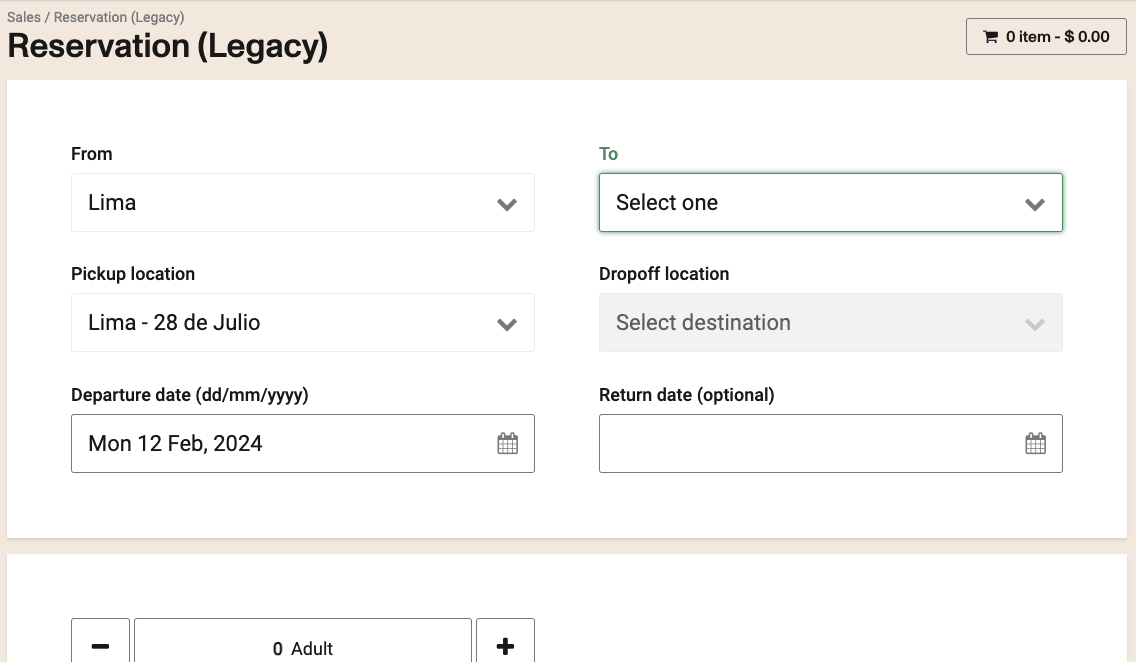
For the second use case, you should enable the Use station group to choose O & D setting in the product configuration
The sales flow will look like this, where you need to first select the parent station, then you can select the specific stop:
Series number
If you account uses sequences for passenger manifest, you can create an specific series number in the station. This series will be used when created a sequence for the station.

Station sequence numbers
You should create a series number first for the station. Once the series number is created, you can create one or more sequences numbers for the station. If you don't have any sequence number you will see a screen like shown below.
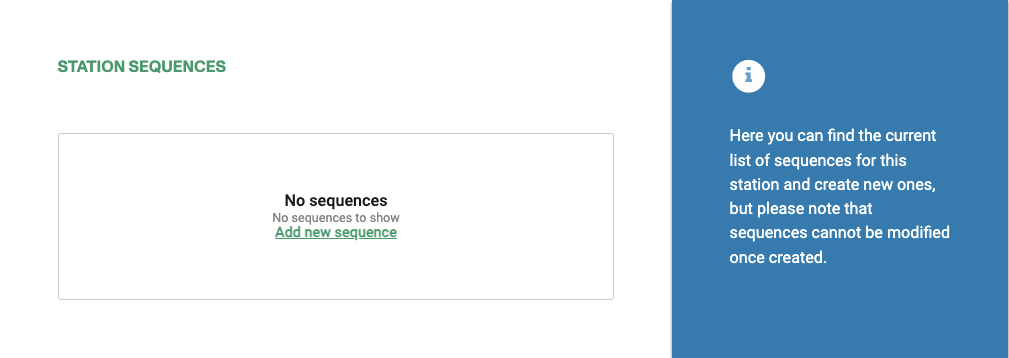
Click in the Add new sequence link to create a new sequence and you will be presented with the following screen.
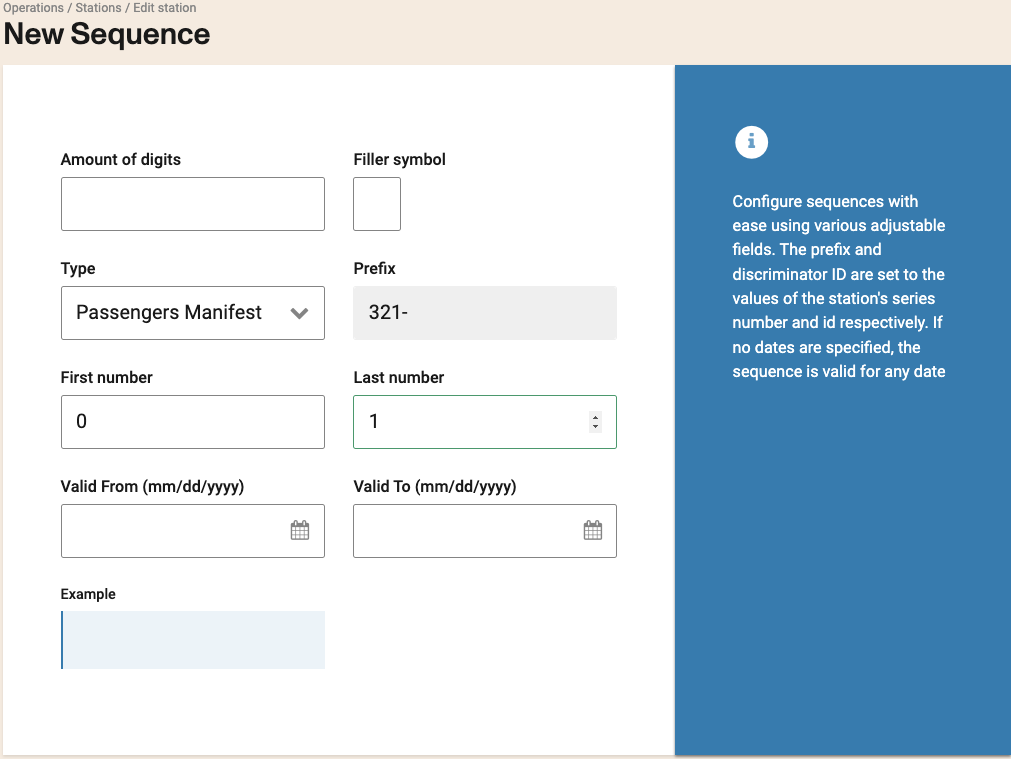
Once the sequence is created it will be shown in the previous screen as a list of one or more sequences.

Once the sequence is used on a manifest, you will see the current sequence number in the list.

You can't delete sequences since they should be unique and are used for control the creation of manifests. You can't create overlapping sequences.
External ID
Free form input text tolink this station to a external service. Can be used for external integrations.

Financial information
You can add to station a cost center and associate the station with an operating company. This information will be copied into the shift created in that station and linked to all items sold in that station with an open shift.

Location Purchase Limits
Limit per transaction: You can define a purchase limit for shifts opened at this station.
Custom fields
If your account has custom fields defined for the Stations model (Admin > Sales Flow > Custom Fields, with model "Stations"), a Custom fields section appears when creating or editing a station.
- Behaviour: Only custom field definitions that are enabled and associated with model "Stations" are shown. Each field displays its configured label and type (text, checkbox, or list). Required custom fields must be filled before saving; the form validates them and scrolls to the section if validation fails.
- Values: Text fields store the entered string. List fields store the selected option value. Checkbox fields store
"on"when checked and are empty when unchecked. Values are saved with the station and returned in the station API and in station webhooks. - Editing: When you open an existing station, saved custom field values are loaded. You can change them and save; the full custom field set is replaced with the values you submit.
Editing a station
You can modify all the properties of a station when editing.
If you edit an existing station's name, the change will flow through to all the Routes, Schedules, and Fares already set up. Editing a Station name will also reset the Filtered Trips. This means that all Filtered Trips will show up both in the Backoffice and Web Sales, which is why we recommend not changing a Station name after trips have been filtered out.
After creating stations click on the following link to continue with your mandatory operarions set up to set up your route.
Station Types: Terminals, Stops, and Sales Points
The Station Types module enhances visibility and management of all stations used in the commercial offer. It allows users to view, classify, and update different types of stations — including terminals, operational stops, and sales points — ensuring accurate and complete setup for route and offer creation.
New Functionality This enhancement introduces a comprehensive view of all existing stations and their associated details. The module:
- Displays all stations — including commercial, operational, and hybrid (commercial with operational features).
- Shows key data fields such as country, short code, station type.
To configure: Configuration and management of station types can be found under: Administration > Sales Inventory > Station Classes
After this configuration is done, you'll be able to add the station: Operations > Stations > Add new