Page summary
Creating Dynamic Forms
Creating a new Dynamic Forms
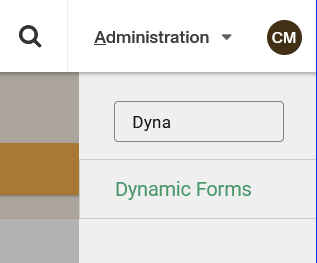
Navigate to the Administration > Dynamic Forms or search for Dyamic Form in the Administration menu.
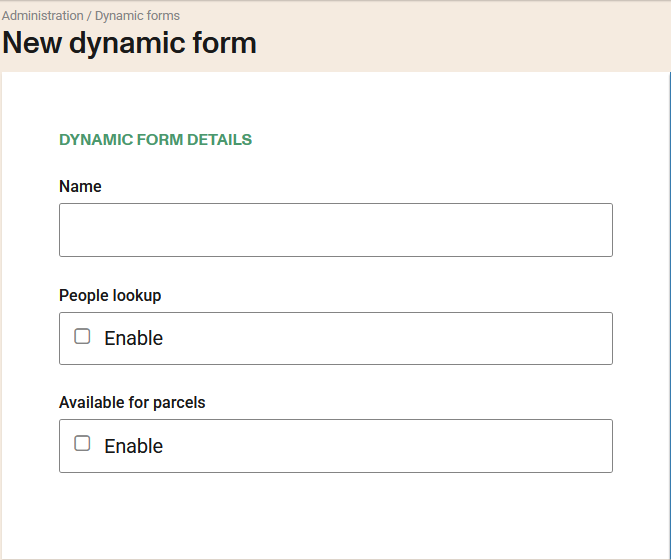
Select +Add New and input the required information: Dyamic Forms
Setup a custom form that can be used during the purchase checkout process. Optionally, you can enable the people lookup feature and enable this dynamic form for parcels.
The type field allows defining the context in which the form will be used, facilitating its use in different types of products or processes within the system.
Allowed values for the type field:
- Reservation: Use this value when the form is intended for reservation type products.
- Parcels: Select this value when the form is used for parcel type products.
- Checkin: Use this value when you want to apply the dynamic form within the Check-in Settings.
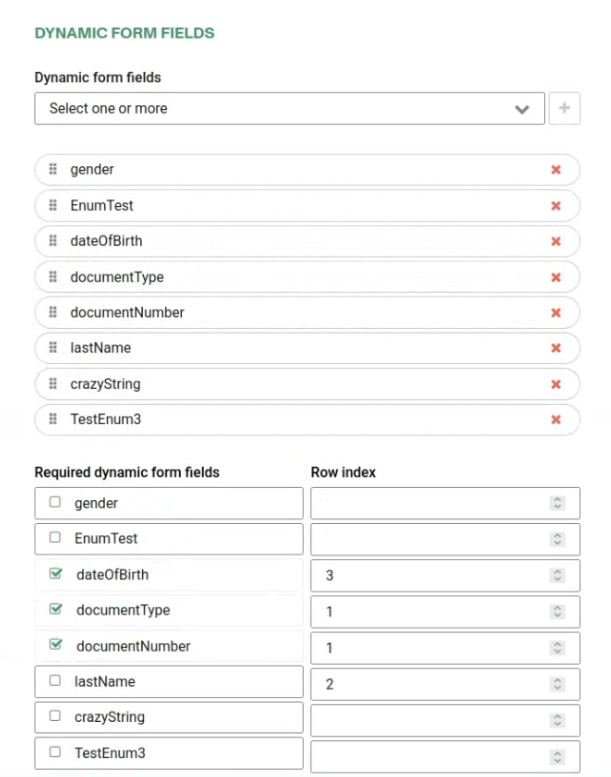
Select the dynamic fields you want to use in this form. The display order of the fields will be the same as the list. You can reorder them by dragging and dropping. You can also set which fields will be required.
Row index: You can group up to two fields per row using row index (not mandatory). Fields with a row index will be displayed before those without.
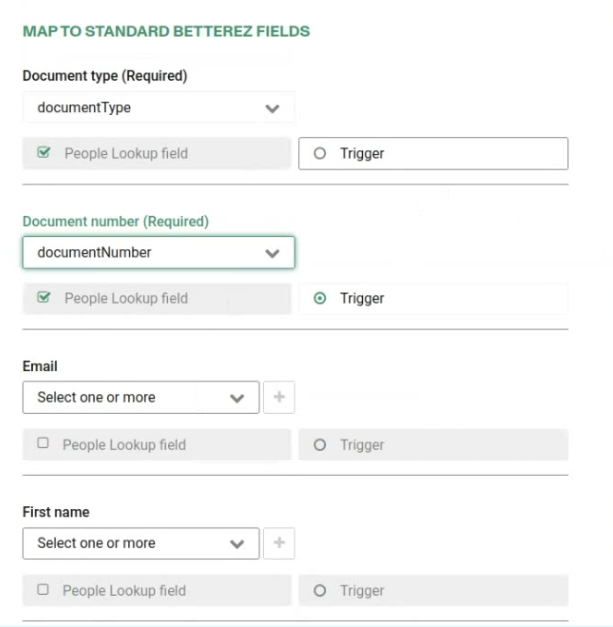
To establish a mapping between custom fields and at least one standard Betterez field, it is necessary to select one or more of the relevant custom fields.
To enable people lookup functionality in the purchase flow, it is necessary to select one or more fields that will be used on querying (by default query is done by document type and document number). Additionally, it is required to specify a trigger that will activate the people lookup feature.
Click Save to save your changes.
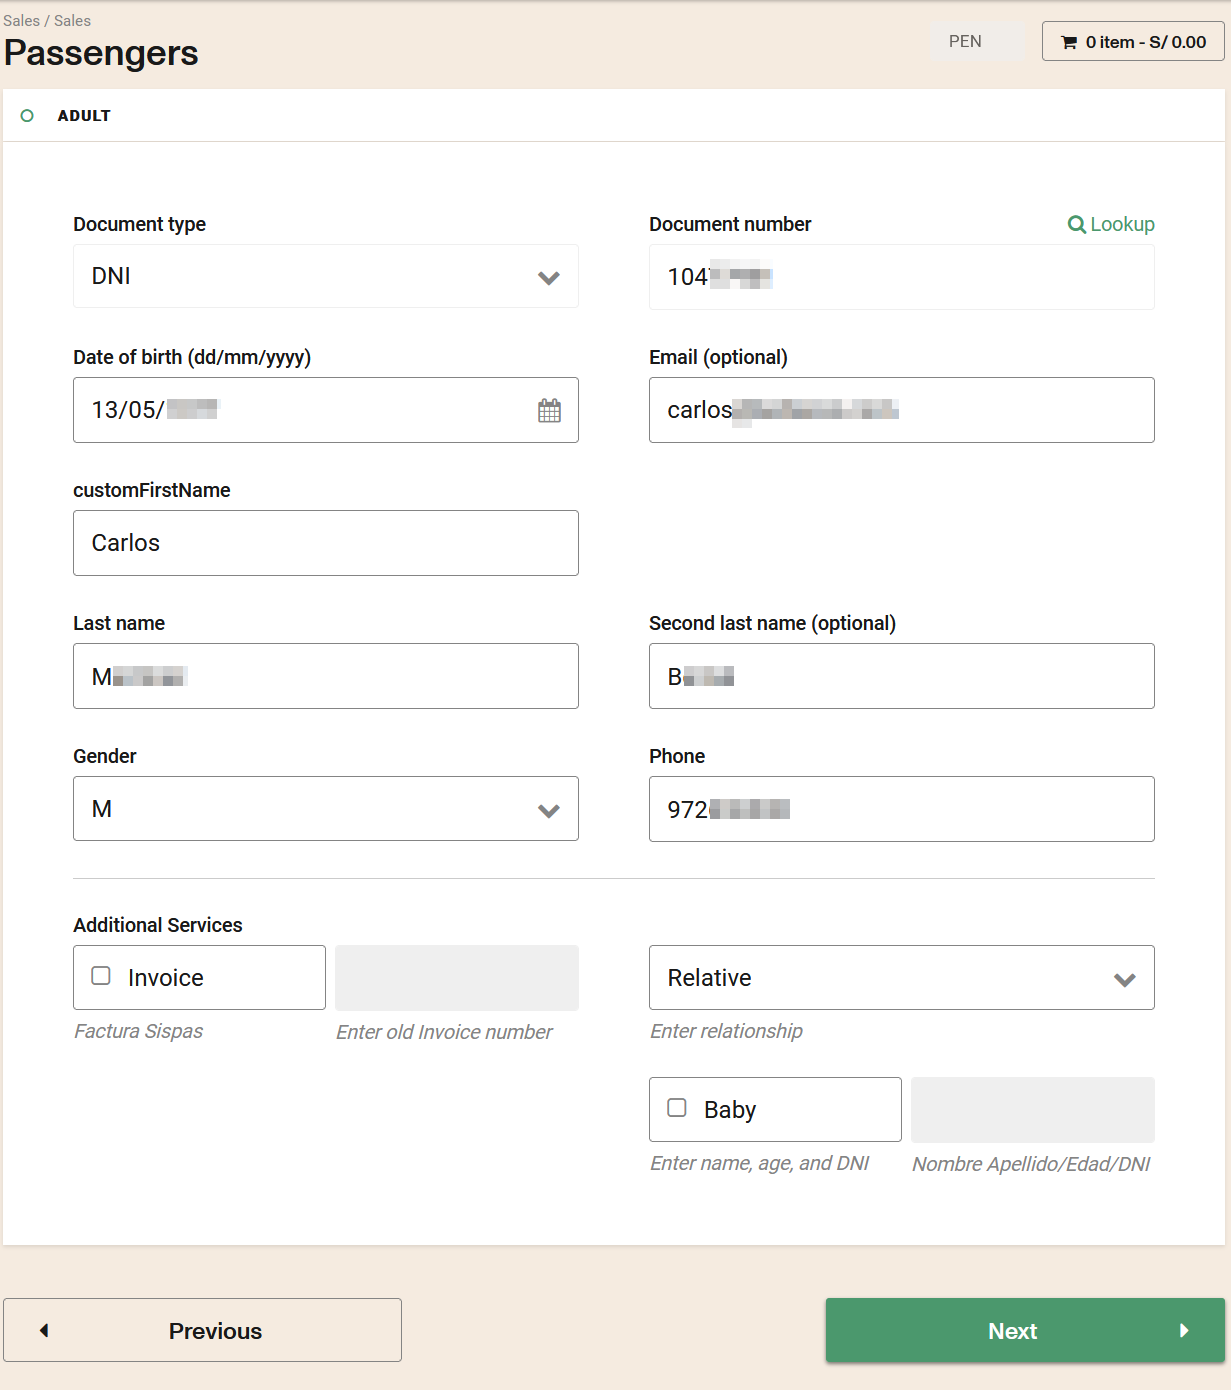
You can check in the sales flow how the fields you have created are displayed.
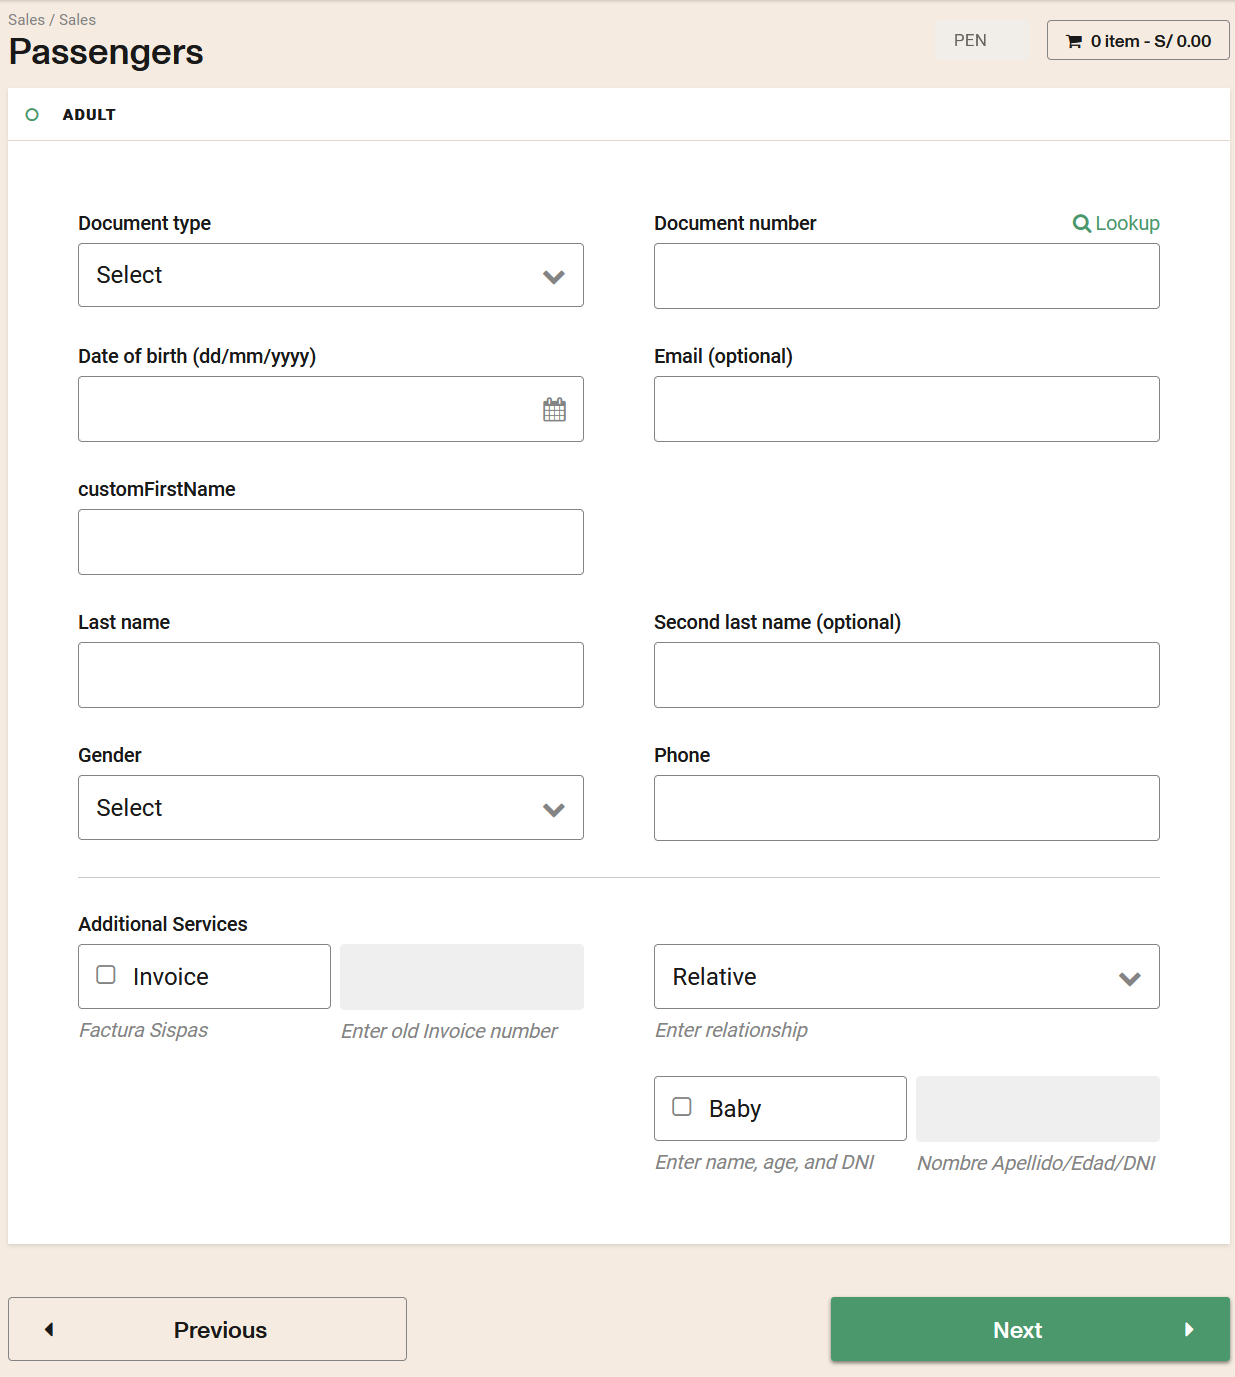
You can search according to the selected field, then enter the value to query and click on the Lookup link.
Editing a Dynamic Forms
To edit a Dynamic Forms you can click the name of the Dynamic Forms in the Dynamic Forms list.

This will open the details screen. It's the same screen as to create a new Dynamic Forms but the fields will be completed with the information associated to the Dynamic Forms that you are editing.

Once you complete the changes make sure to SAVE.
Remove a Dynamic Forms
To remove a Dynamic Forms you can click on the "X" to delete it.

Considerations
- Dynamic forms are only available in Backoffice and through APIs. (not available in vanilla websales)
- The information from Dynamic forms can be printed in tickets or receipts by programming the printing templates accordingly.
- The database for dynamic forms is handled internally, so it is accesible only via APIs.
- To use the Dynamics Forms created, it must be subsequently assigned to the desired Product Line.