Page summary
Exporting data
Manual Export
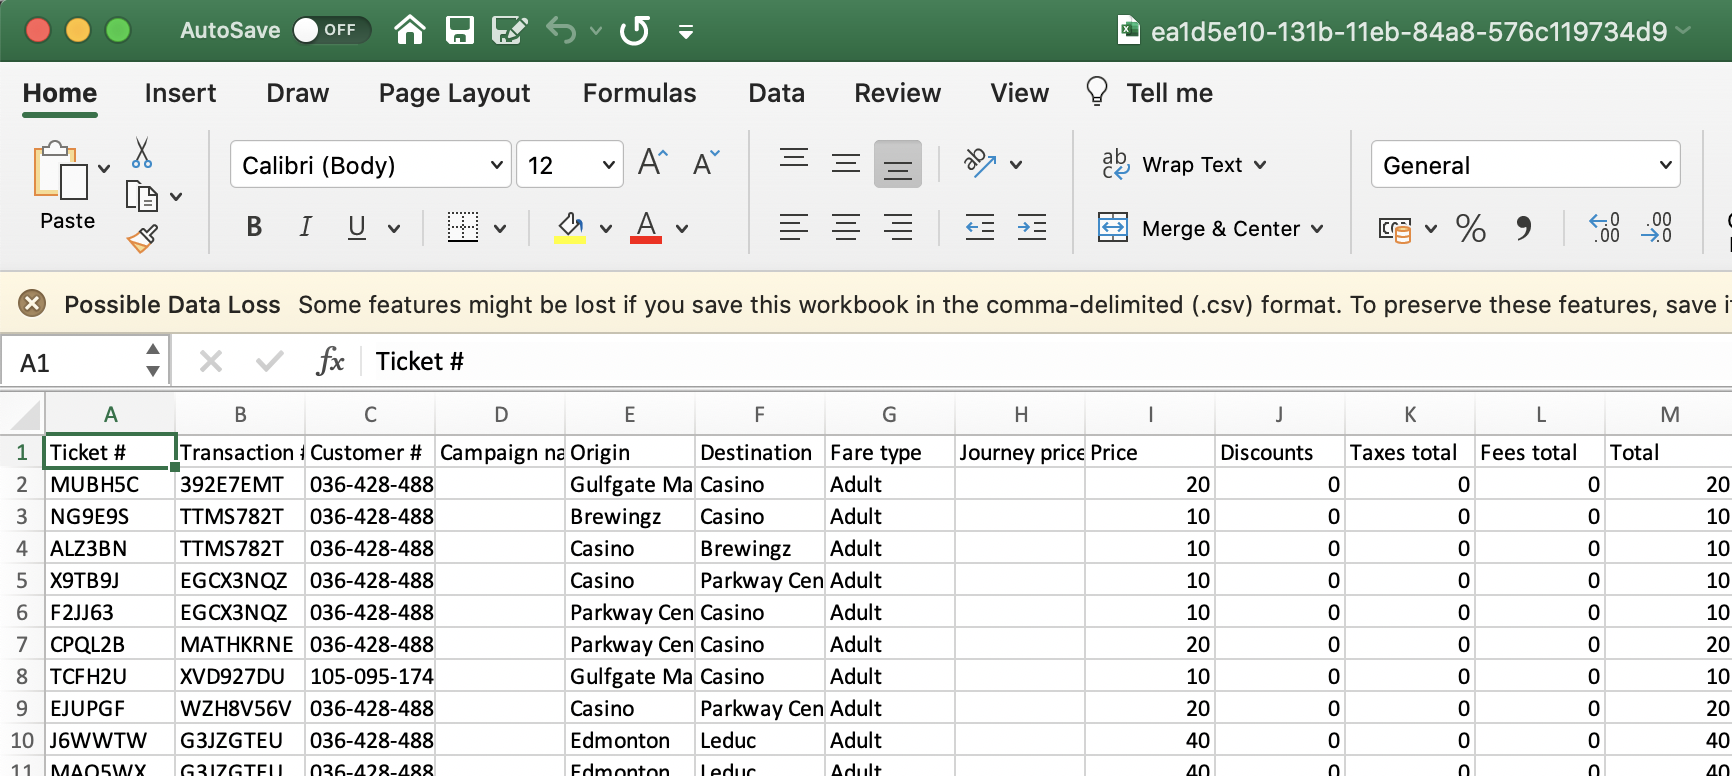
Most reports are available for export as a .csv file (which can be opened in Excel).
Start by going to the report which has the data you'd like to download. There will be a Download button at the top of the grid.

Clicking on this button will give you the option of downloading All of the data in the report, or only the data shown on the Current Page.
If you choose to download the Current Page, your browser will download the .csv file immediately.
If you choose to download All of the records, the report will be processed in the background and will be emailed to you when it is ready. Depending on the size of the report, this may take some time (large reports may take 30 minutes or more). The report will be sent to the same email as your user in Betterez.
You can reduce the amount of time it takes to process large reports by splitting the reports into multiple smaller parts.
Filtering fields
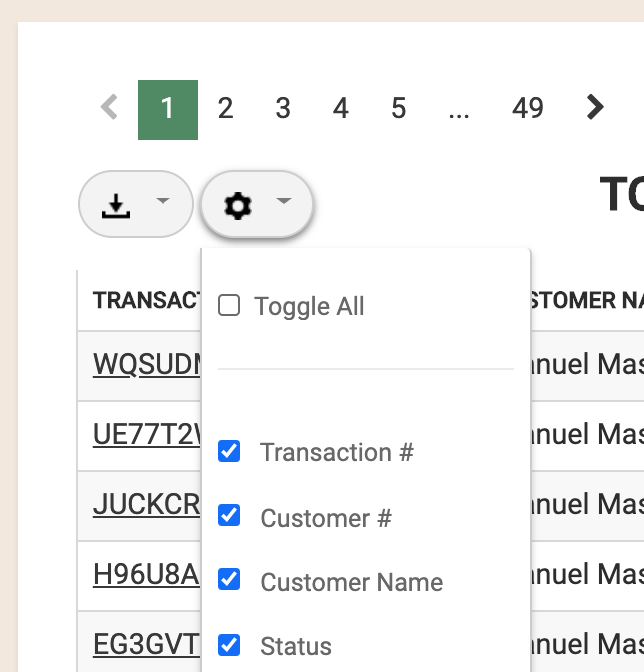
Before you download a report, please note the cog wheel icon (under the scrolling number bar), Click on it to toggle all or select required data elements i.e. Ticket #, Transaction ID, Product etc. You will now notice the report will change based on the selected data elements.
Downloading the data
Please make sure your role has /reports/exporter/grid enabled (all 4 permissions r/w/u/d)
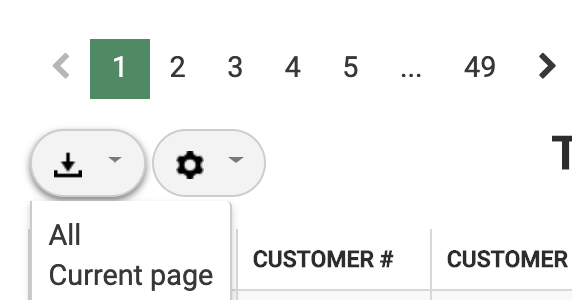
Notice the number bar – it shows the number of pages for the report.
Now you have 2 options to download the data, click on the download icon to select your preferred option.
Download each page.
Export the entire data.
Download each page: (screen 3) Click on “Current Page” to download only the selected page
Please see the file “Export (3).xls” on the bar below. Click on the file to open the file. By default the report is saved on your local drive under “download” folder.
(Please note, in the below screen shot there are 9 pages, and user has selected page 1 highlighted in Orange, you can click on any page to select required page.)
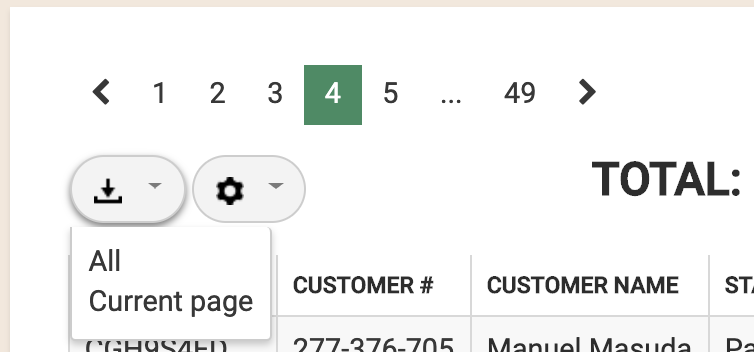
Export the entire report: (screen 4)
Click on “All” to download the entire report which gets email to the user.
Go to your registered email, click on the link to download the report.
By default the report is saved on your local drive under “download folder”.
Opening the file from the email
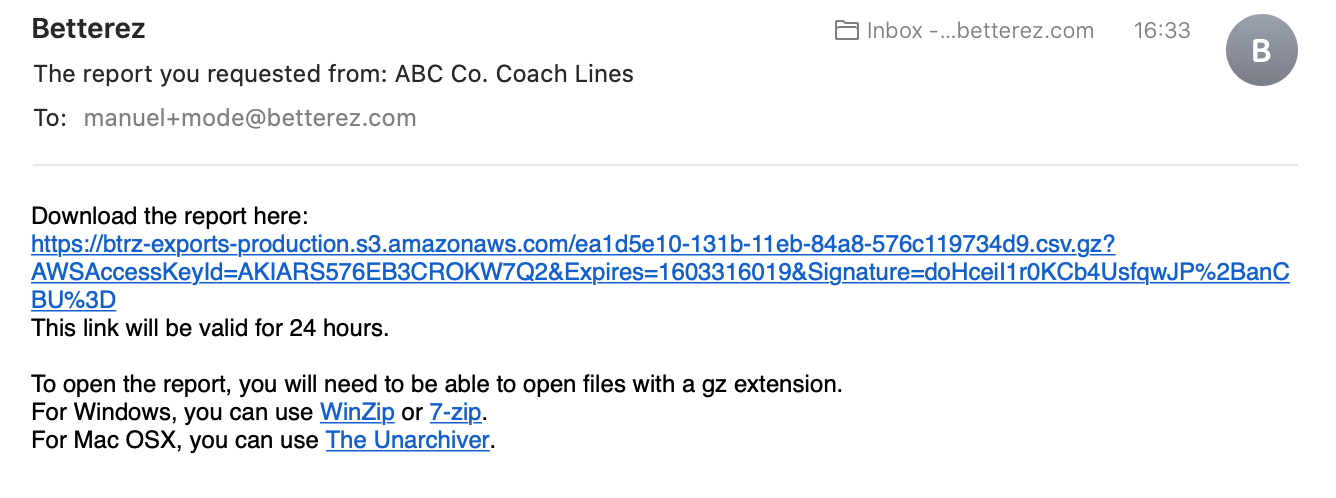
Clicking on the email link will download the report as a compressed .CSV file, click on the 7-Zip/WinRAR, Extract or double click the .CSV to open the file.
You can now review the entire data and save the file in the preferred location as excel file.
Scheduled Reports / Automatic Export
If there is a report which you periodically export from the system, you can also schedule it. Doing so will send this report to your email every certain time. You may choose which columns should be included, as well as the data period.
To schedule a report, click on the schedule button at the top of the grid, next to the download button.

You will go to the configuration screen, as shown below. The first step is to set up the basics:
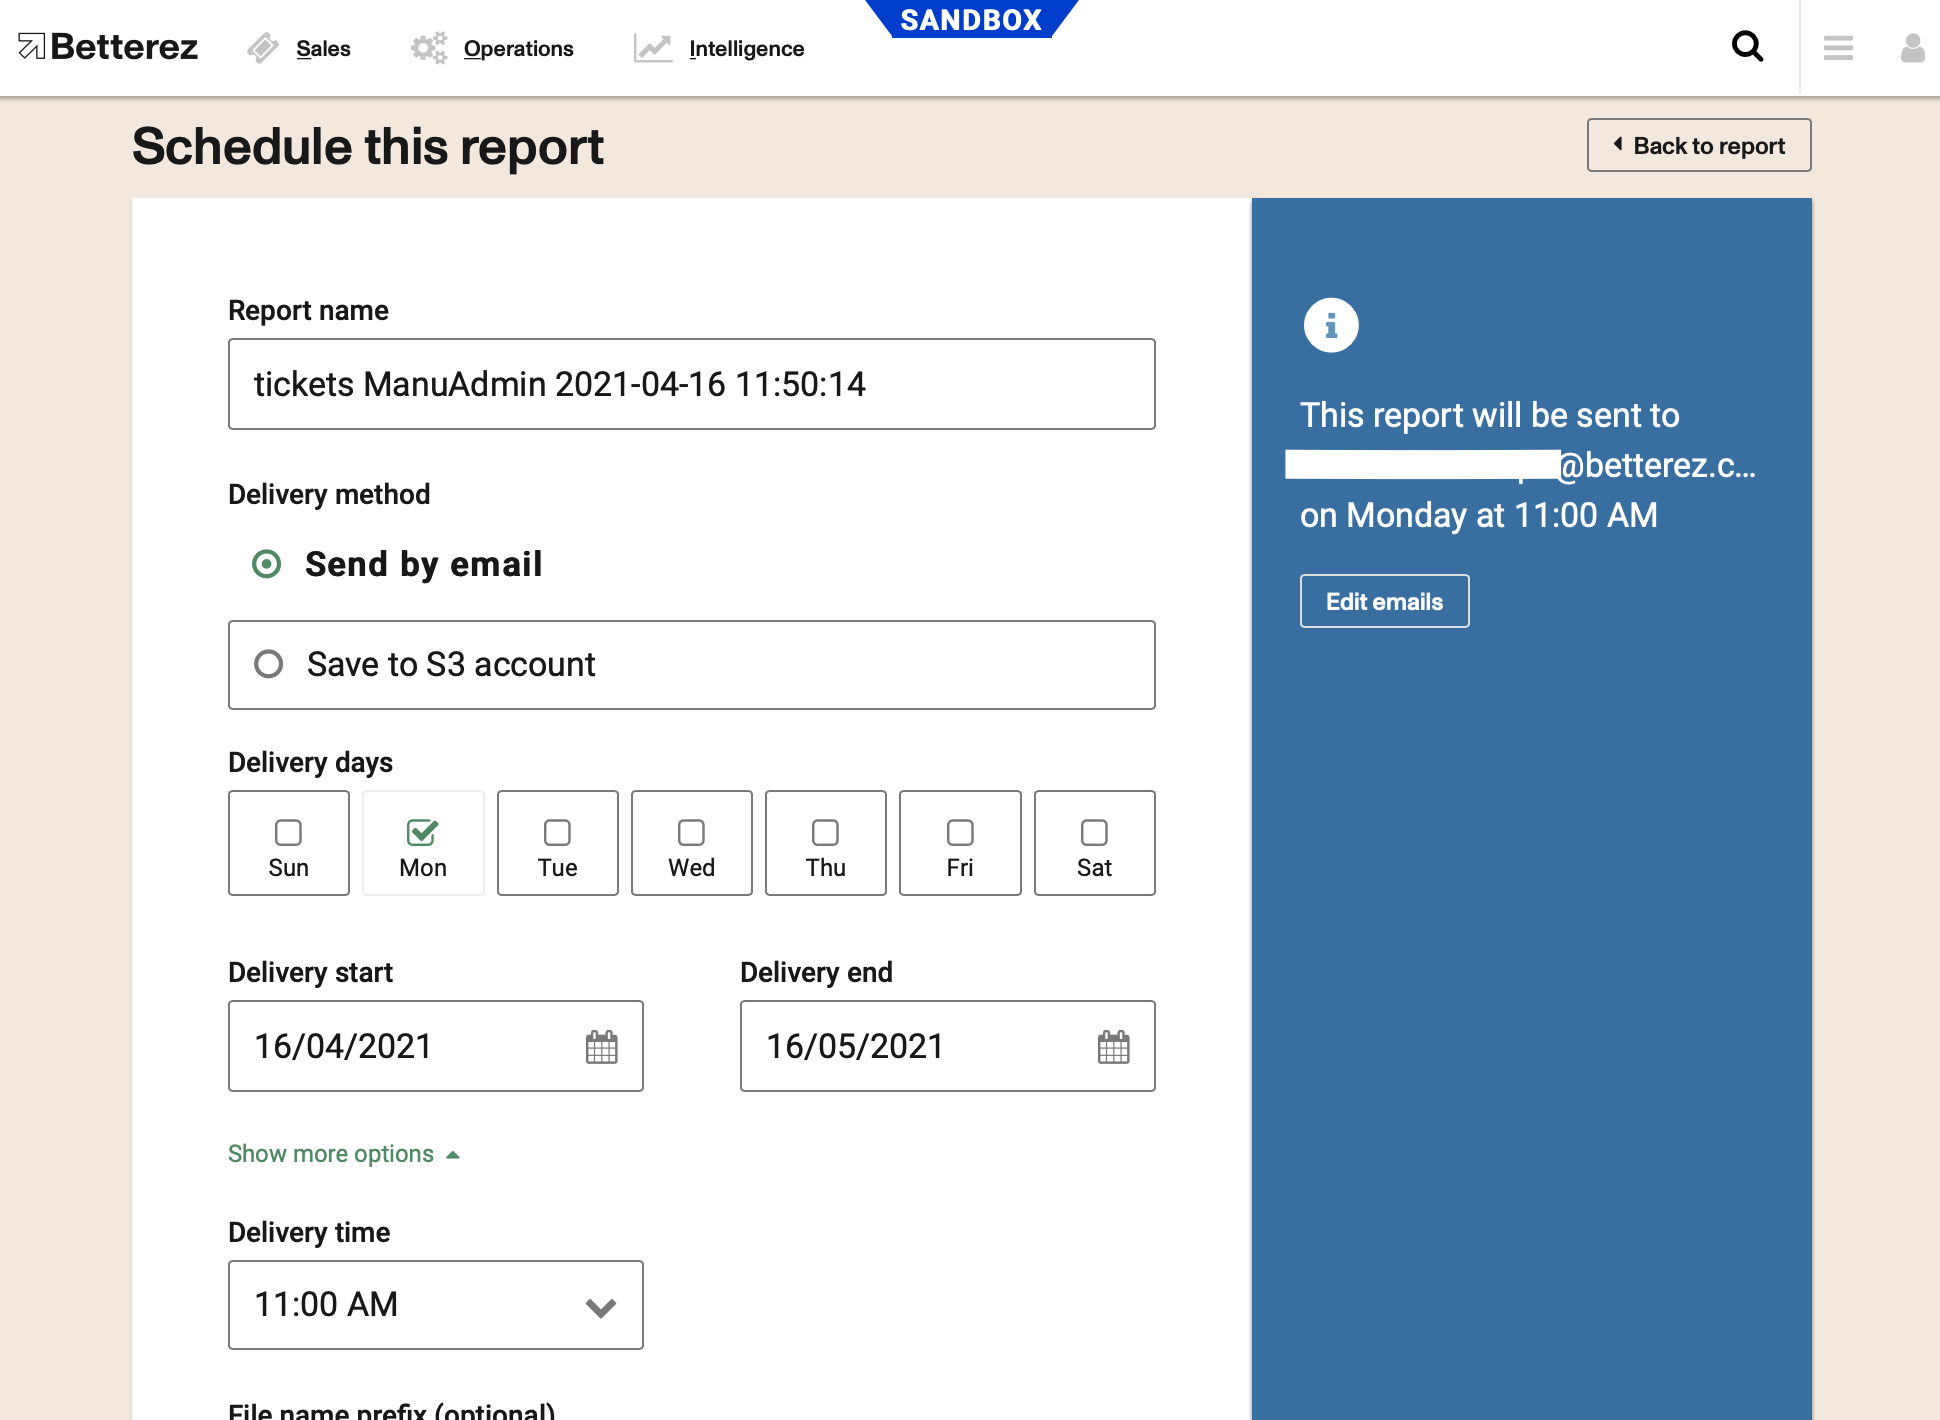
- Report name
- Delivery Method: either by email or S3 account
- Delivery days (DOW): check on the days of the week in which this report should be sent.
- Delivery Start and End: period of time while this report will be sent.
More Options
- Delivery time
- File name prefix: for the CSV file.
- Email Subject
- Email recipients
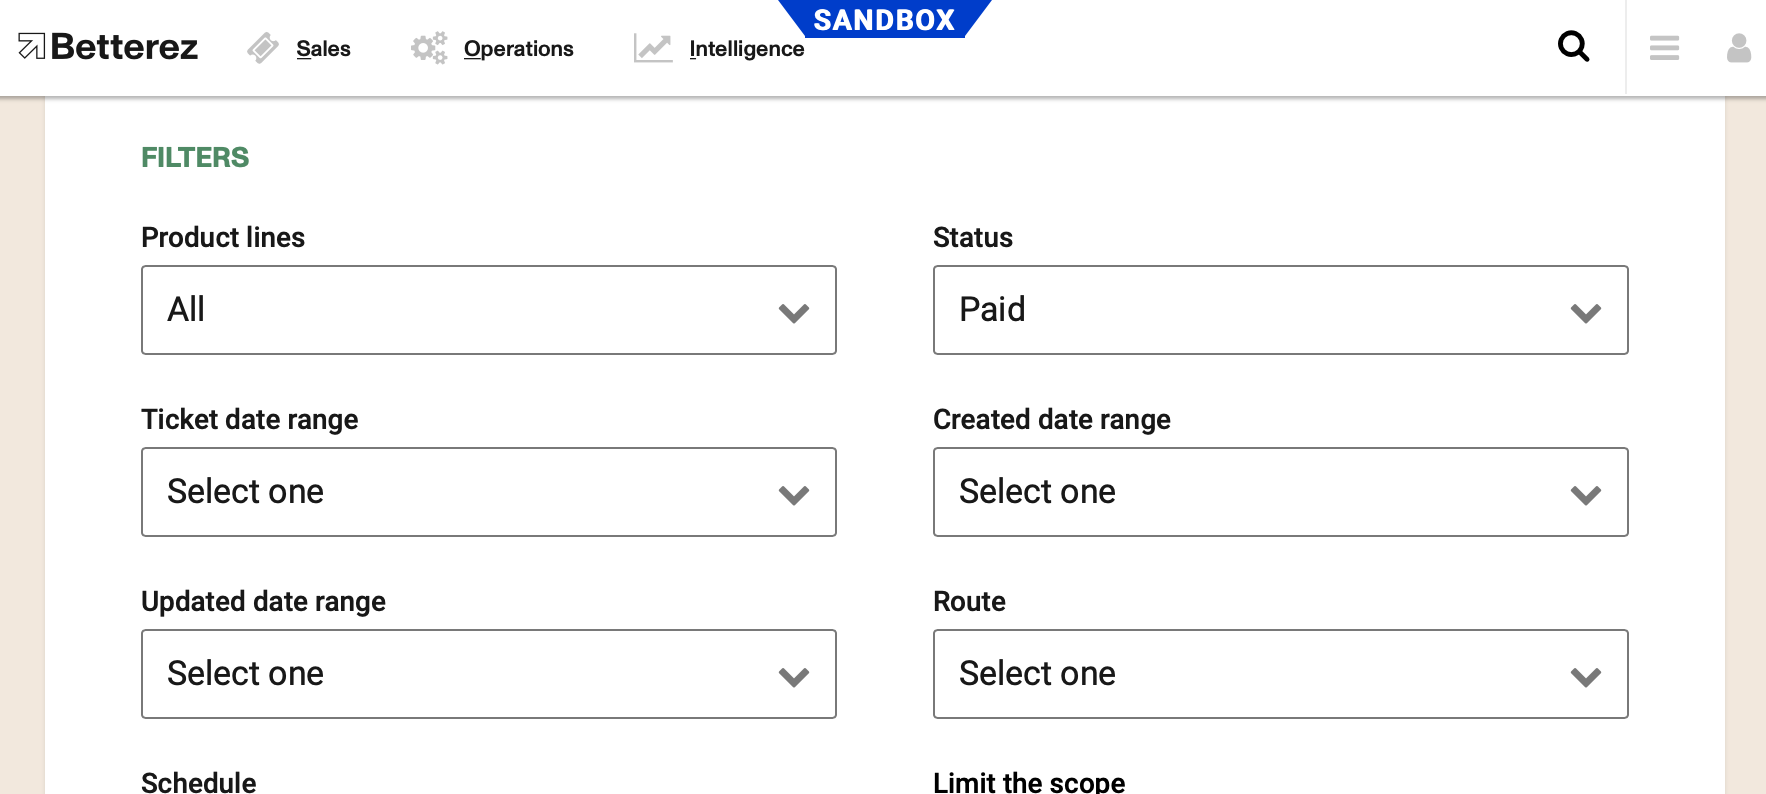
Filters
You can also add filters to this report in a similar way to the regular report screen:
Columns
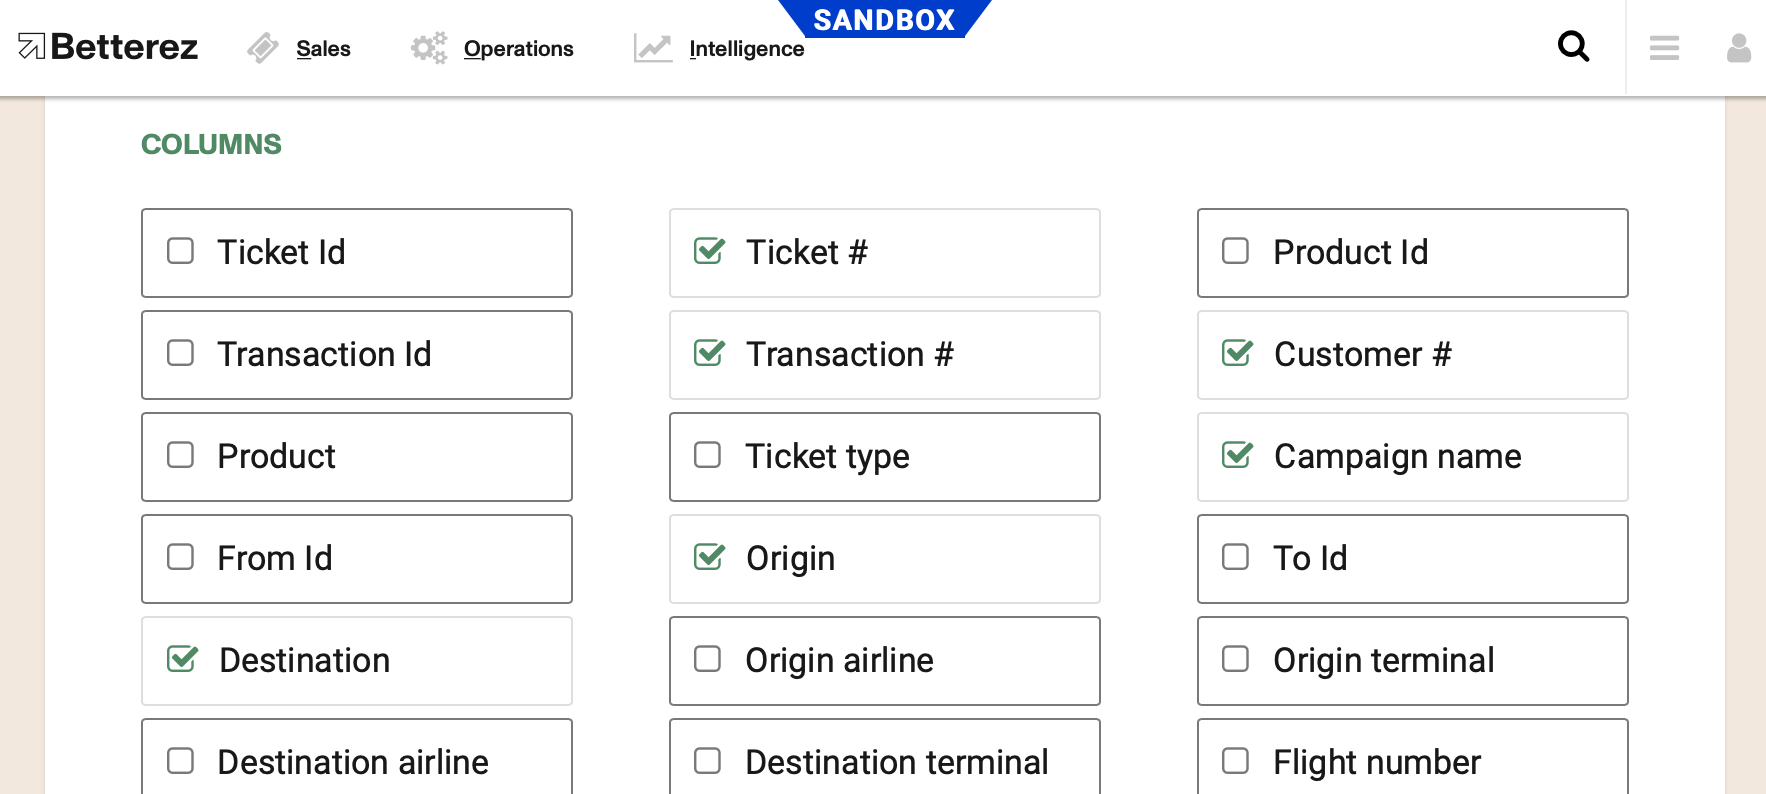
To define the desired columns in the report, you can check on each one and save them. This will only affect the current scheduled report you are configuring.
You need to go to Administration / Integrations / Custom reports to see all the custom reports created.
