Page summary
- Associate a payment terminal with a computer
- One Square terminal associated to multiple computers (NOT RECOMMENDED)
- One Cardpointe terminal associated to multiple computers (NOT RECOMMENDED)
- Associate a Cardpointe terminal to a computer.
- Remove the association
- Test if cardpointe terminal is connected
- Force and reset terminal
- Create a new Square terminal
- Connect to internet and basic setup
- Create a device code
- Connect to Betterez
- Deleting and Square payment terminal
- Creating a new Ingenico payment terminal
- Configuring your browser to allow ws connections over https
- Finding the IP on the Ingenico terminal
- Editing an Ingenico payment terminal
- Deleting an Ingenico payment terminal
- Creating a new MIT payment terminal
- Associate a MIT payment terminal
- Stripe Terminals - Create location (using Stripe Dashboard)
- Stripe Terminals - Create terminal device (using Stripe Dashboard)
- Stripe Terminals - Associate
- One Stripe terminal associated to multiple computers (NOT RECOMMENDED)
- Getnet terminals
- Getnet terminals - create new terminal
- Getnet terminals - associate
- One Getnet terminal associated to multiple computers (NOT RECOMMENDED)
Payment terminals
Physical terminals or credit card machines can be synced with your computer to process payments in Betterez. Please consider that the payment processor needs to be integrated into Betterez in order for this to work. If you're not sure if this integration is available, please contact support.
Terminals can only be configured in your main operator account. Network agencies can use terminals from the list you have created in the main operator account.
Associate a payment terminal with a computer
Navigate to admin>payment terminals.

You will see a list of payment terminals "providers".

If you click in one of the providers, Ingenico in this example, you will see a list of terminals configured for that provider

If there is a terminal already associated to your computer you will see a green associated tab on the row.
If you want to associated another terminal you can click the Associate button instead (It will show in the same place the associated label shows).
Once a terminal is associated to a machine you should see the Pinpad ip or the Square ID at the bottom of the profile menu.

One Square terminal associated to multiple computers (NOT RECOMMENDED)
You can have more than one computer associated to the same Terminal but this is NOT RECOMMENDED.
If you decide to do so, be aware that payment requests will be processed in the Square terminal as they are received. So two different computers may send the payment at the same time to the terminal and one payment will wait until the previous one is processed. Careful because the second payment will be in the screen as soon as the first one is processed, regardless if it's successful or not.
One Cardpointe terminal associated to multiple computers (NOT RECOMMENDED)
You can have more than one computer associated to the same Terminal but this is NOT RECOMMENDED.
If you decide to do so, be aware that payment requests will be processed in the Cardpointe terminal as they are received. So two different computers may send the payment at the same time to the terminal, the first payment will be processed, the second one will fail and you will have to wait until the terminal is free to use.
Associate a Cardpointe terminal to a computer.
Turn on your Cardpointe terminal and make sure the terminal shows as BOLTED.

- If the terminal show UNBOLTED make sure the termninal is connecting to the internet, check details on Cardpointe documentation or contact your Cardpointe representative.

The list will display all the terminals associated to the main merchantId and secundary merchantId's associted to the Cardpointe terminal payment method.

Clicking the Associate button will associate the terminal to the computer and the button will change to a green label as below.

Once associated, refresh the page and go to the Profile menu item, you should see the terminal Id and MID at the bottom of the navigation tap.

Remove the association
Click on the "RED" cross on an associated terminal and it will remove the association.

Test if cardpointe terminal is connected
You can click the Ping button to validate if the terminal is connected to the internet and can be accessed by the cardpointe API.
If it works you will see ping succesful message.

If it fails you will see a "No connected" message.

Force and reset terminal
In some cases a terminal may be unresponsive or remain connected to a machine that is out of service. This will mean that you will not be able to process payments.
You can click the Reset button to force the terminal to disconnect from the API and be available.
If it works you will see a succesful message.

If it fails you will see a "No connected" message.

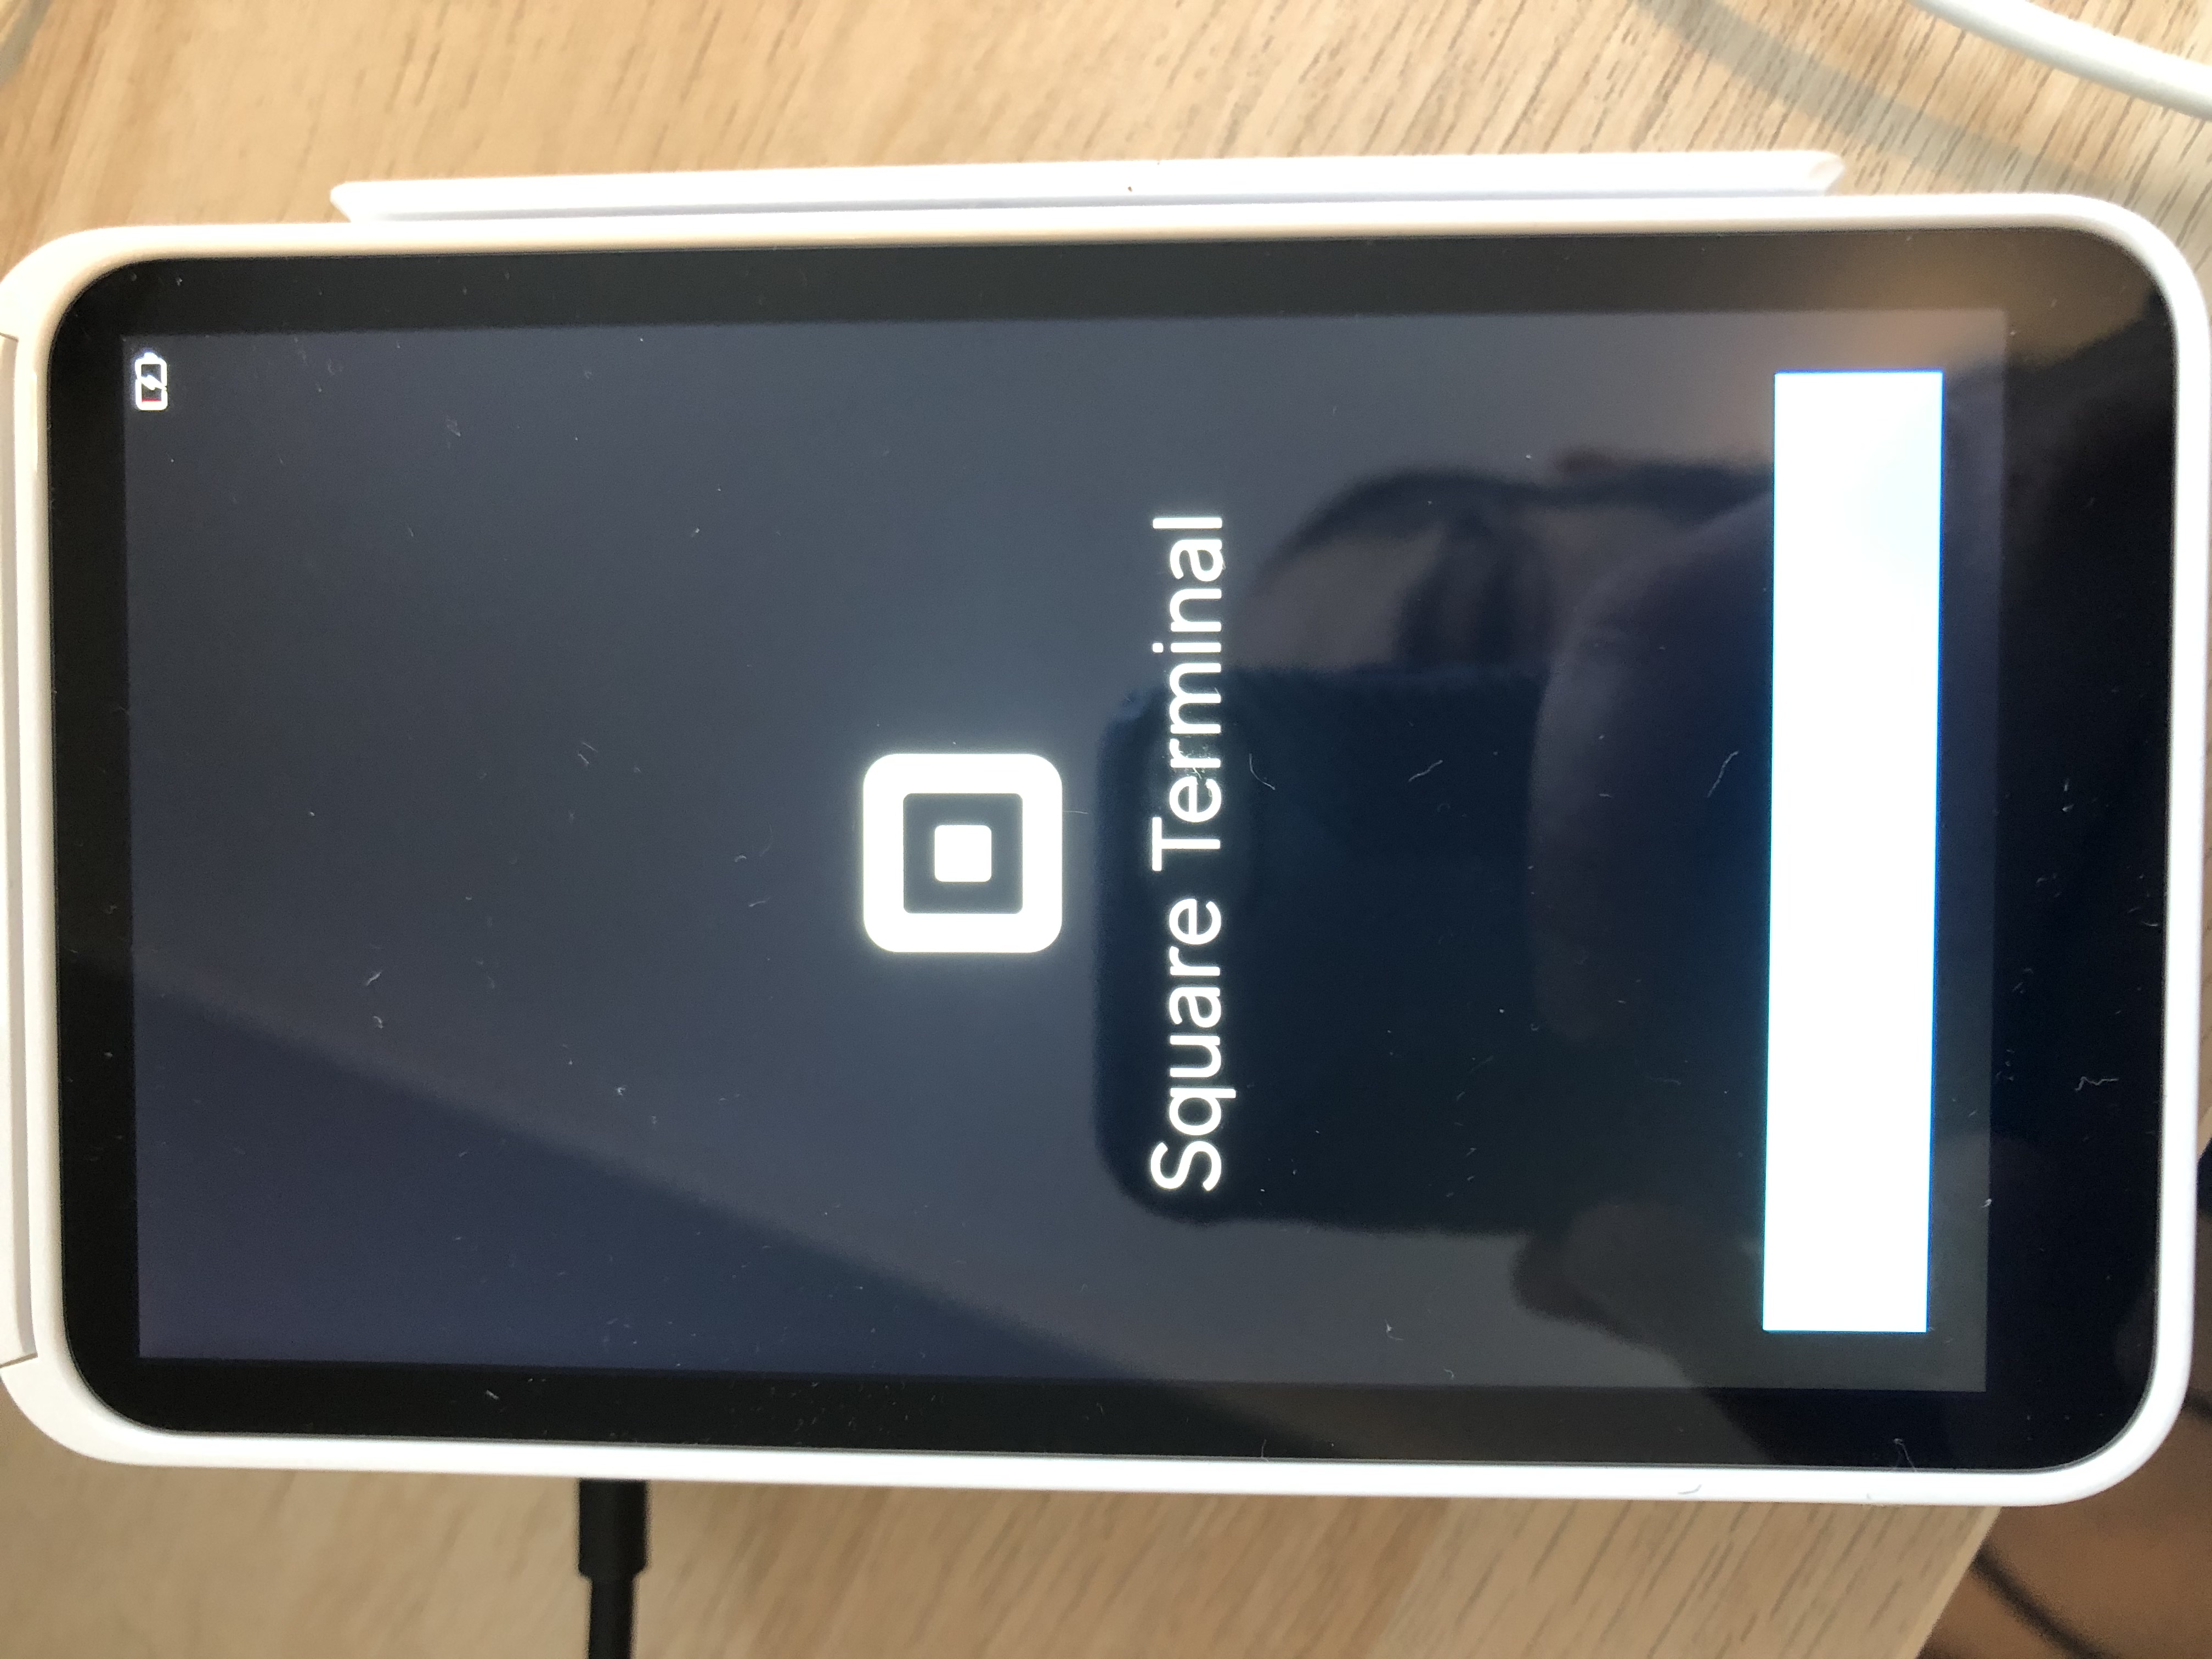
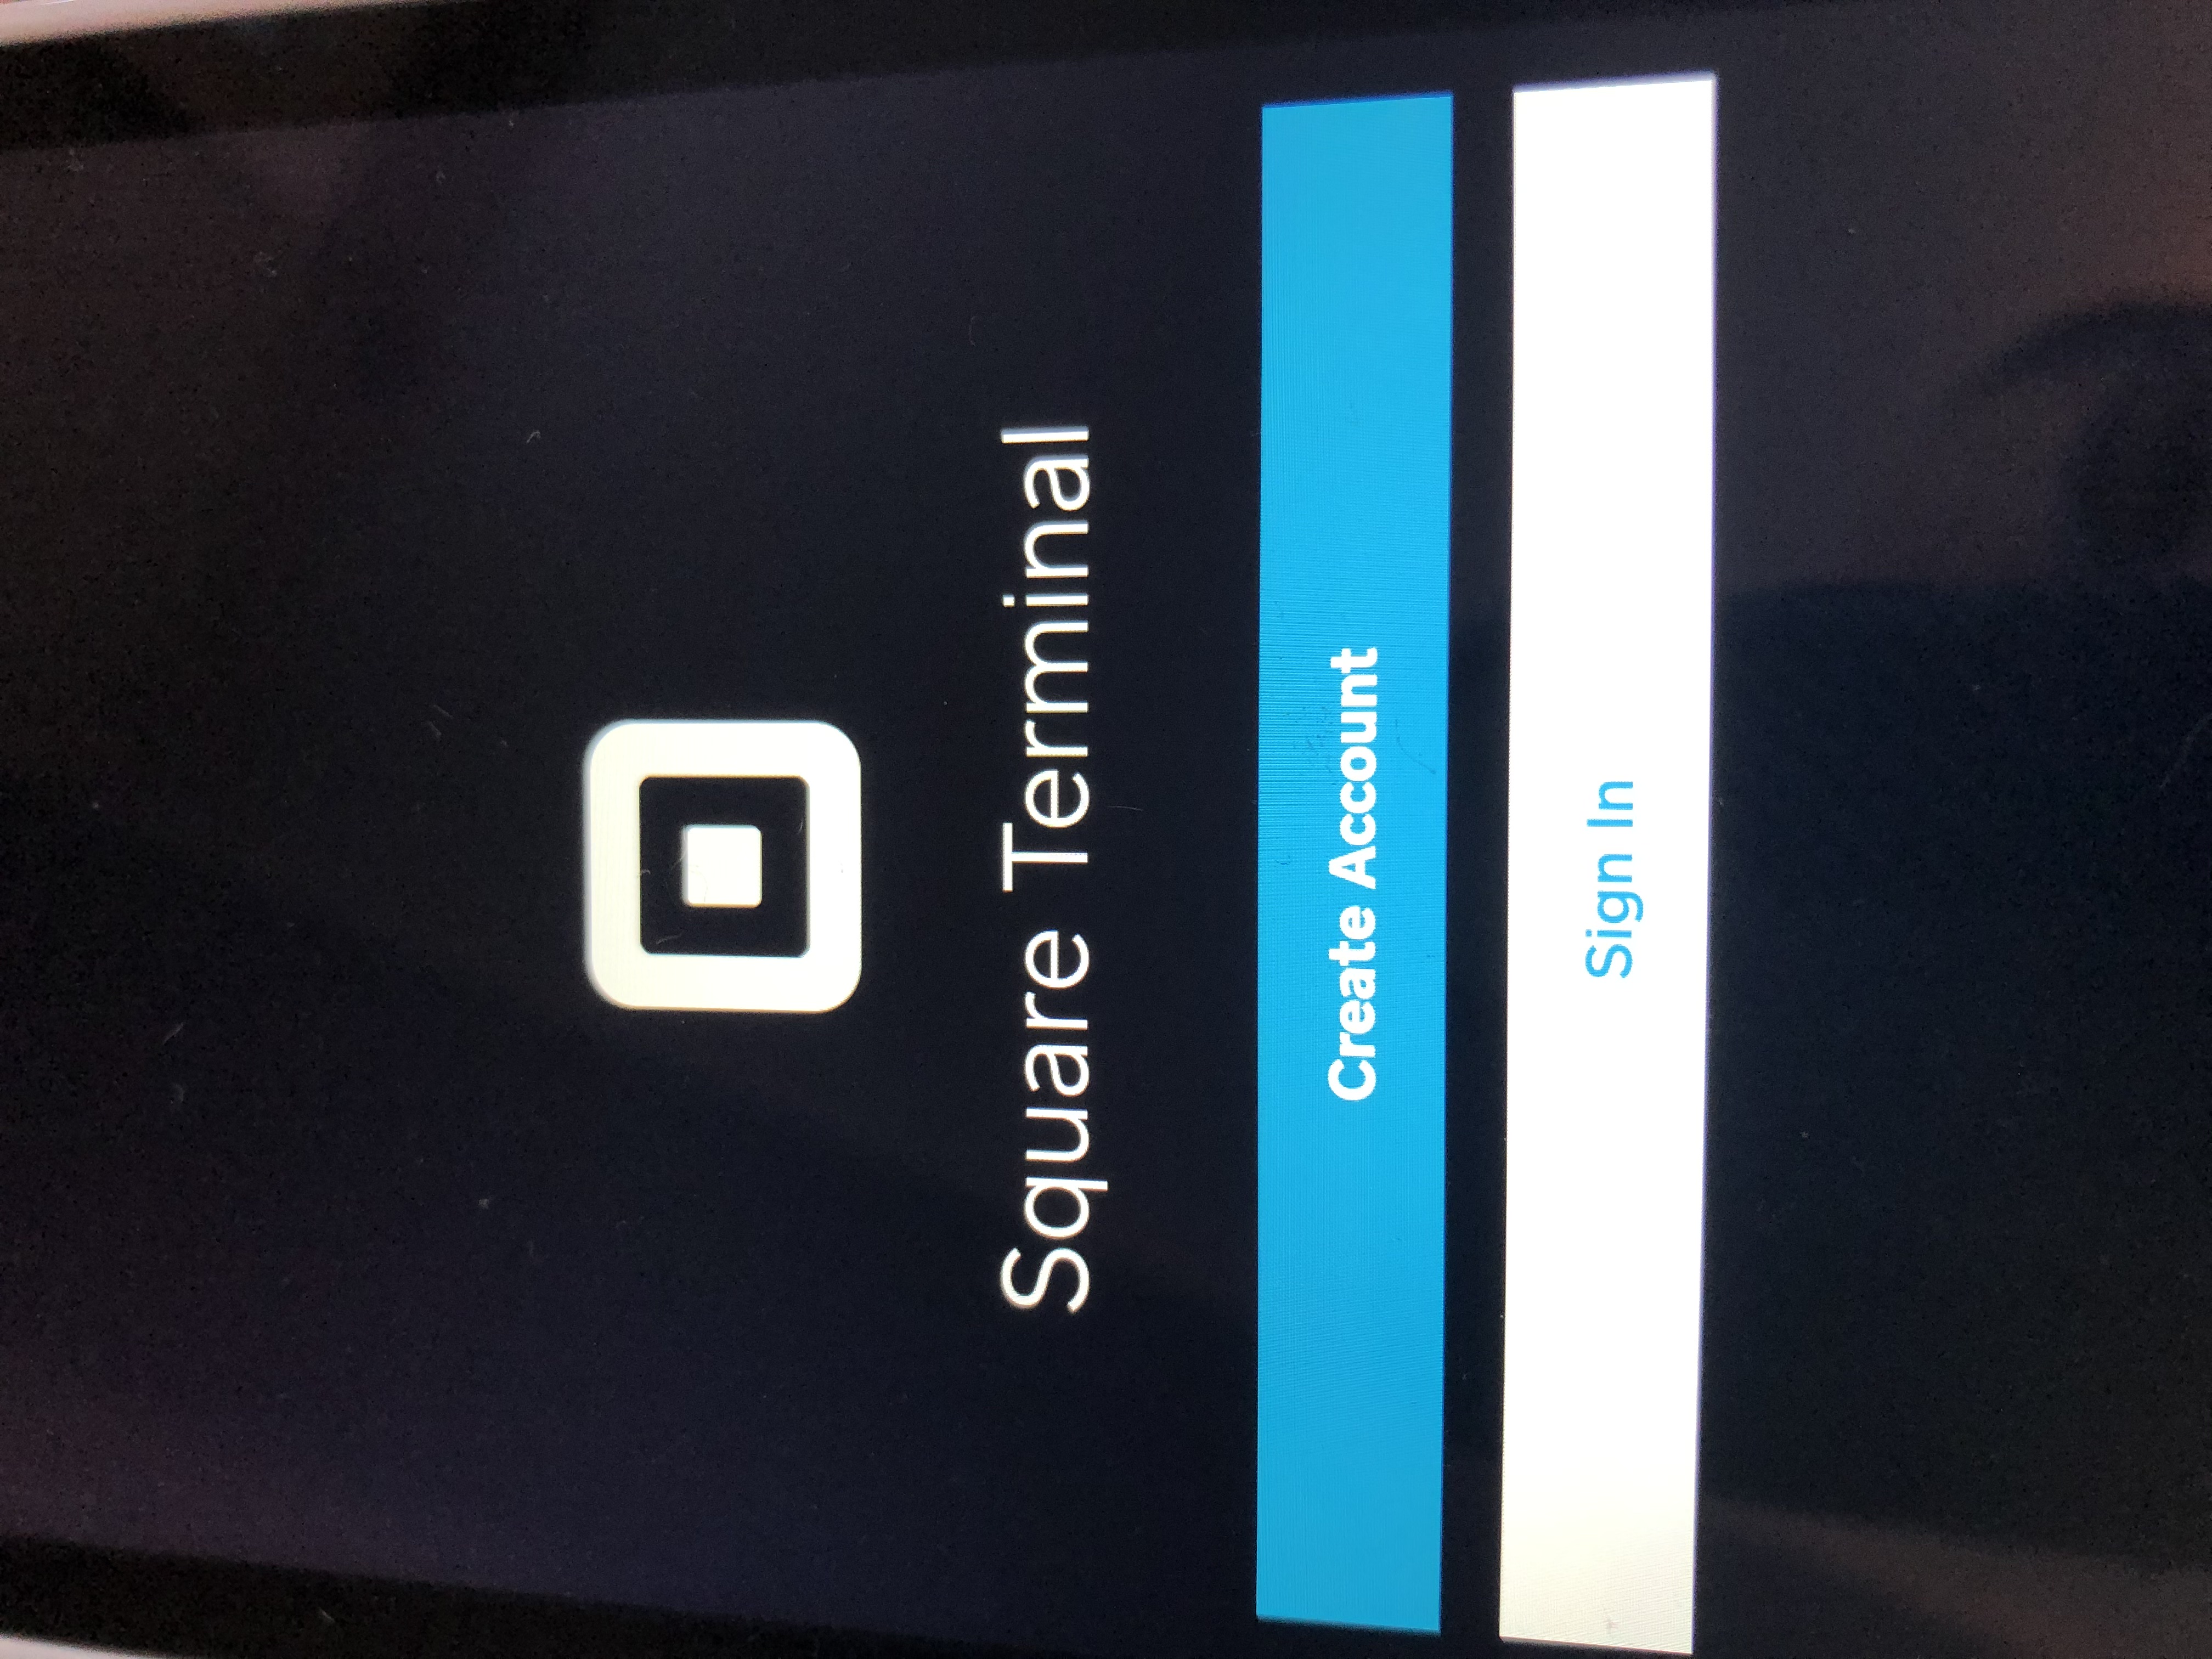
Create a new Square terminal
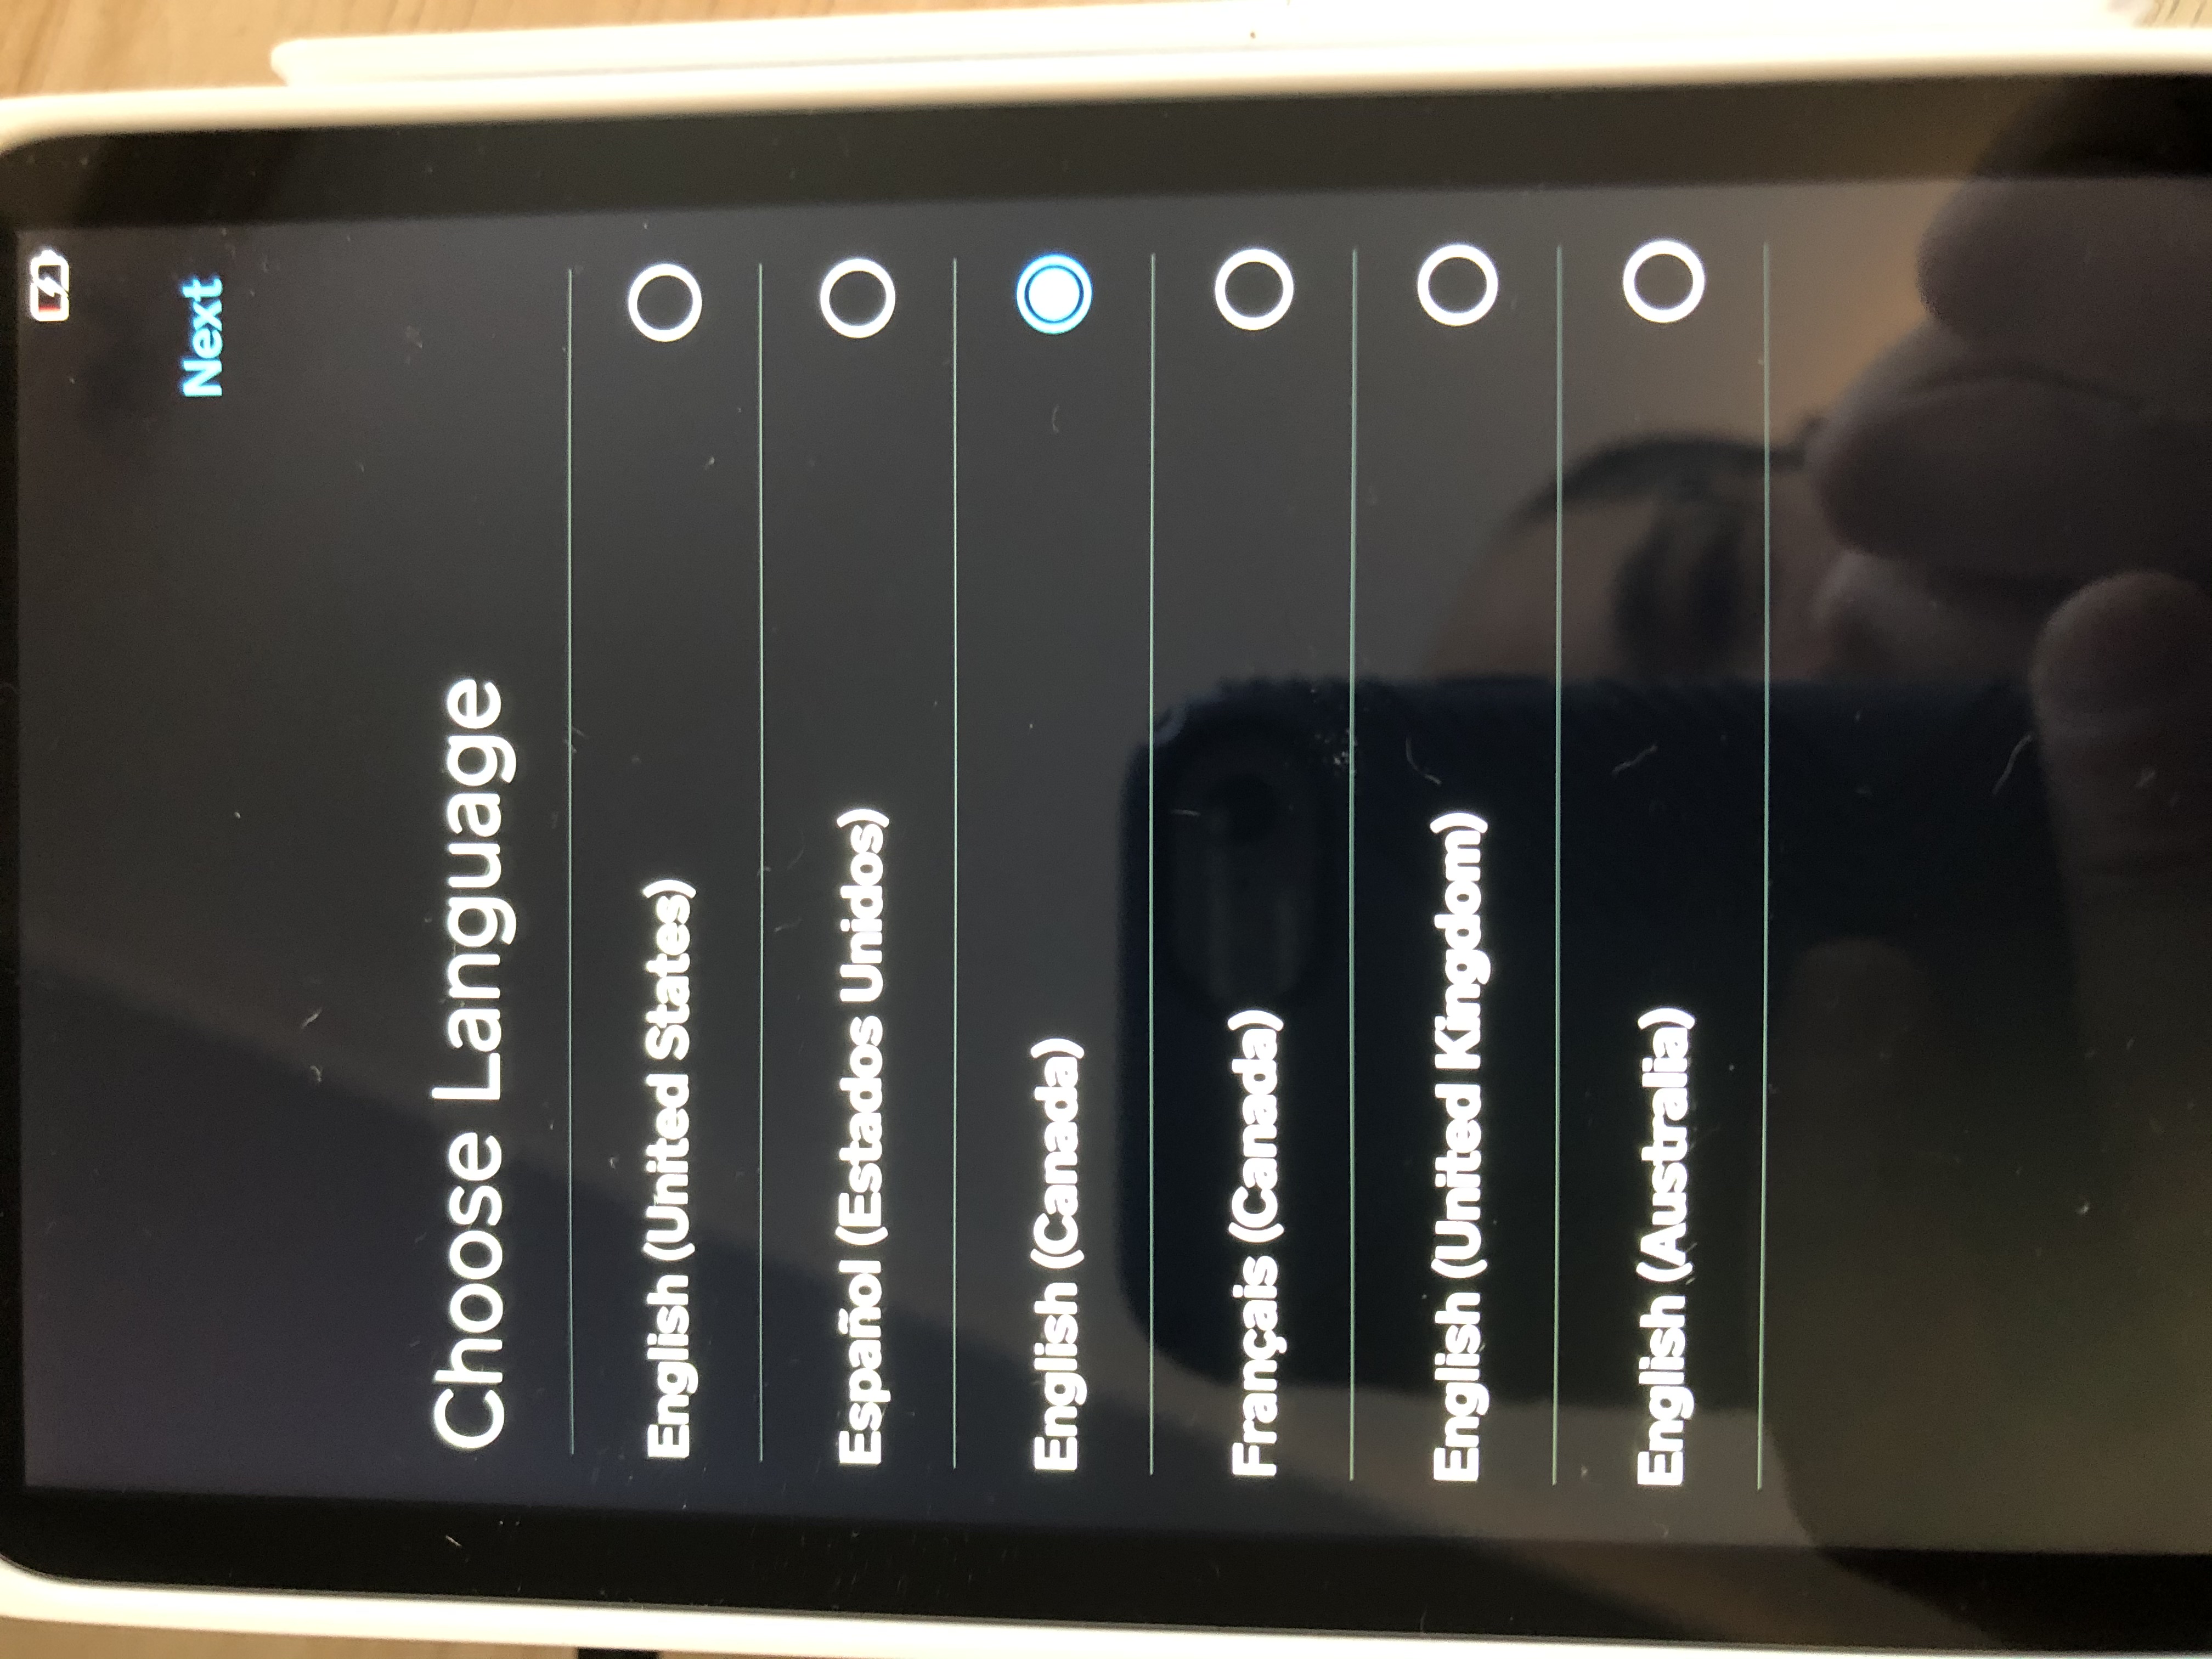
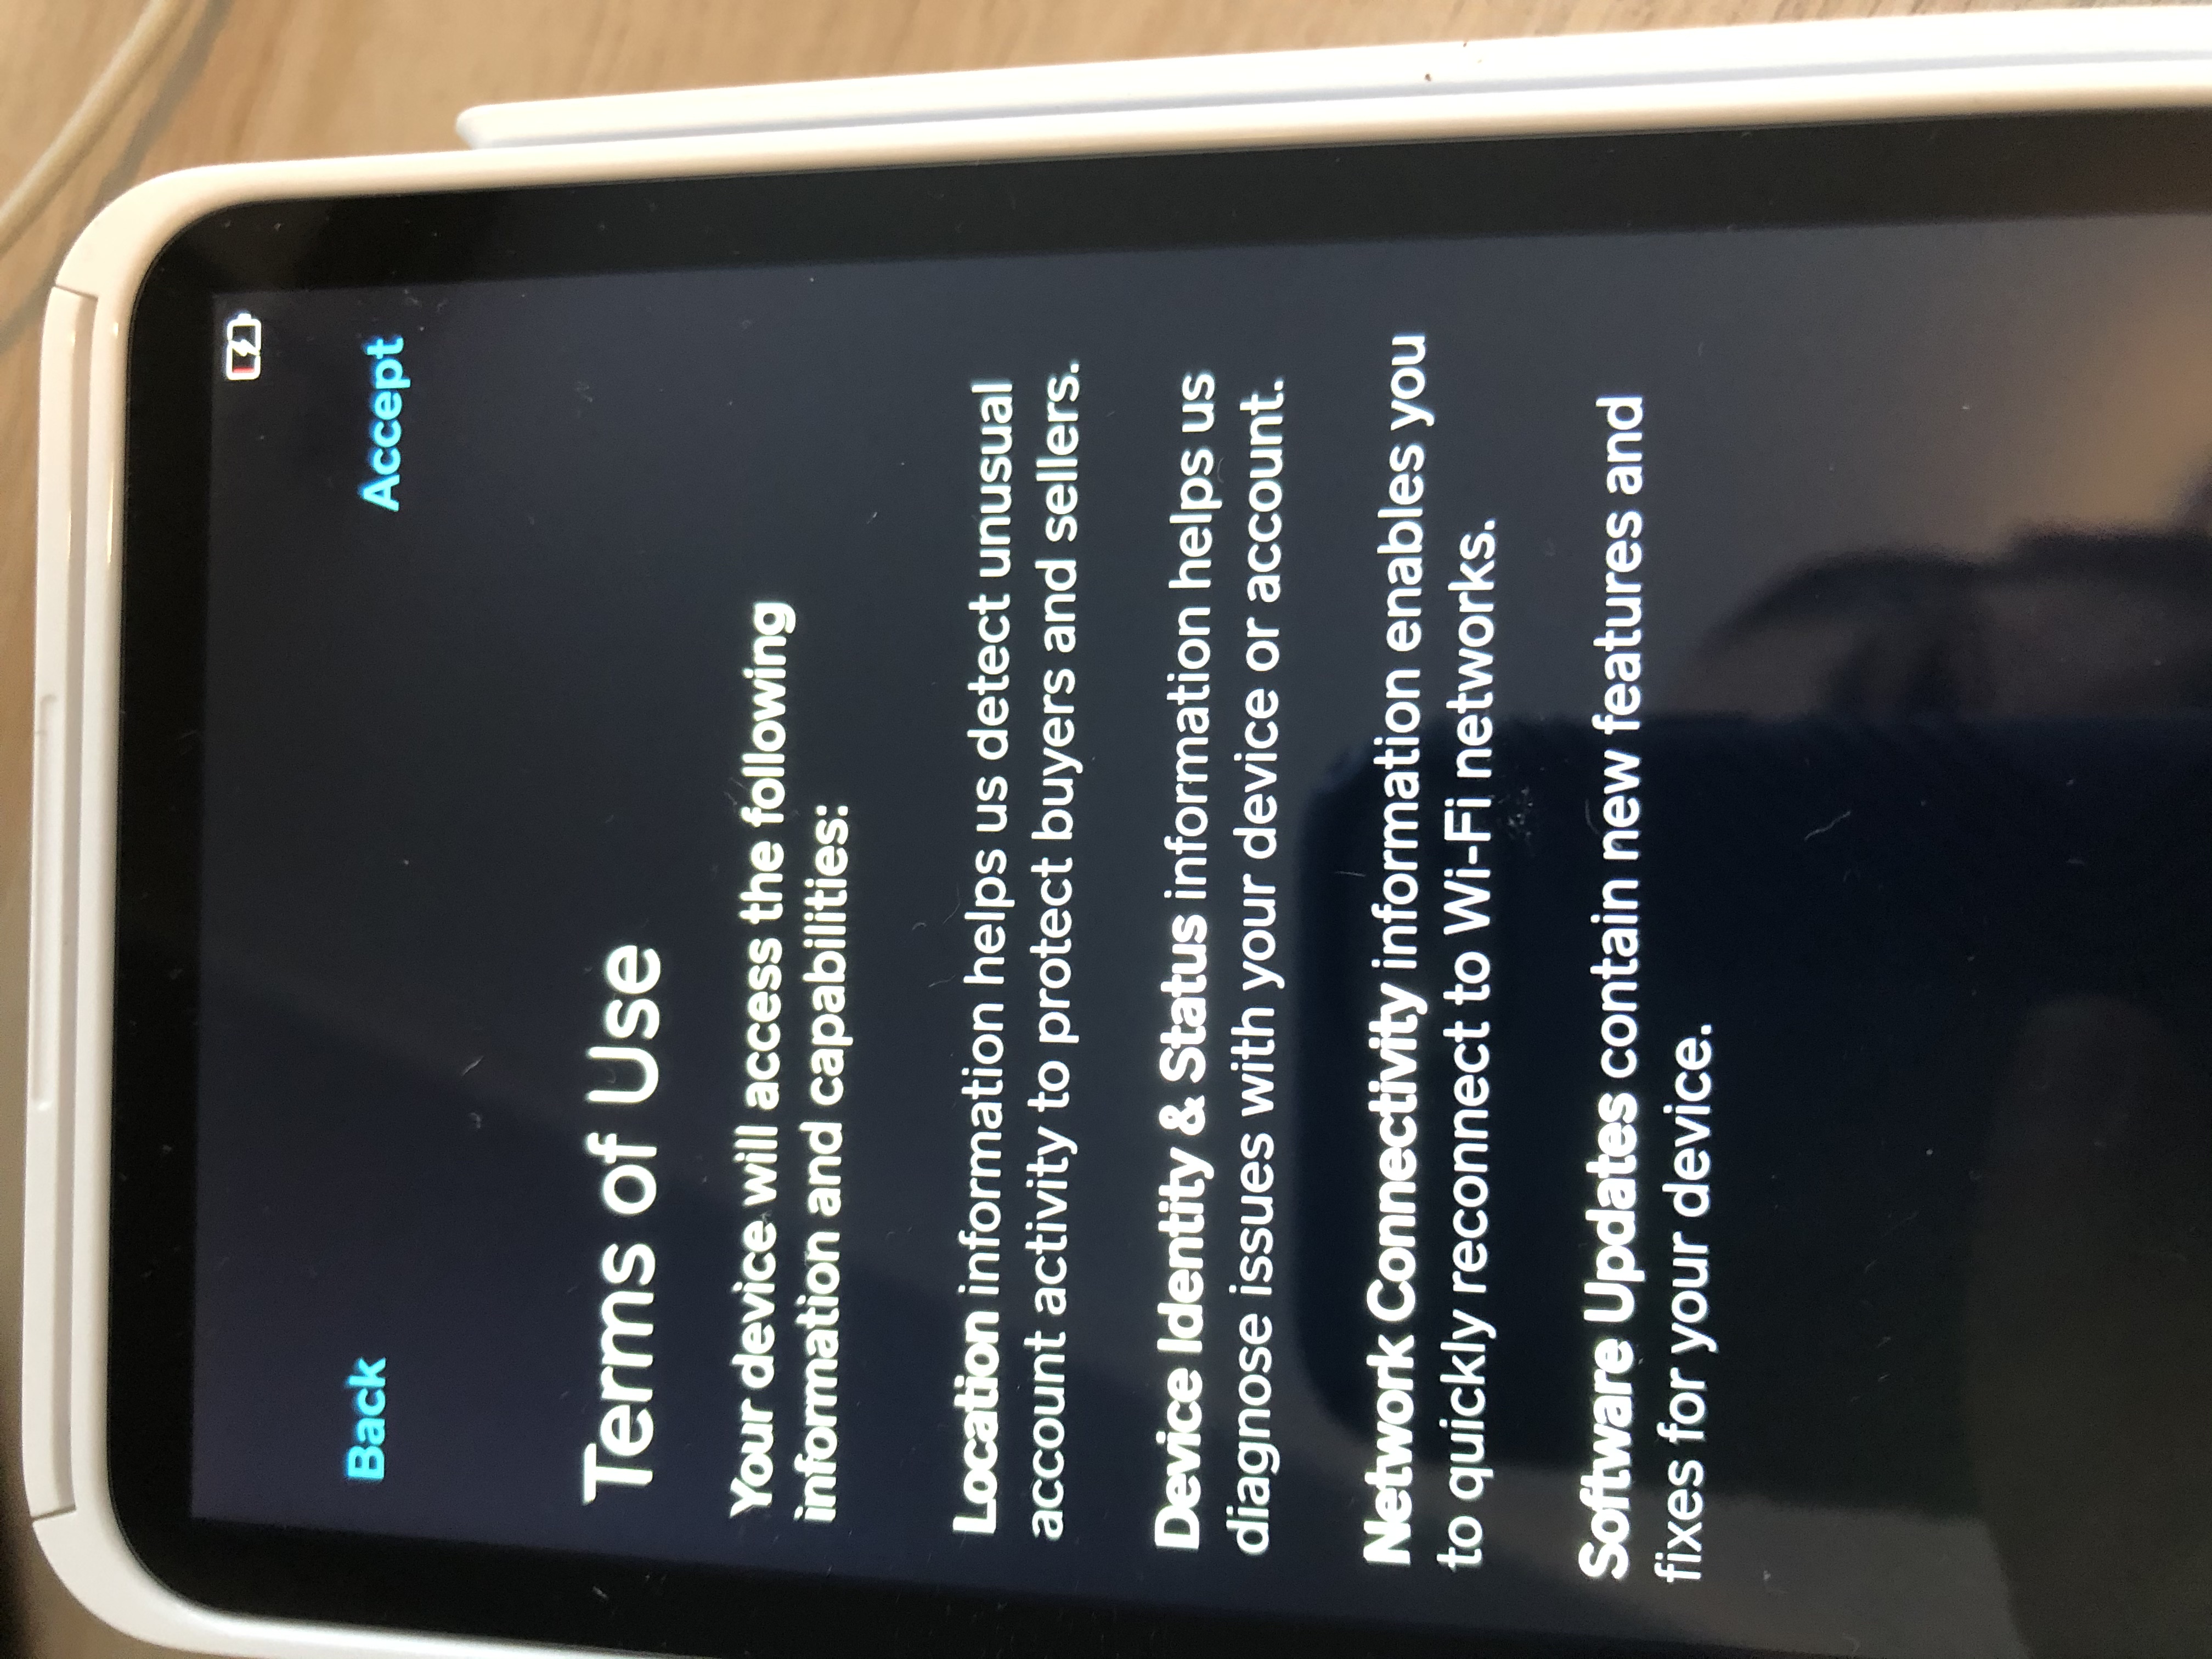
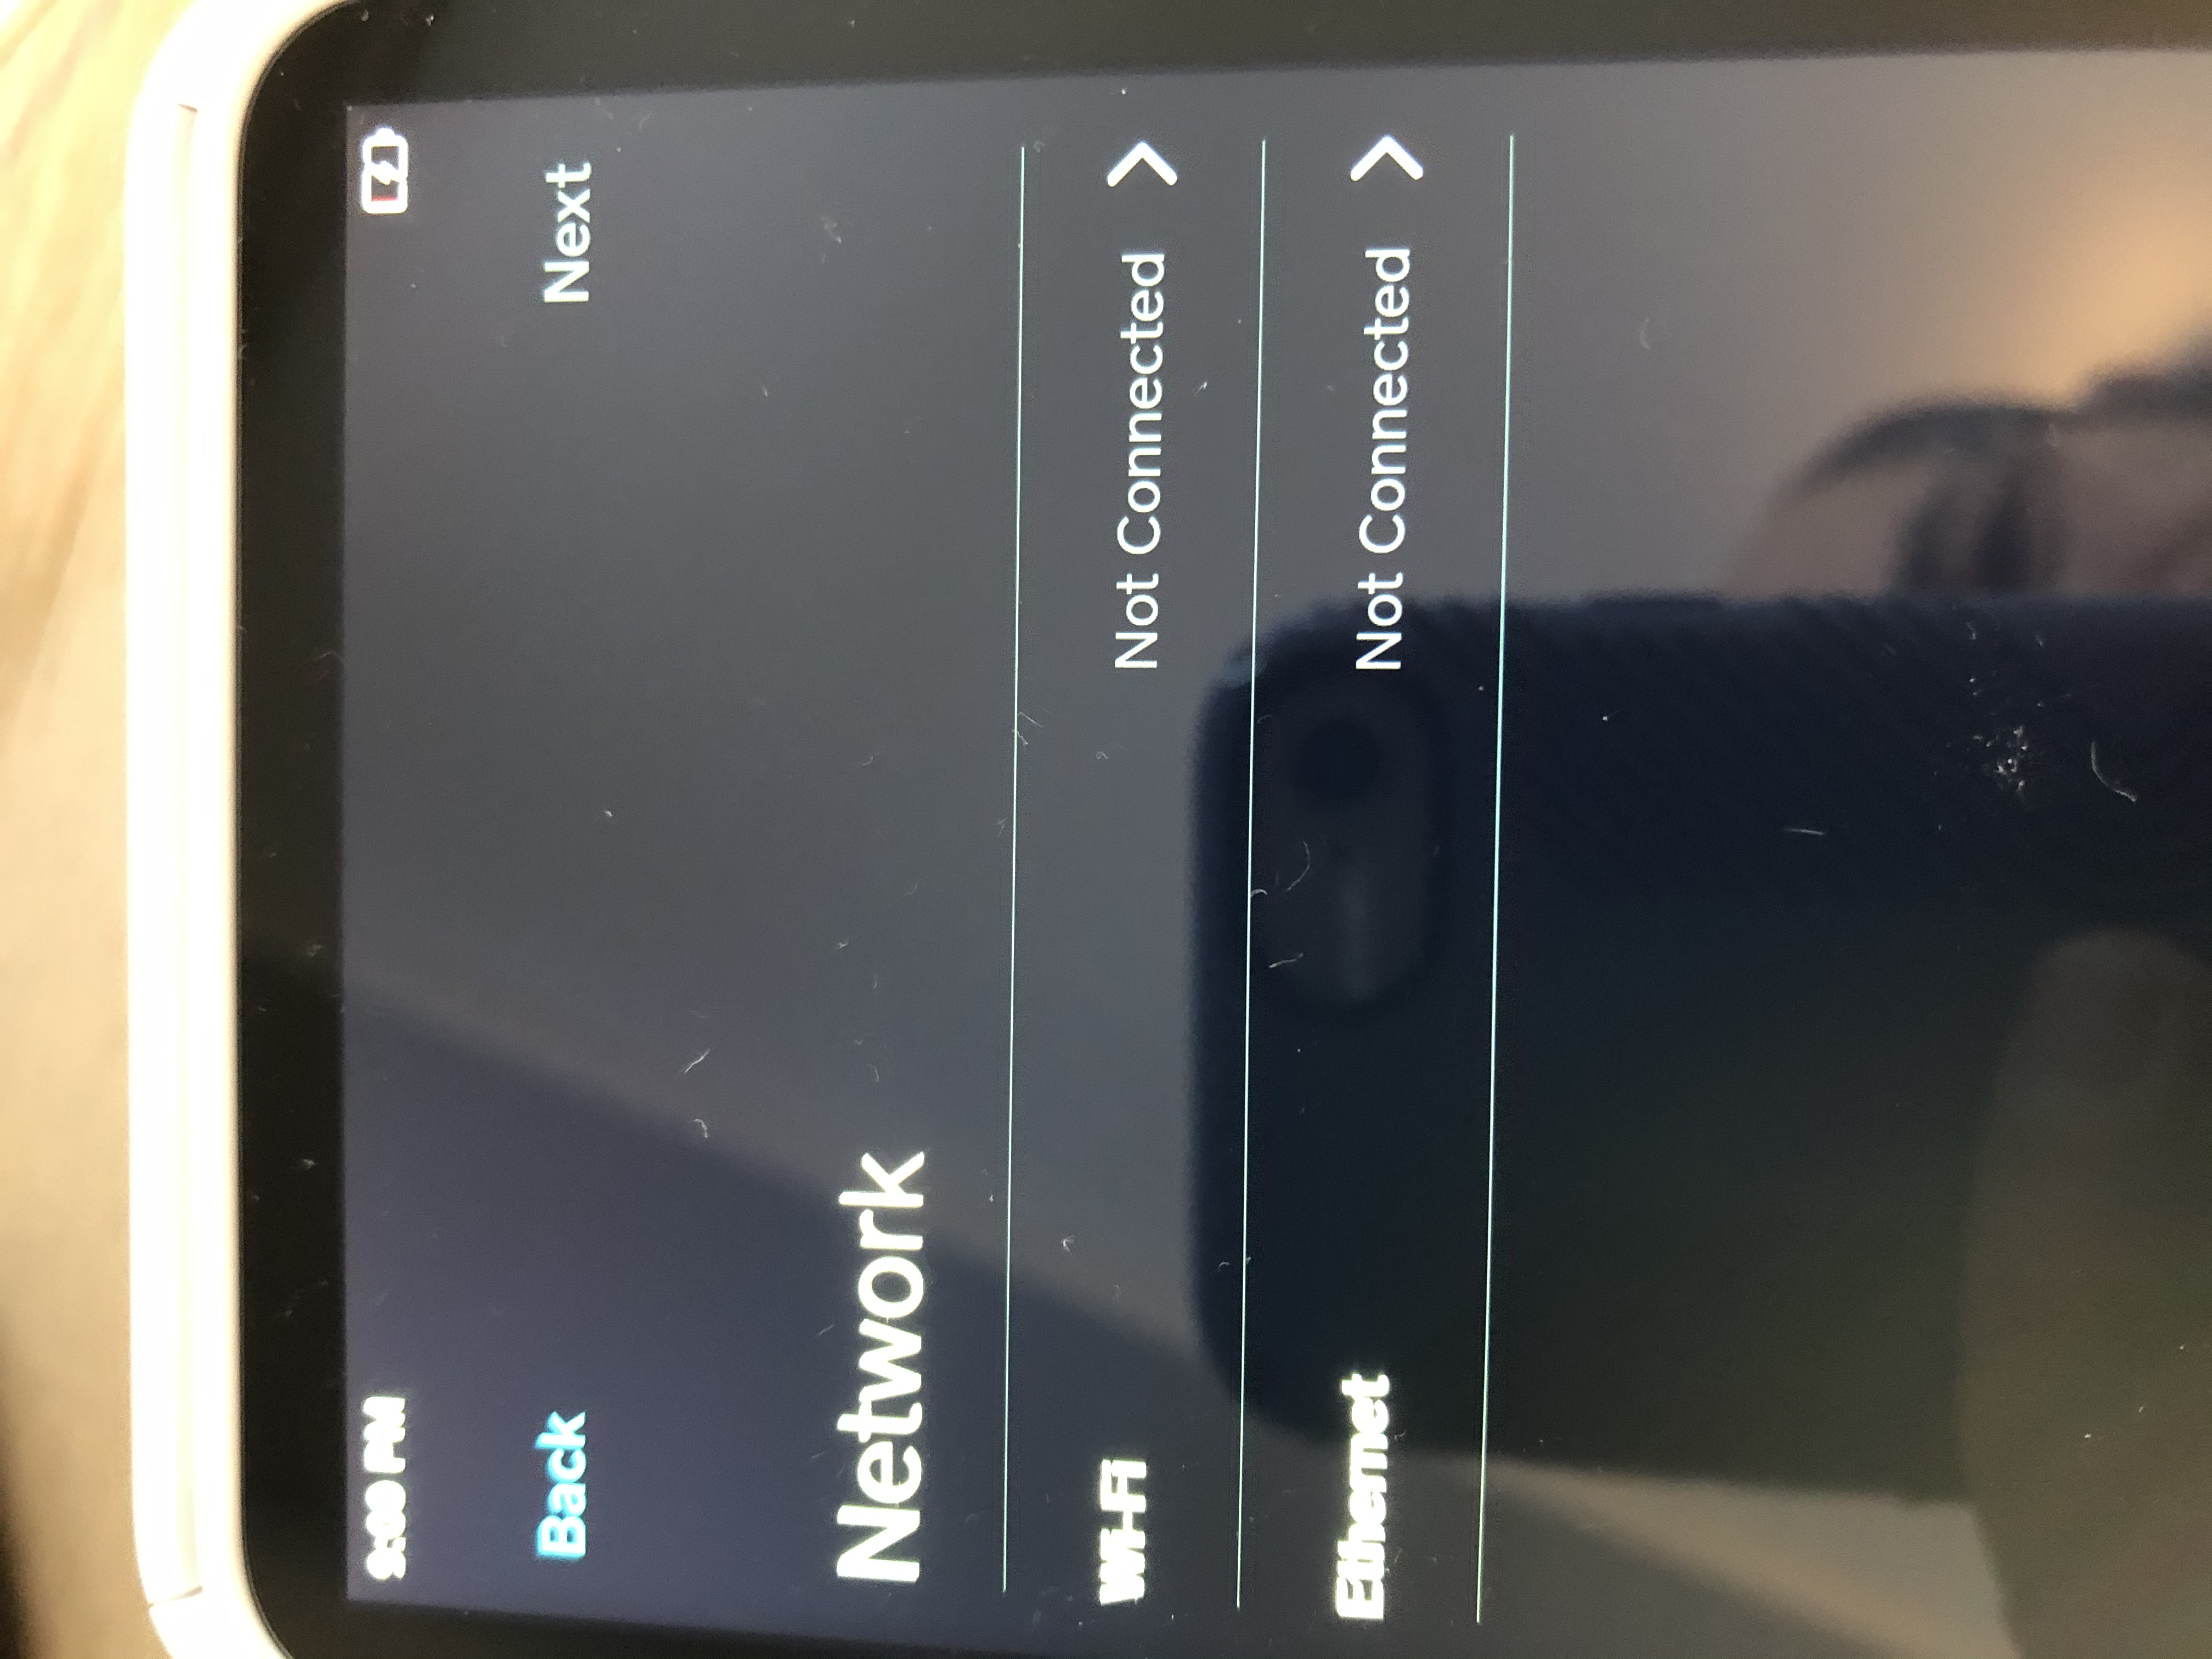
Connect to internet and basic setup
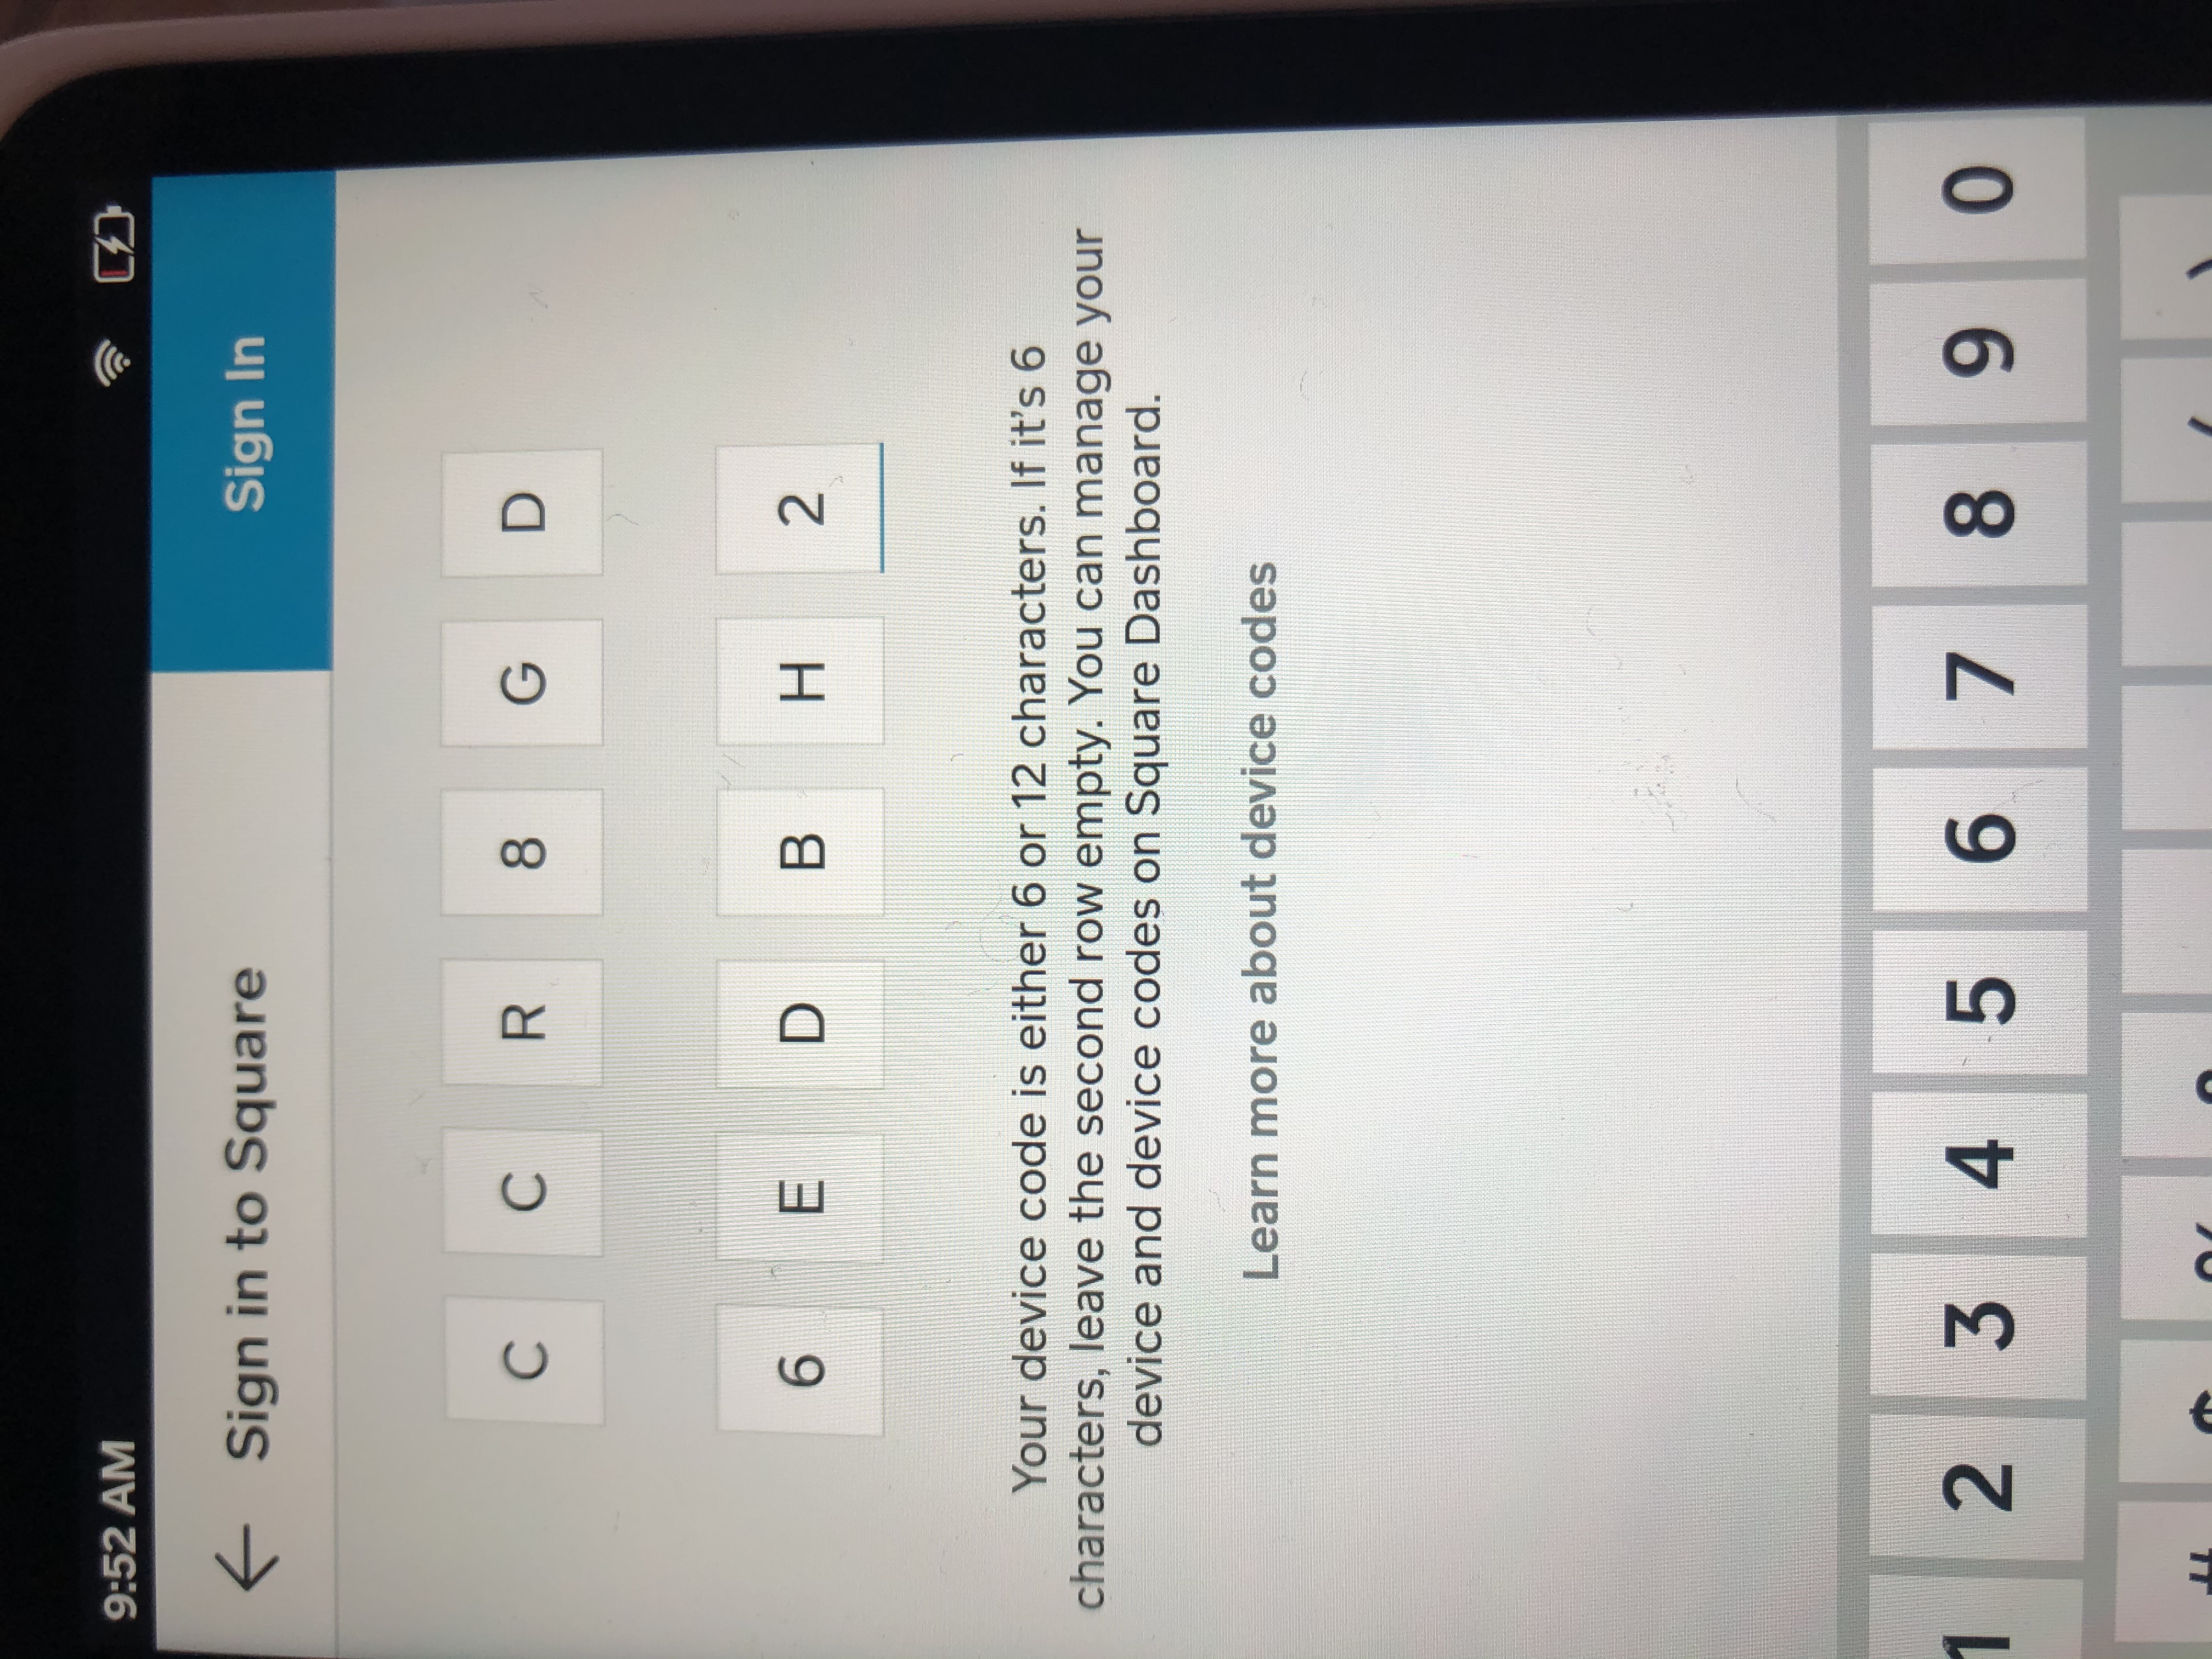
Create a device code
In the payment terminals "providers" list click in Square.
In the main screen (if it's the first time) you will have an empty state and you will have to create the first payment terminal.

If is not the first time, you can still use the upper right corner add new button.

The create screen only has two fields, a list of locations (as defined in your Square dashboard) and a text field to enter a name for the terminal.

We recommend you create as many Locations as you need in the Square Dashboard. It will help to identify where the Terminals are in your company. You can also create non-physical locations if needed.
Once you select a location and enter a descriptive name for the terminal click the Create button.
If the configuration of the Square payment is correct. You should see now a new Device code.

- The code expires in 5 minutes, so make sure to use it in time.
Connect to Betterez

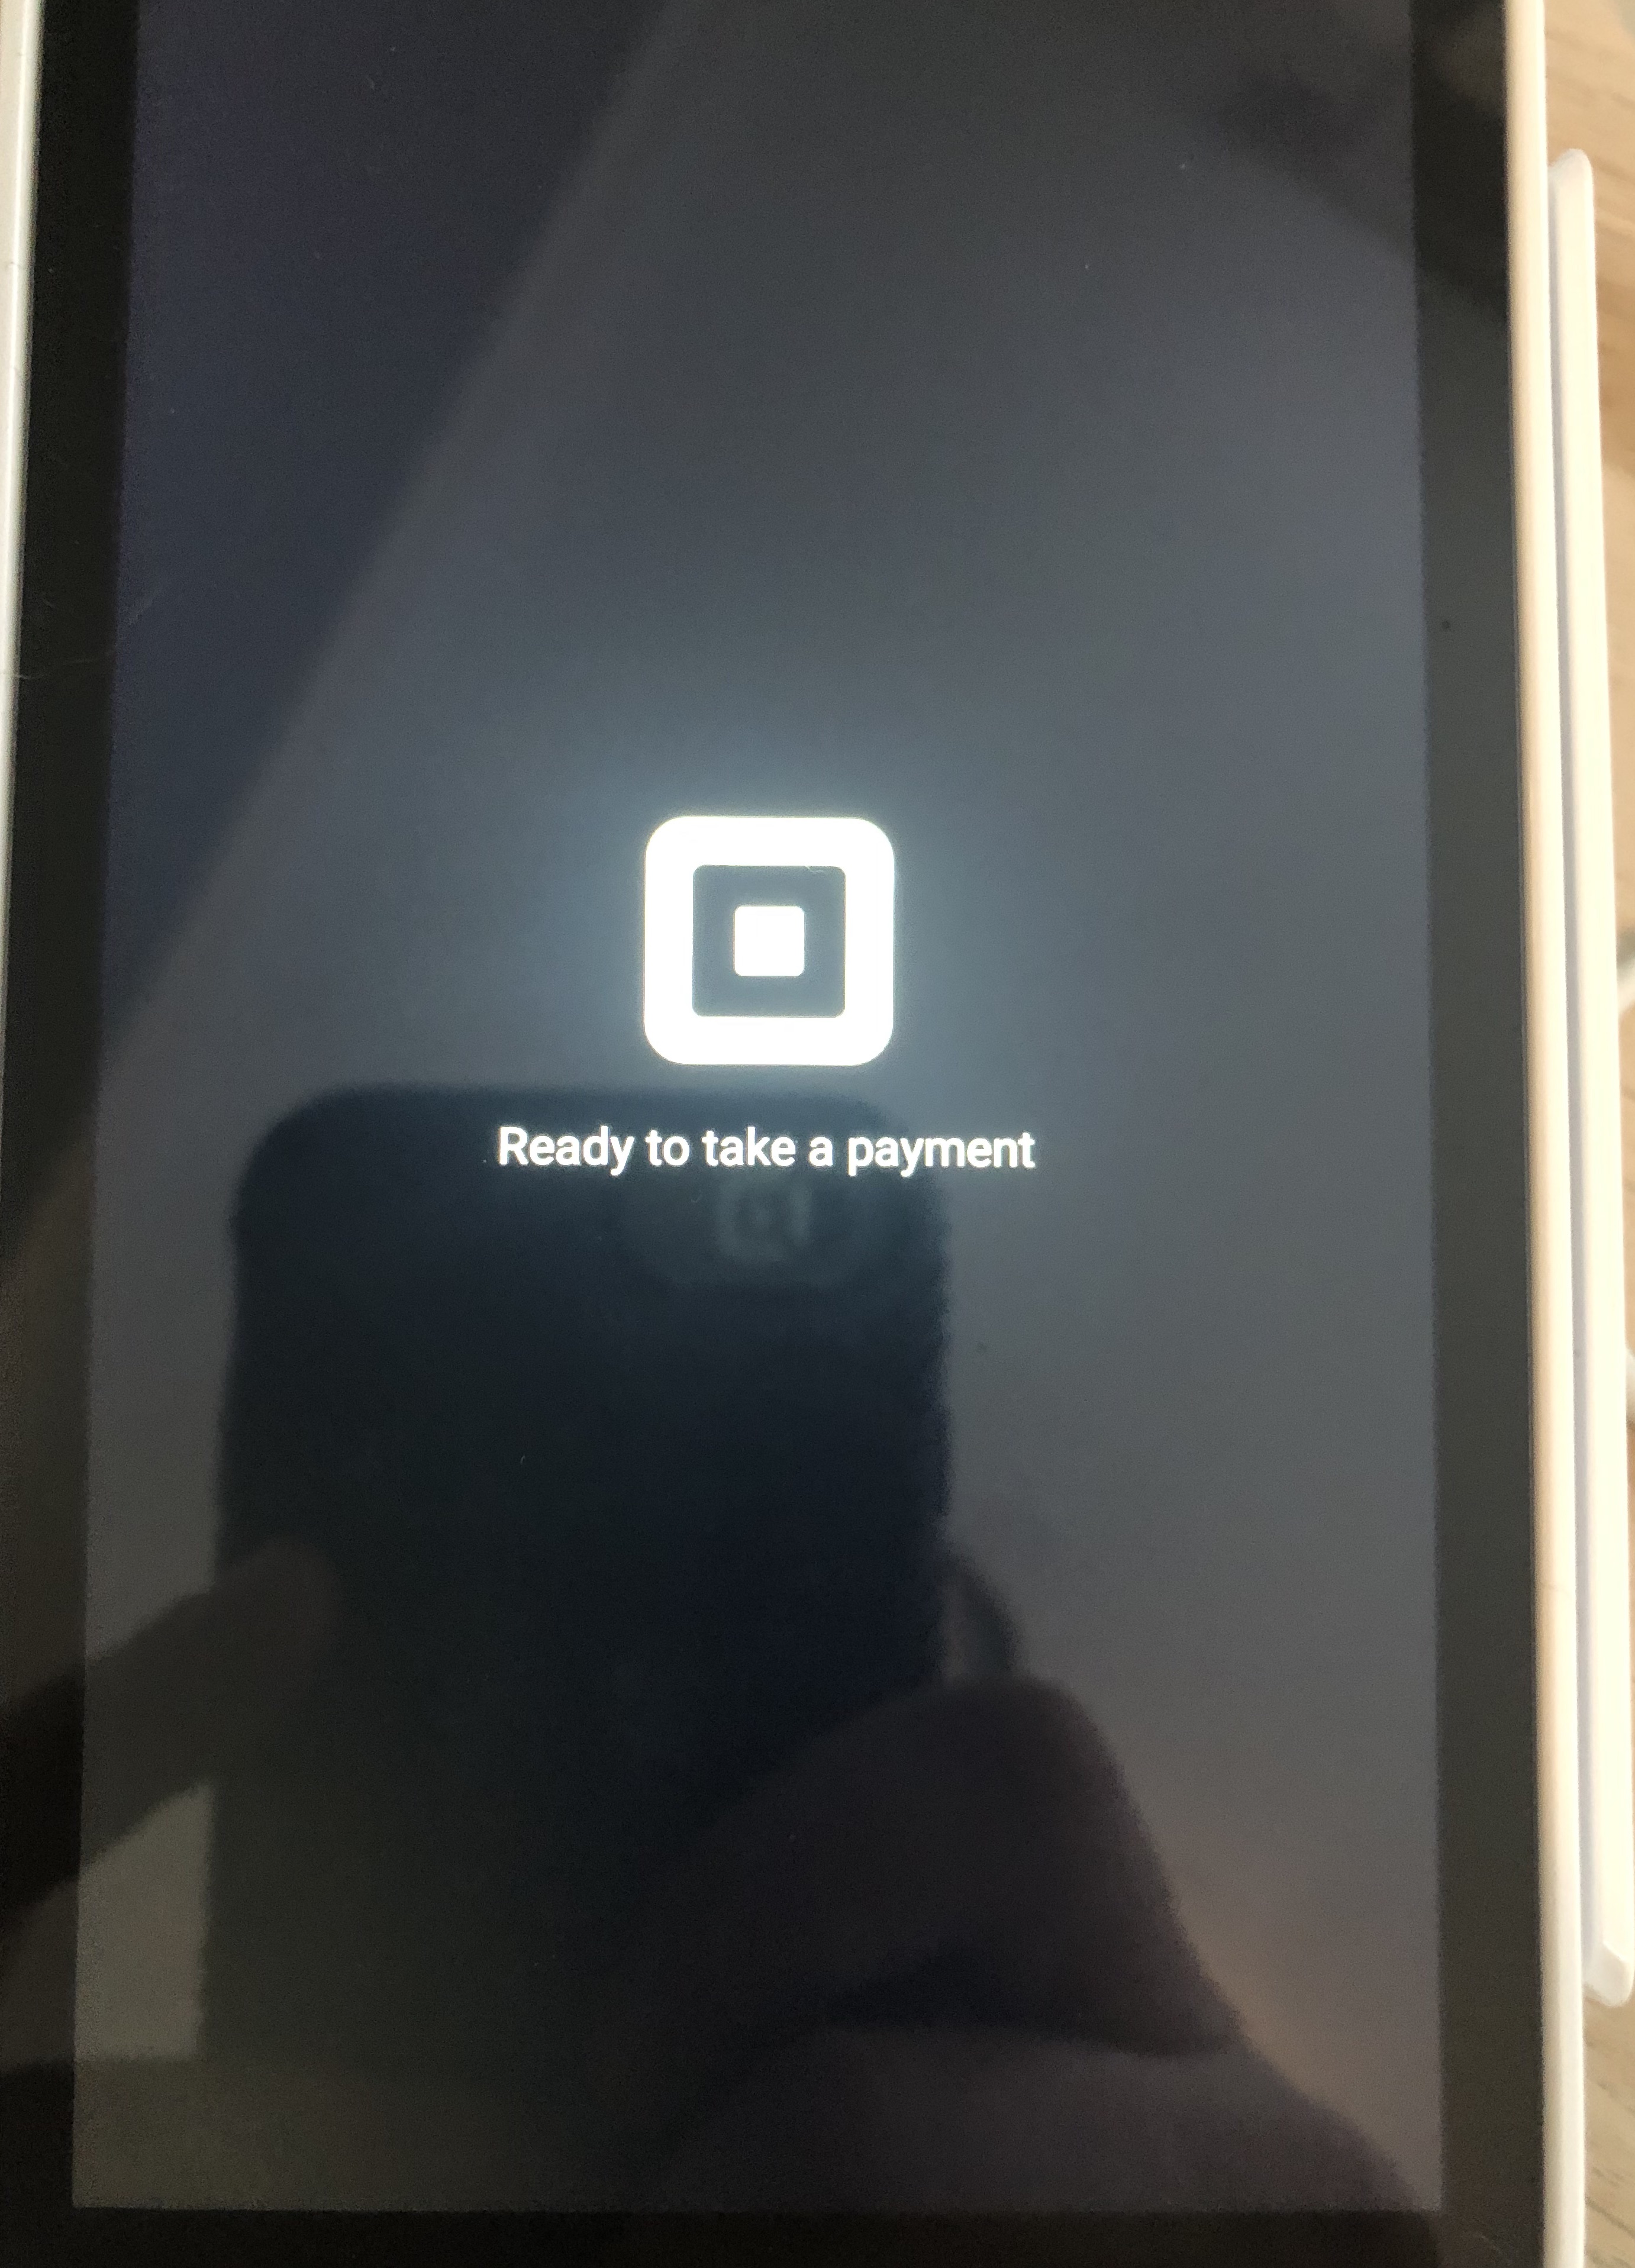
You should now associate the terminal to the right computer

If you don't use the code and the code expires, you will not see it in the list. -info You can't associate a terminal until is PAIRED (that means the device code was used to sign into a terminal)
Deleting and Square payment terminal
The only way to logout of a device is to "deactivate" the code from the Square dashboard.

Click in the menu at the right of the device code to disable. In the contextual menu click the "Deactivate" link.

Deactivating the code will "logout" the terminal associated to the code and you will not be able to receive payments on that terminal until you re-pair the terminal with a new code.
Creating a new Ingenico payment terminal
In the main screen (if it's the first time) you will have an empty state and you will have to create the first payment terminal.

If is not the first time, you can still use the upper right corner "add new" button.
The create screen has 6 fields.

The name of the terminal is a descriptive name that you will use to identify each terminal. We recommend adding the same name to the physical terminal to easily identify it later on. You can use a sticker or a labeler to add the name into the terminal.
The Ingenico terminals will connect with betterez using a web socket and that means that the betterez application needs to know the IP address of the terminal and a protocol to use to connect.
The protocol can be one of two options ws or wss if your terminals have WSS (Secure web socket) enable you should select WSS, if not you can still use WS, but you will have to Configure your browser to allow ws connections over https
The IP is the address of the terminal in your internal network, see below Finding the IP on the terminal.

The last 3 fields will be used to locate the terminal in your organization. You can select a location from the list to indicate the physical location of the terminal.
The part and serial numbers can be found on the back of the terminal on a sticker.
At this moment because a limitation on Ingenico terminals you will need to select WS as the protocol, WSS is not supported.
Configuring your browser to allow ws connections over https
Chrome in particular won't allow to connect to ws when using an https connection.
To allow the interaction to work you will need to configure Chrome to accept this type of connections while using betterez.com
In the address bar click in the padlock icon and select "Site settings"

In the site page (it will open in a new tab), scroll down until you find "Insecure content" parameter. Change the value to "Allow" in the combo box.

Close the settings tab and go back to the betterez site. Notice at the top a message that ask you to Reload the site. Click the button

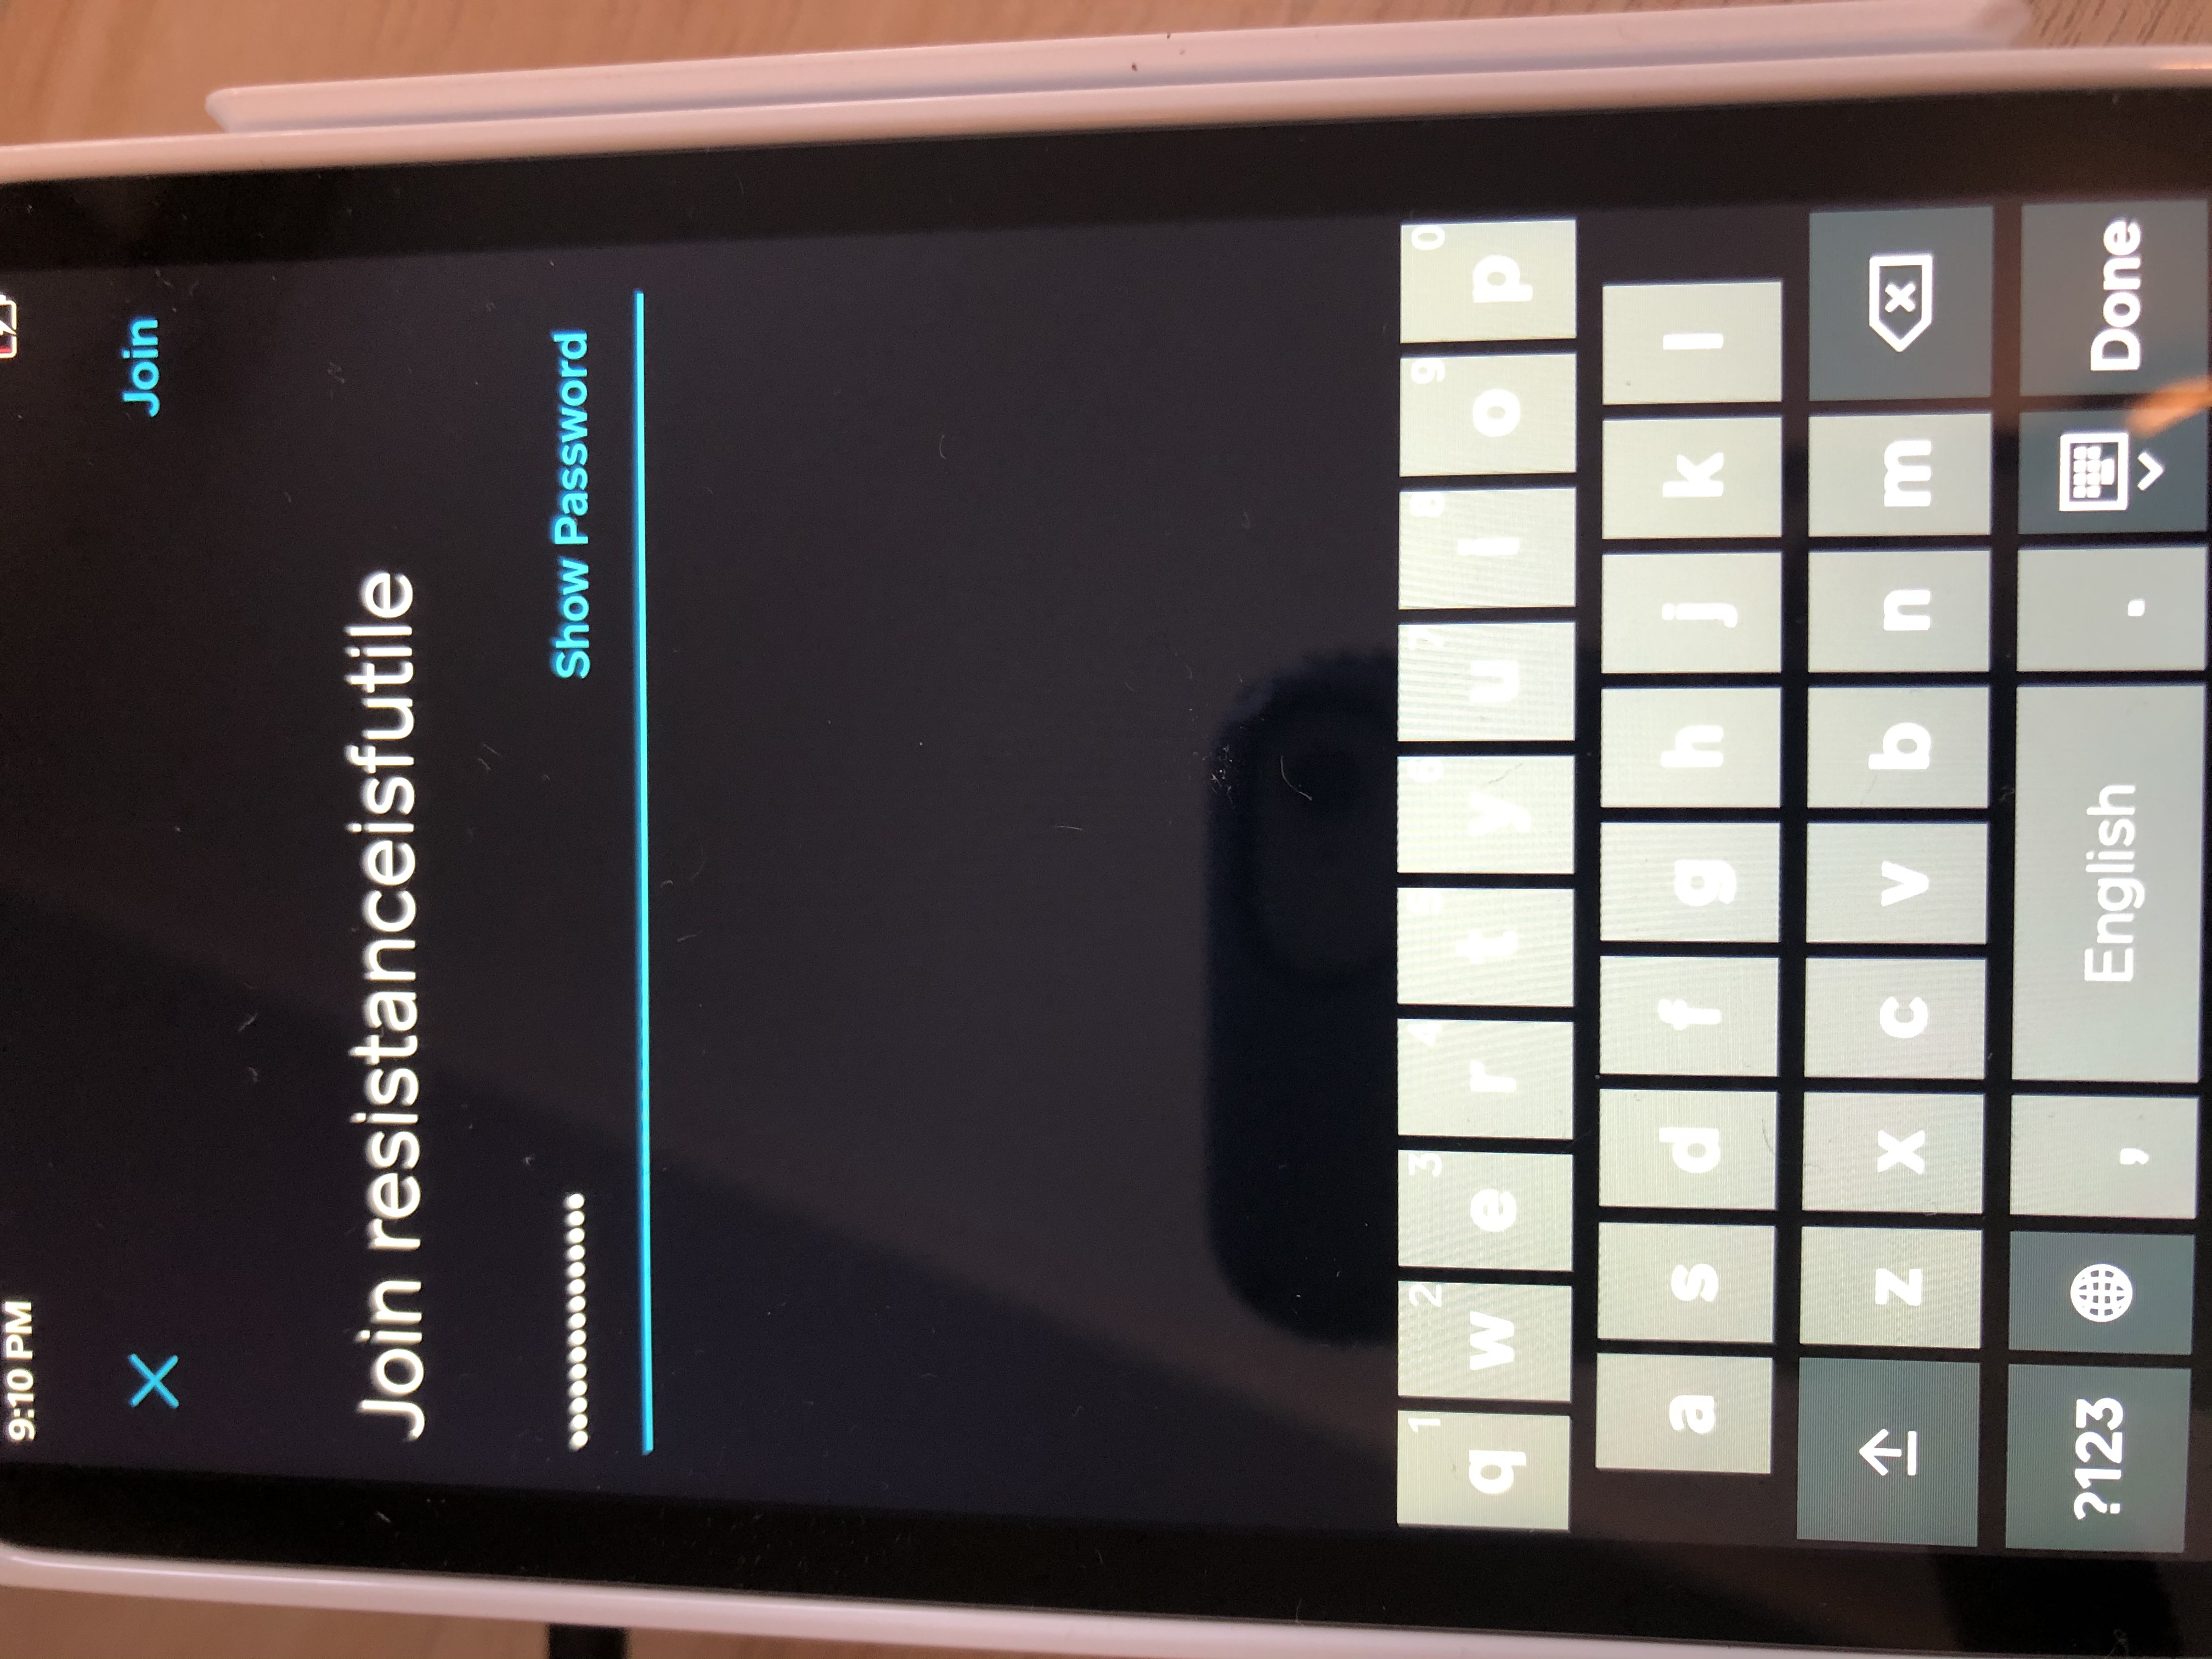
The computer and the Ingenico terminal needs to be in the same network to be able to communicate to each other.
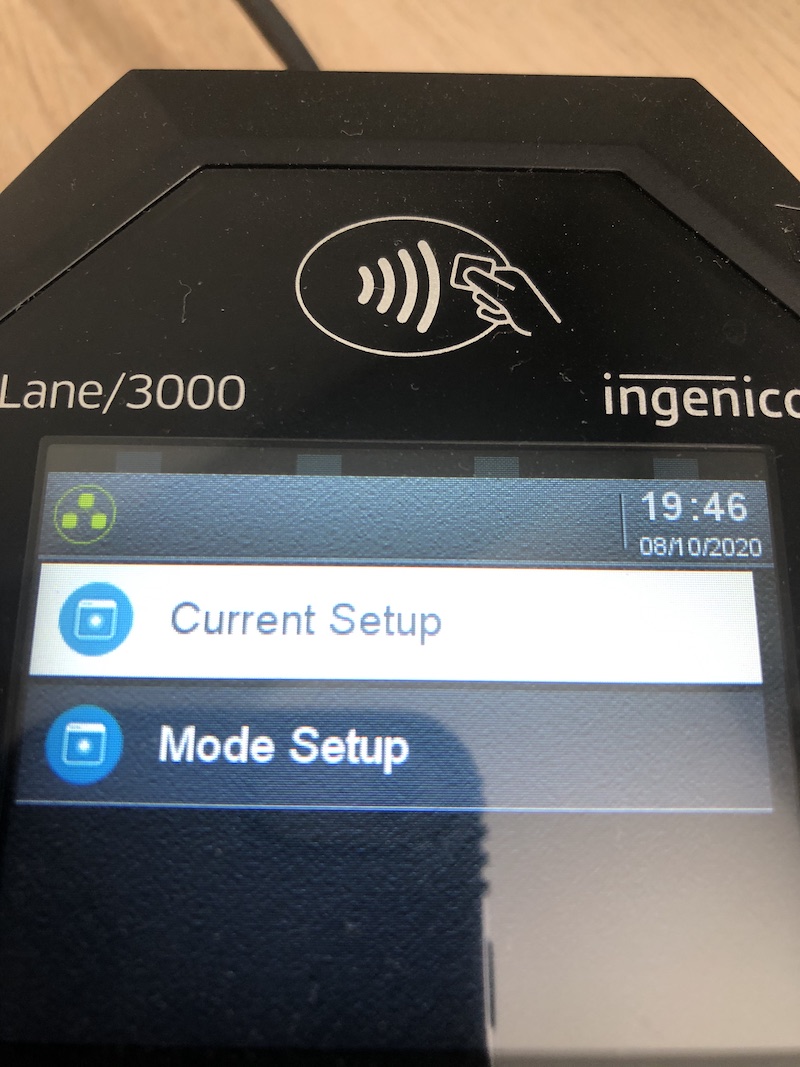
Finding the IP on the Ingenico terminal
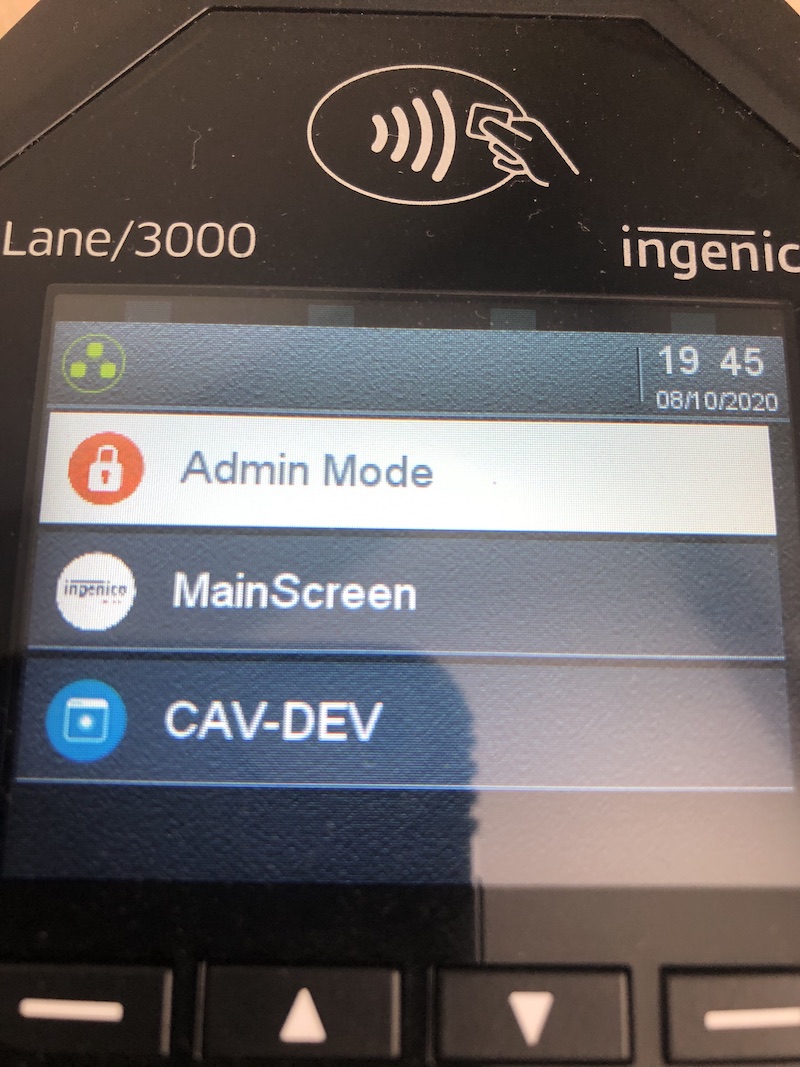
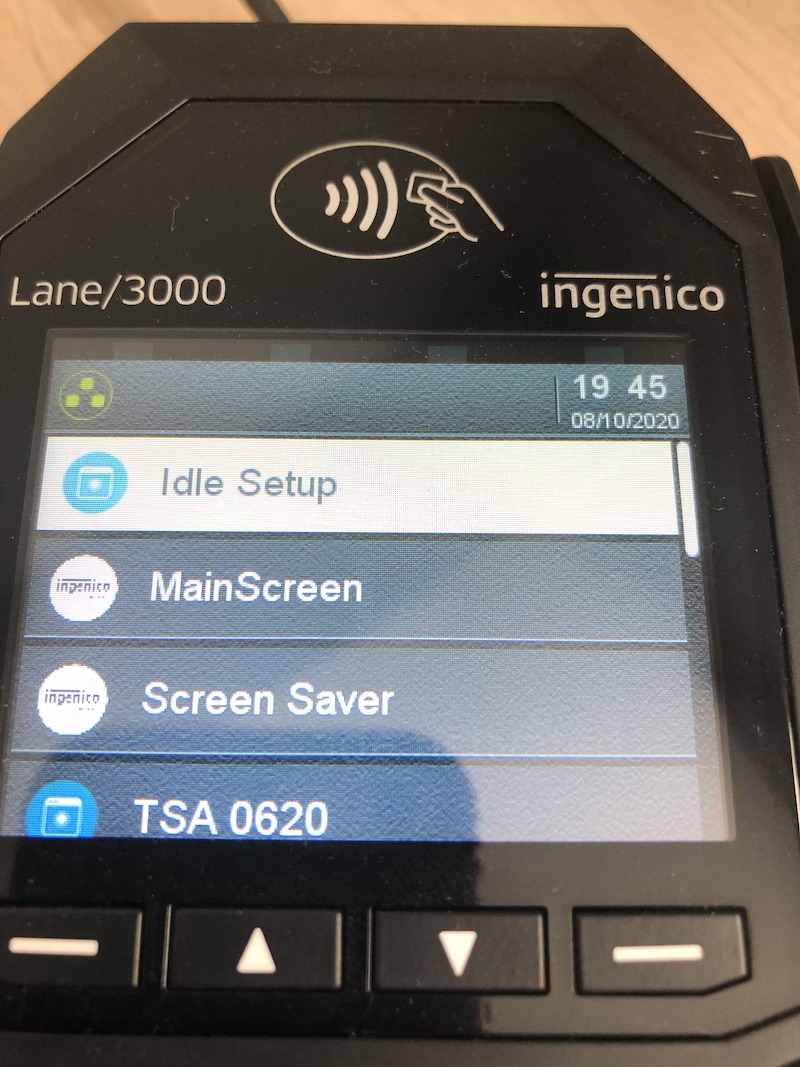
To find the IP address if an Ingenico terminal you will need to change to Admin mode in the Ingenico terminal. The steps below are for the Lane 3000 terminal.
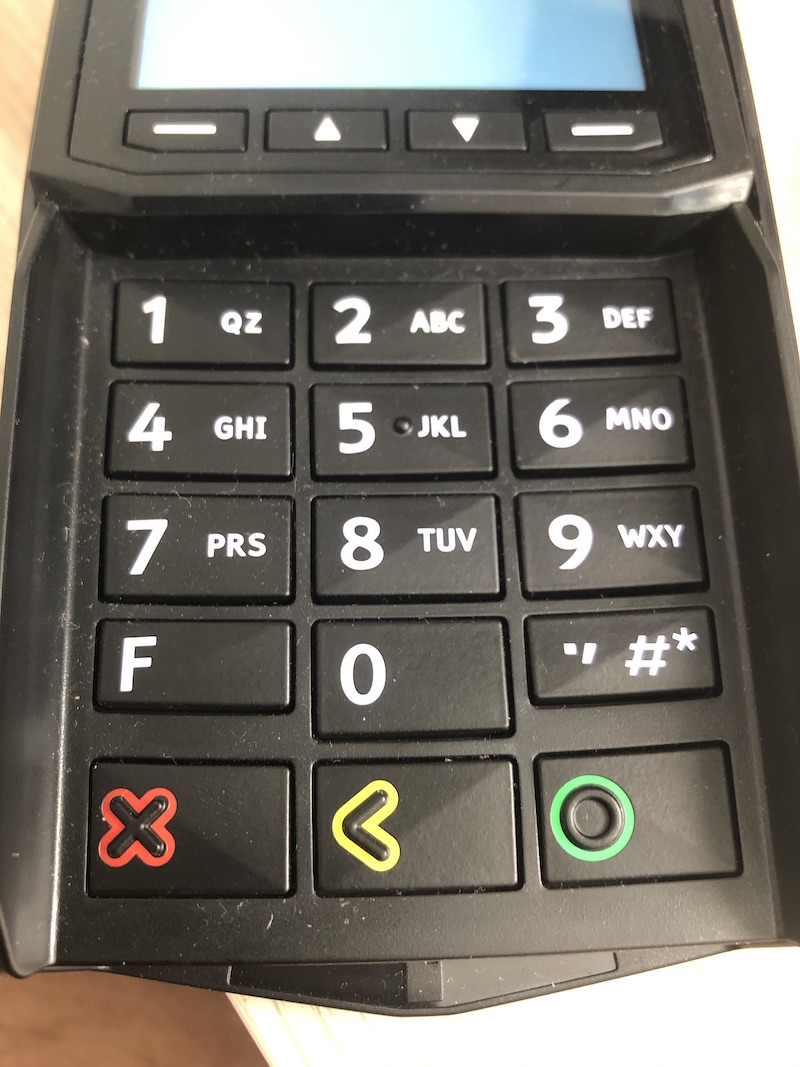
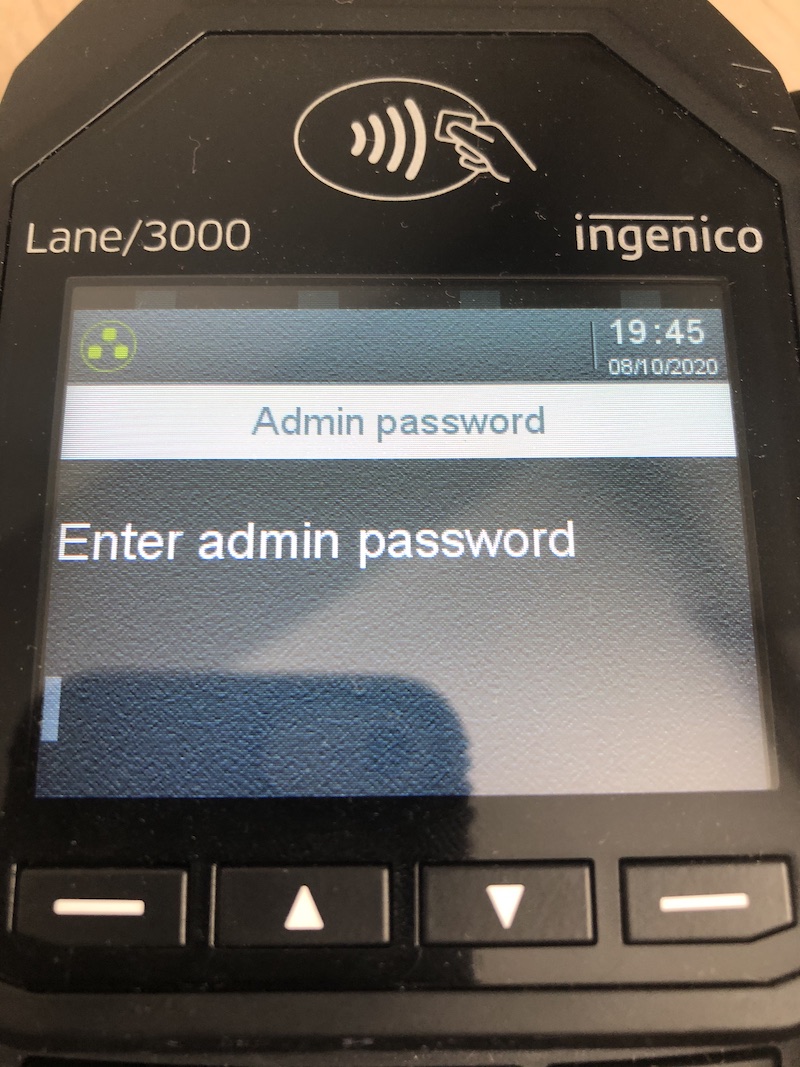
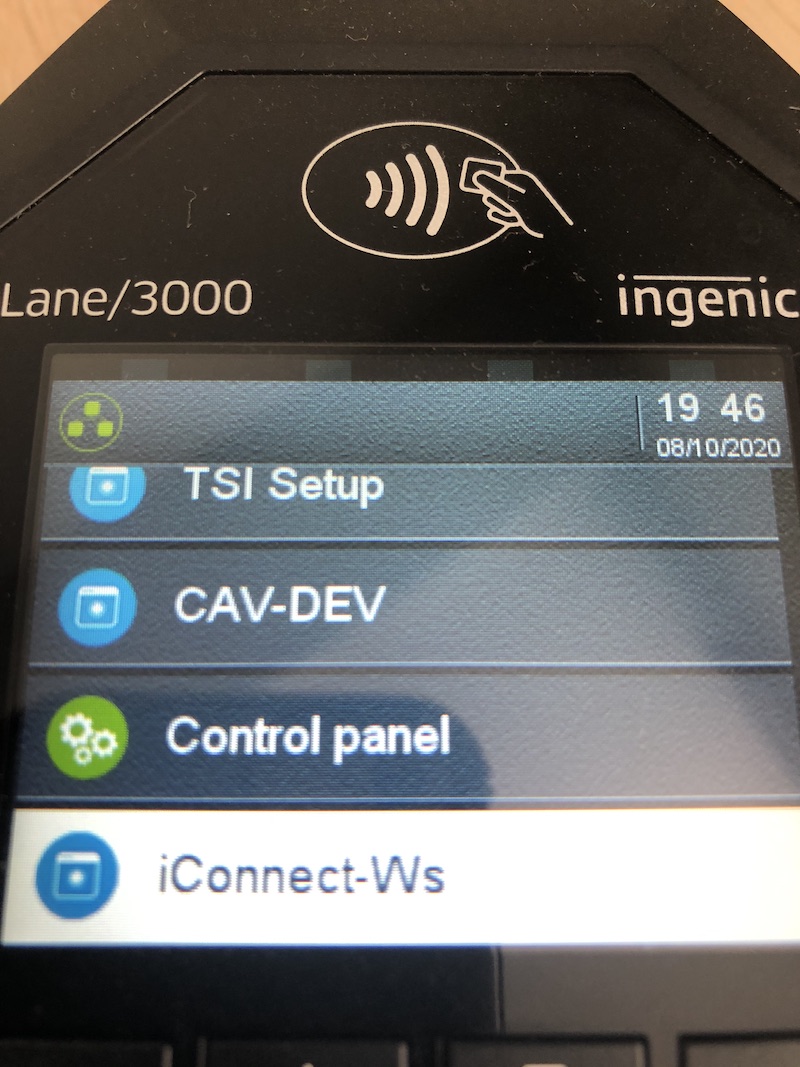
The username “ADMIN” and the default password is “123456A”. These are case sensitive.
(To type a letter you type multiple times in the numeral key fast will still showing the number. It will cycle like this number, lower case letters, upper case letters, in the same order as printed in the keyboard). So to type "A" (upper case A), you need to click the keyboard "2" five times. (2, a, b, c, A)
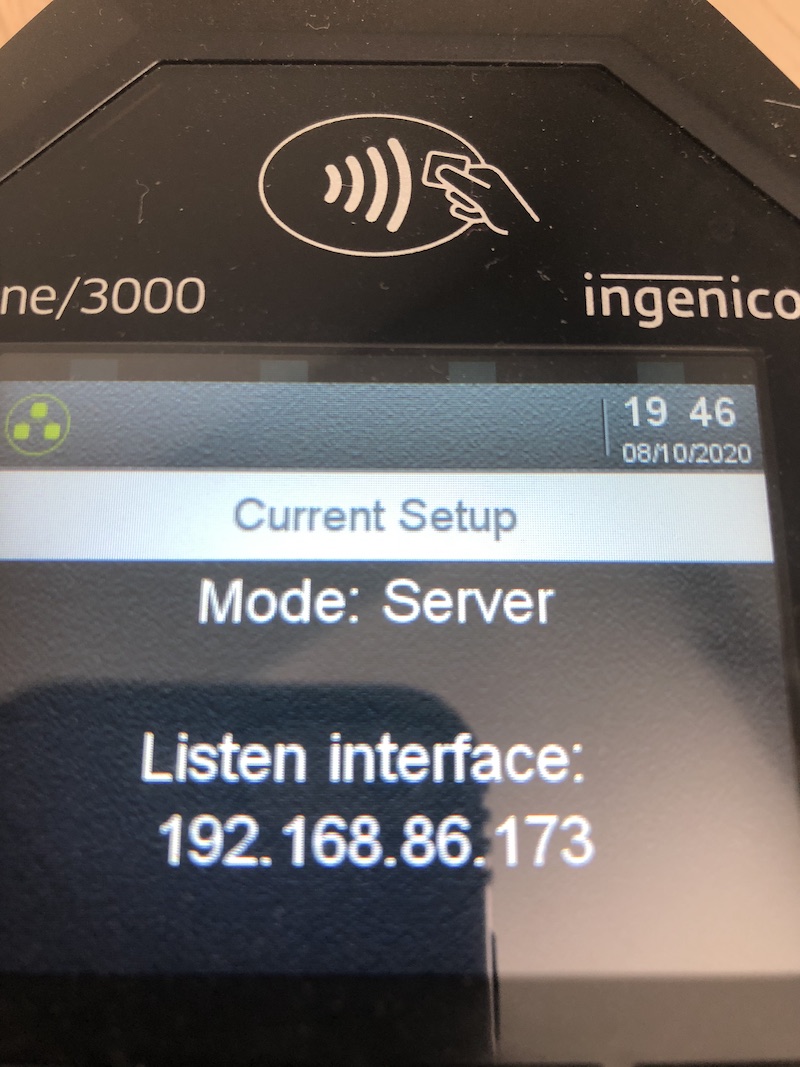
In the screens above we can see that the IP for this terminal is 192.168.86.173
To go back click the select key again and the cancel key several times until you go back to the payment screen.
Editing an Ingenico payment terminal
To edit a terminal you click the name of the terminal in the terminals list.

This will open the details screen. It's the same screen as to create a new terminal but the fields will be completed with the information associated to the terminal that you are editing.


Once you complete the changes make sure to SAVE.
If you changed the IP or the protocol of the terminal and this is the terminal associated to the computer you are working on, you will have to re-associate the terminal to the computer.
Deleting an Ingenico payment terminal
You can delete a terminal from the main list.
Just click on the delete icon at the right of the terminal you want to delete from the system.

You will be asked to confirm the deletion.

If the deletion is completed you will receive a notification in the screen.

If you deleted the terminal that is associated to the computer you are working on, you will have to associate a terminal to the computer.
Creating a new MIT payment terminal
In the main screen (if it's the first time) you will have an empty state and you will have to create the first payment terminal. To configure and use the terminal should be connected to the computer through usb.

If is not the first time, you can still use the upper right corner "add new" button.

The create screen has 4 fields.

The name of the terminal is a descriptive name that you will use to identify each terminal. We recommend adding the same name to the physical terminal to easily identify it later on. You can use a sticker or a labeler to add the name into the terminal.
The serial number of the terminal will be found on the back of the physical terminal.
The user and password is given to you by your MIT contact and is required to make the integration works.
Once you completed all the information you should check that the information is correct by clicking on validate the connection. A pop up screen will appear on the browser to select the port and allow the browser to use the location.
This integration only works on windows machines with latest version of Chrome or Edge or a broser that support the Web Serial API. The machine has to have the terminal driver installed.
Associate a MIT payment terminal
Once the terminal is created and validated you can associate it to the computer by clicking on the associate button in the terminal row.
If there is a terminal already associated to your computer you will see a green associated tab on the row.
A pop up screen will appear to choose the usb port. The association process may take a while, so please be patient. You can only associate one terminal per machine/browser.
If the terminal was successfully associated the following alert in the screen will appear

Once a terminal is associated to a machine you should see the MIT terminal name at the bottom of the profile menu.

Stripe Terminals - Create location (using Stripe Dashboard)
Before you create a terminal you need to create a location for it.
- In your Stripe dashboard account, navigate to Payments in the top menu.
- Select Terminal from the left-hand menu, then click on Locations.
- Find the "All locations" row and click the overflow menu (three dots icon).
- Click Create location.
- Complete the required fields.
- Click Done.

Stripe Terminals - Create terminal device (using Stripe Dashboard)
Once you create a location you can associate a reader to it.
- In your Stripe dashboard account, navigate to Payments in the top menu.
- Select Terminal from the left-hand menu, then click on Readers.
- Click Register reader.
- Find the serial number on the reader's device.
- Enter the serial number into the provided field. You can register multiple readers at once by separating their serial numbers with commas.
- Optionally, provide a name for the reader.
- Choose an existing location for the reader or click + Add new to create one.
- Click Register to finalize.
To create a simulated reader, use the designated registration code (simulated-wpe or simulated-s700) when registering the reader. This registration code creates a simulated WisePOS E or Stripe S700 reader object in a sandbox only.

Stripe Terminals - Associate
Navigate to admin>payment terminals.
You will see a list of payment terminals "providers".

Select Stripe, and you will see the list of created terminals for the account configured in your Stripe Terminal payment method. If you don't see any, you should configure the payment method first.

You can see here which terminal is associated to the current computer or associate a new one by clicking on the button called Associate.
Once a terminal is associated to a machine you should see the Stripe terminal id at the bottom of the profile menu.

One Stripe terminal associated to multiple computers (NOT RECOMMENDED)
You can have more than one computer associated to the same Terminal but this is NOT RECOMMENDED.
If you decide to do so, be aware that payment requests will be processed in the Stripe terminal as they are received. So two different computers may send the payment at the same time to the terminal, the first payment will be processed, the second one will fail and you will have to wait until the terminal is free to use.
Getnet terminals
Navigate to admin>payment terminals.
You will see a list of payment terminals "providers".

Select Getnet, and you will see the list of created terminals for your account.

If there is no configured terminals yet, you will see this.

Getnet terminals - create new terminal
In any case, you can create a new terminal by clicking the "Add new" button. You will see this form:

You can assign any name you want. You can find the serial number in your Getnet's terminal under settings tab in "No. de Serie" section. The serial number are the numbers and letters before the device info.

Getnet terminals - associate
In the terminals list , you can see which terminal is associated to the current computer or associate a new one by clicking on the button called Associate.
Once a terminal is associated to the computer you should see the Getnet terminal serial number at the bottom of the profile menu.

One Getnet terminal associated to multiple computers (NOT RECOMMENDED)
You can have more than one computer associated to the same Terminal but this is NOT RECOMMENDED.
If you decide to do so, be aware that payment requests will be processed in the Getnet terminal in the same order as they are received.