Page summary
- List of templates
- Creating templates
- Copying templates
- Deleting templates
- Order templates
- Transaction conditions on order
- Editing a template
- Details panel
- Data panel
- Editor panel
- Errors panel
- Preview panel (not available on temapltes of the Order type)
- Documentation panel
- Rule tester tab (only available for the Order type)
- Save and rollbacks
- Print Template in agencies
Print templates
You can enable print templates in the print settings admin area. Once enable you can select a template collection from the list. Notice that most template collections are used only in the backoffice channel for printing purposes and for other channels or to attach to email the "Default" collection will be used.
Once you enable print templates you can create your own templates. You can start by copying an existing template from any of the collections (recommended) or try from scratch.
You write the templates using the JSON notation needed by the MakePDF library while using LiquidJS for the template syntax.
Liquid is enhanced with some Betterez proprietary extensions that will make some things easiers, like displaying monetary amounts and deal with multicurrency issues.
Navigate to Administration>Printing>Print templates.
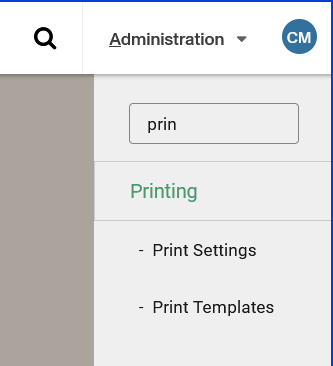
You can configure Print templates overrides to use different printers for different print templates configurations. This is useful when you have different printers for different types of tickets or documents.
List of templates
The list of templates will display all the templates for the pre-defined template collection (Default, Zebra, Epson, etc) and any Custom template defined at the account level.

The templates list will display the temaplates listed by relevance, from higer to lower relevance. This will indicate what template will be used when printing an specific product or item.
The templates on the pre-defined template collections can't be edited or deleted but they can be copied and once copied they can be modifed.
One important property displayed in this list is the Status of the template, if the template status is Draft that template will not be used even if it's relevance is higher than other templates. The Status needs to be Published to be able to use it. You can edit the status in the templates editor.
Creating templates
Click the Add new button at the top right of the screen.

You can create custom templates for an specific combination of printer and product. Select the printer, the product and provide a name. Once created you will be able to start editing the template and preview the results in the template build in editor.
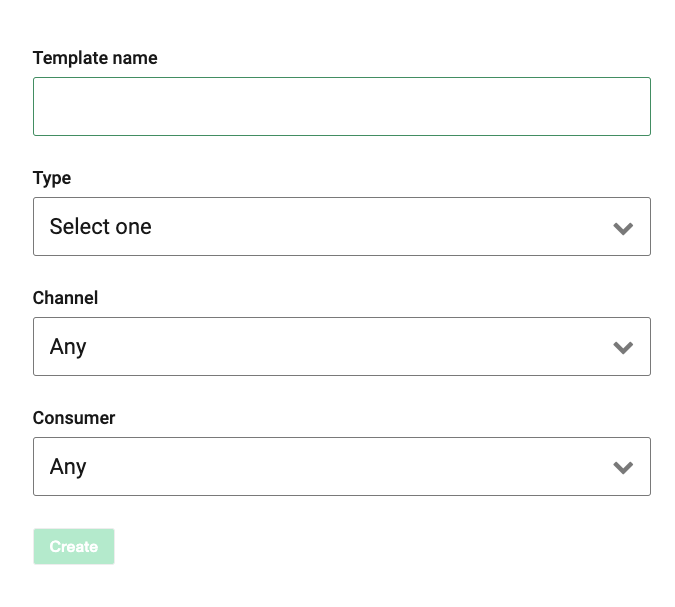
Give the template a descriptive name so you can find it easily in the template list.
Select the template type.
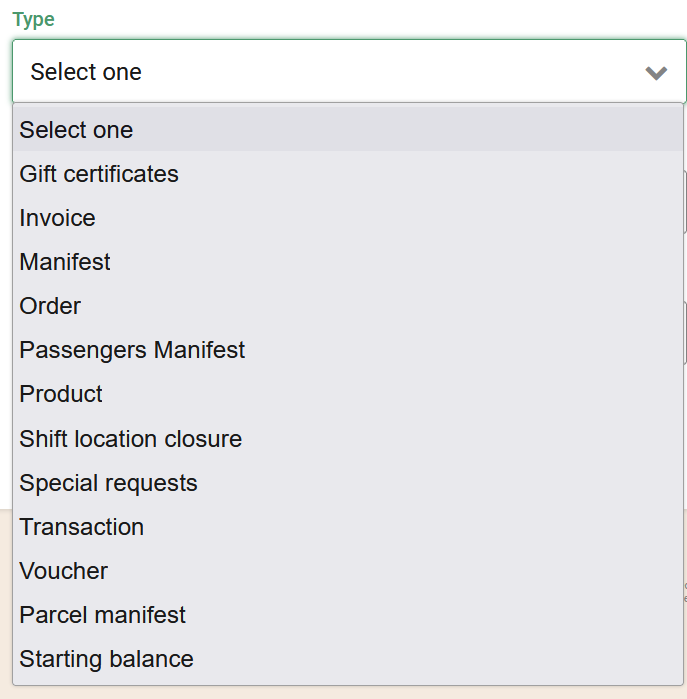
If you select the "Product" type, you will see two more options.
The product family (required) and the product.
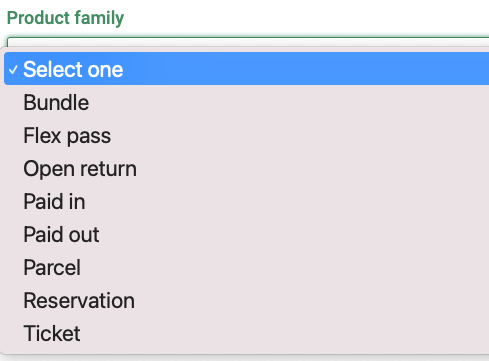
- Notice the Open return shows here as a product family. While is actually a flavour of the reservation family we need to show it here to be able to design specific templates used to print the open return portion of that type of reservations.

The second options shown will be populated with the products of the selected family above. This will allow you to design custom templates for an specific product. This option can be left empty.

For the channels option, if you wish to use this templates in all channels leave it as Any, or select an specific channel.

The consumer property indicates if the tempalte will be used by all consumers (Any), only the printer (Printer) or when the pdf is sent as an attachment in an email (Attachment).
- See below how to use the template editor
Copying templates
Another way to create a new template is copying an existing one and modifying it's properties and the template as needed.

You can modify all properties of a template after clicking the copy button in the list and accepting to Copy the template.
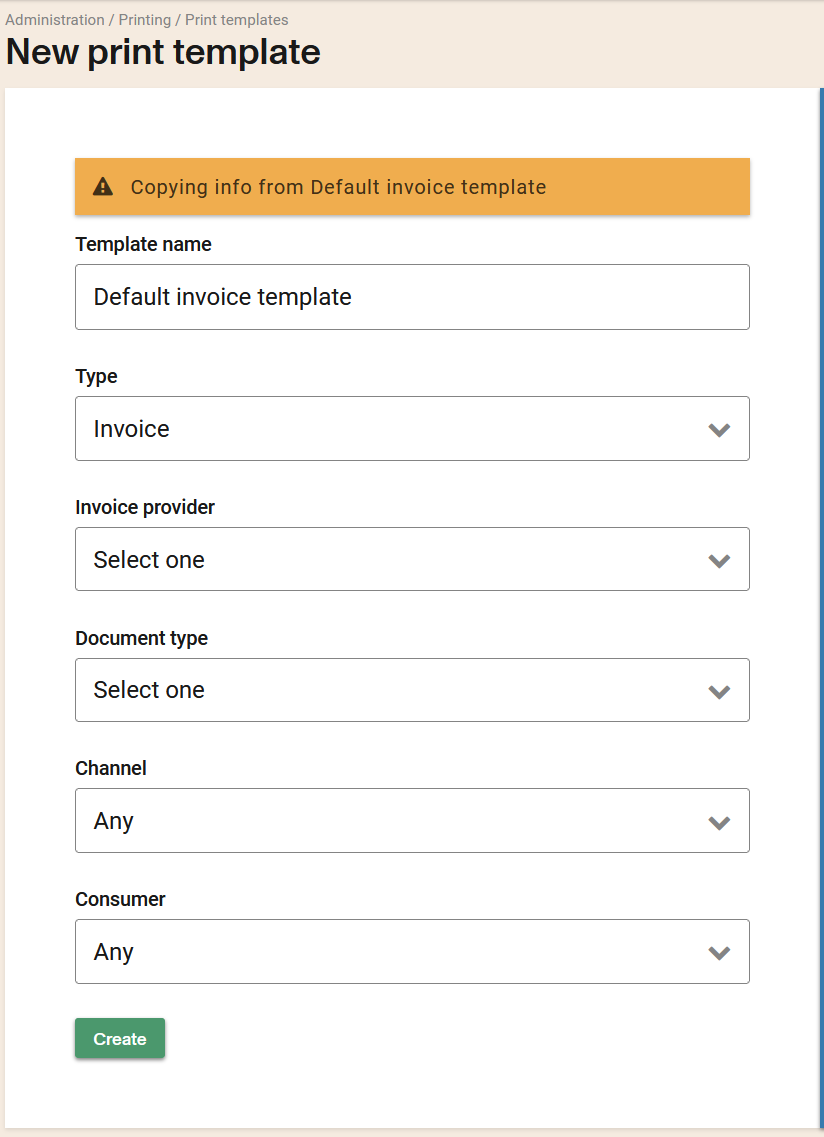
Once saved the template will be shown in the list as a "Custom" template

- See below how to use the template editor
Deleting templates
You can click the "Delete" icon at the right side of a Custom template

A confirmation will be shown, clicking "Delete" will remove the template.
This action is not reversible

Order templates
Order templates are a special type of templates considered meta templates.
This template has an items object and each property in the items object refers to an actual template that should be printed when printing the order.
The value in the properties should be an empty object except for the transaction property that is a special case, see below
At the moment the supported properties are:
  "transaction": {}
  "pinpad": {},
  "invoice": {},
  "reservations": {},
  "tickets": {},
  "flexpasses": {},
  "redeemableItems": {},
  "paid_ins": {},
  "parcels": {},
  "gift_certificates": {},
  "refunds: {}
Transaction conditions on order
The transaction property can have an object with the conditions property.
The conditions support rules in the form acepted by json-rules-engine
The default order has the following rules:
"conditions": {
  "any": [
    {
      "fact": "parcels",
      "operator": "greaterThan",
      "value": 0,
      "path": "$.length"
    },
    {
      "fact": "refunds",
      "operator": "greaterThan",
      "value": 0,
      "path": "$.length"
    },
    {
      "fact": "flexPasses",
      "operator": "greaterThan",
      "value": 0,
      "path": "$.length"
    },
    {
      "fact": "transaction",
      "operator": "greaterThan",
      "value": 0,
      "path": "$.transactionFee"
    },
    {
      "fact": "transaction",
      "operator": "lessThan",
      "value": 0,
      "path": "$.transactionFee"
    },
    {
      "fact": "transaction",
      "operator": "contains",
      "value": "item",
      "path": "$.summary[*].productFamily"
    },
    {
      "fact": "transaction",
      "operator": "contains",
      "value": "loan",
      "path": "$.summary[*].productFamily"
    }
  ]
}
This means that a transaction will be printed in an order if the order contains at least one parcel, refund or flexPass.
Or when the transaction.transactioFee value is not zero.
Or when in the transaction summary there is at least onw item with the productFamily of item or loan.
Notice the path property in the rules, they follow the json-path syntax.
Editing a template
- For Order templates see above.
The editor in composed of four main panels.
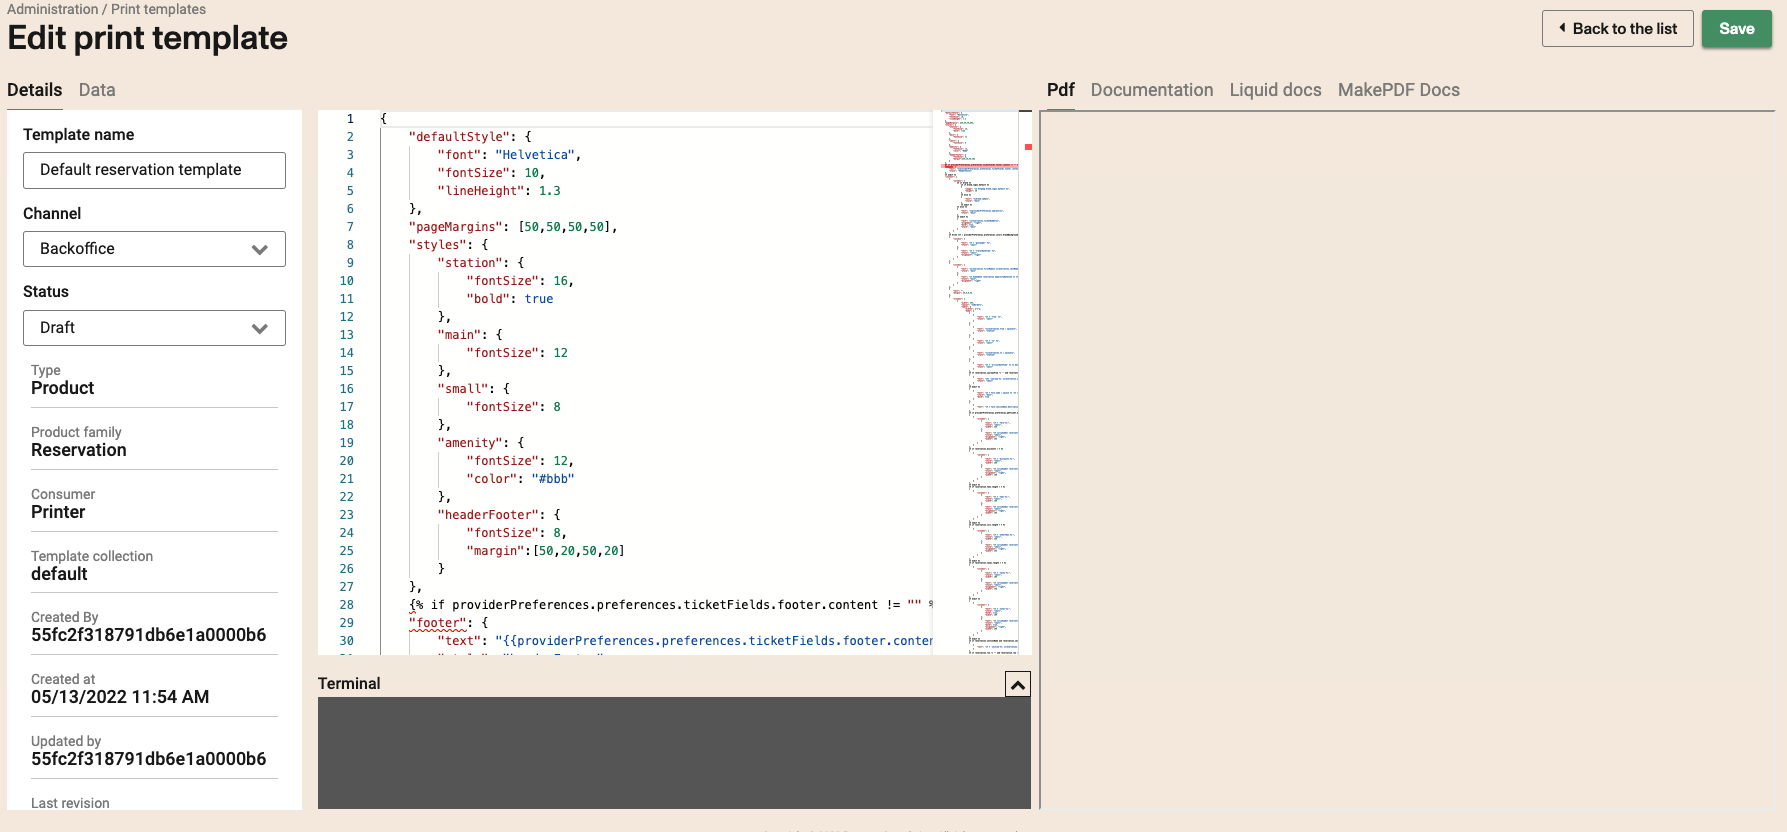
The details and data panel at the left, the editor and erros panel in the center, and the preview and documentation panel on the right.
Details panel
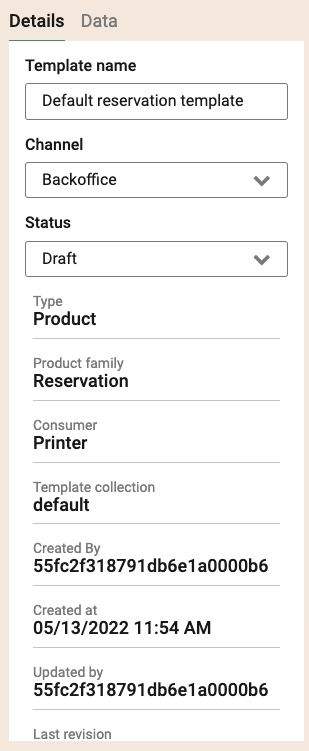
The details pane display the properties of the template. Notice that some properties are editable but most are not. You can change the name, the channel and MOST IMPORTANTLY the status of the template. Once you change any of the values make sure to click Save in the top right corner of the editor.
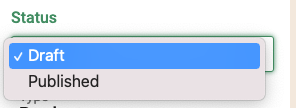
You can select either Draft or Published for the template status. Draft allow you to work on a new template without it being used by the system until is changed to Published.
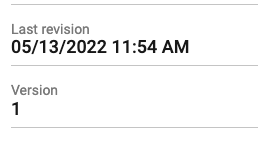
At the bottom of the the data panel (you may need to scroll the panel to see it), it's the template version information. This shows the last time the template was modified (it could be the code or any of the properties) and the version you are seeing in the editor window. More about versions and revisions below.
Data panel
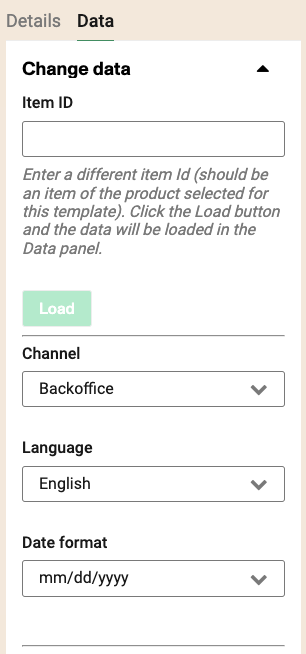
This panel allows you to load all the data that will be available for the template based on the template type.
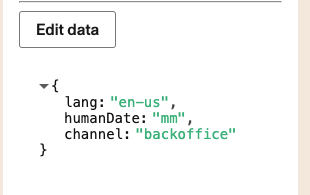
By default the only data will be loaded is the language, channel and humanDate. (This channel is not the same as the template channel property, the humanDate comes from the account configuration, same as the language).
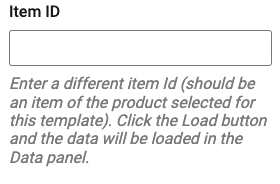
You will need to provide an ID for the main item of the template as described below.
| Type | Product family | Id from |
|---|---|---|
| transaction | transaction | |
| voucher | voucher | |
| gift certificate | gift certificate | |
| srr | reseervation with ssr | |
| invoice | invoice | |
| Locationclosure | Locationclosure | |
| Manifest | Manifest | |
| Order | Order | |
| Parcelmanifest | Parcelmanifest | |
| Passengersmanifest | Passengersmanifest | |
| Startingbalance | Startingbalance | |
| product | reservation | ticket |
| product | ticket | ticket |
| product | parcel | parcel item |
| product | Flex pass | Flex pass |
| product | paid in | paid in item |
| product | paid out | paid out item |
| product | bundle | redeemable item for a bundle |
| product | open return | redeemable item for an open return |

Once you enter the item Id you can click the Load button and the editor will try to load the information for the template type based on the Id.

If the item Id is incorrect, non printable or the status is not available (example, cancelled or changed ticket). You will see the error above.
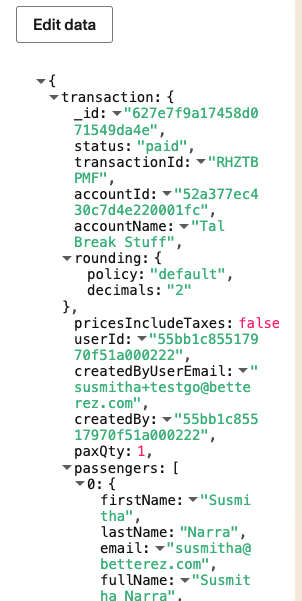
If the Id is the correct one the data will be shown expanded by default. The data shown will be different based on the type of template you are working on and it represents all the data the template will have available. Once the data is loaded the preview pane will display a preview of the template using the data in this pane.
Notice that in some cases you may want to use different Ids for different items that may have different characteristics, even if they belong to the same product and type. For example: reservations in the same account sometimes have seat information and sometimes they don't depending on the schedule. You may want to test how your template behaves with the different reservations.
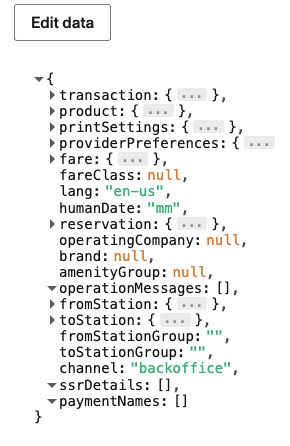
You can collapse the data to make your life easier while working on the templates and only focus on some of the data at a time.
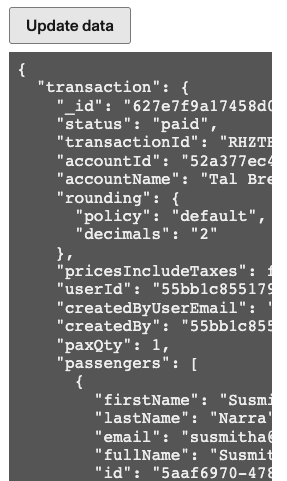
As stated above sometimes the same type or product may have data that's slightly different from the item you selected to test. You can "edit" the data using the Edit data button. Once the data is edited the editor will reload the preview (see below).
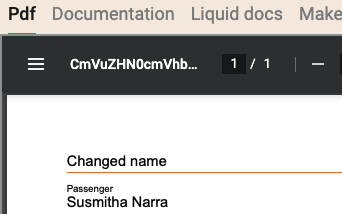
The editing of data is nor presereved and it doesn't modify any of the data in the account. Reloading the item or the editor will reset the data to it's original state.
Editor panel
The editor panel is powered by "Monaco" the text editor that also powers Visual Studio Code.
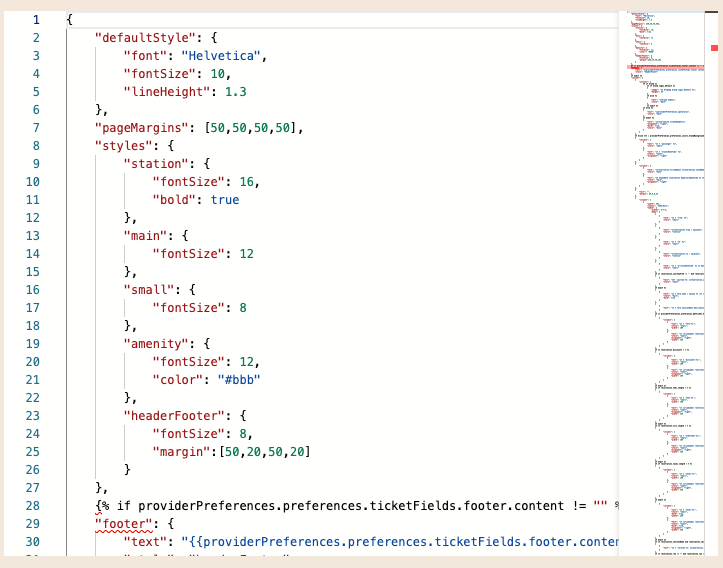
This provides some nice features like syntax highlighting, code completion and sections collapsing. It also features a mini map to the right of the editor that can help when navigating long templates.
Some of the syntax errors can be ignored since Monaco have a hard time understanding that we are working on a JSON file that also supports Liquid syntax.
Errors panel
The error or Terminal panel seats below the editor.

When there is an error it will show the status code from trying to process the template and the result once the template was processed with the data on the data panel.

You can click the arrow on top of the Terminal panel to expand it to be easy to look at the information. If you are careful you can generally find the error from the code generated when processing the template.
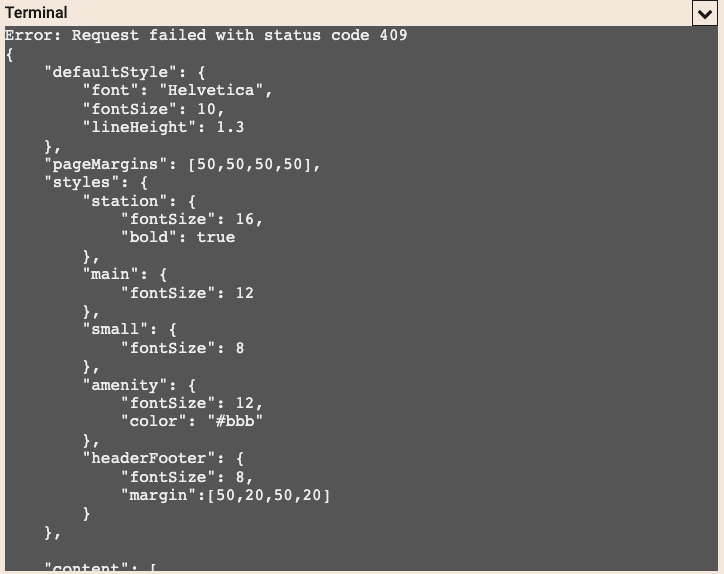
Preview panel (not available on temapltes of the Order type)
The preview panel will load each time the template is modified or the data is reloaded or edited.
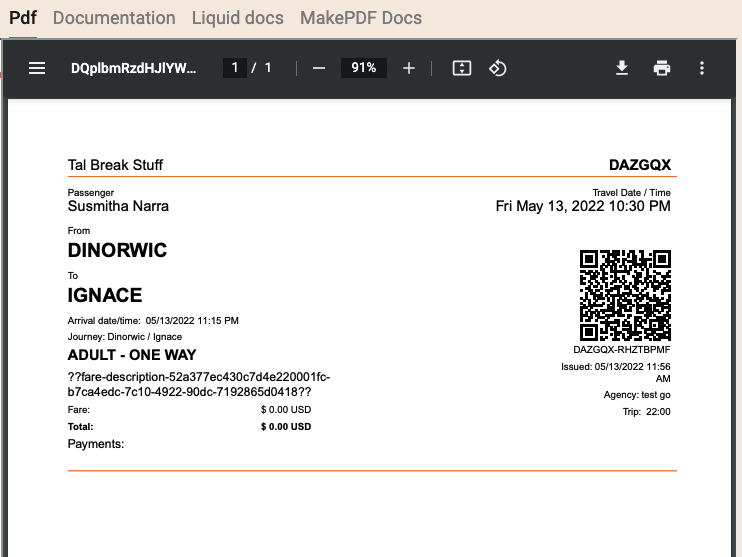
This enables very quick feedback where you see in almost real time how the changes in the template will be reflected in the PDF.
Data needs to be loaded for the preview to work.
If there is an error in a print template (and for some reason the system cant load the default template), it will not print the requested pdf (ticket, transaction, invoice, etc...). This might also cause that the confirmation email is not sent since the system cant produce the attached pdf it should send. If you find that you cant print or email is not being sent, make sure your updates to the print templates are not throwing an error. If so, please correct the template and attempt to print or send confirmation email.
Documentation panel
The documentation panel is actually 3 different panels for normal templates and it changes a bit for the Order templates.
Documentation tab
For non orders templates
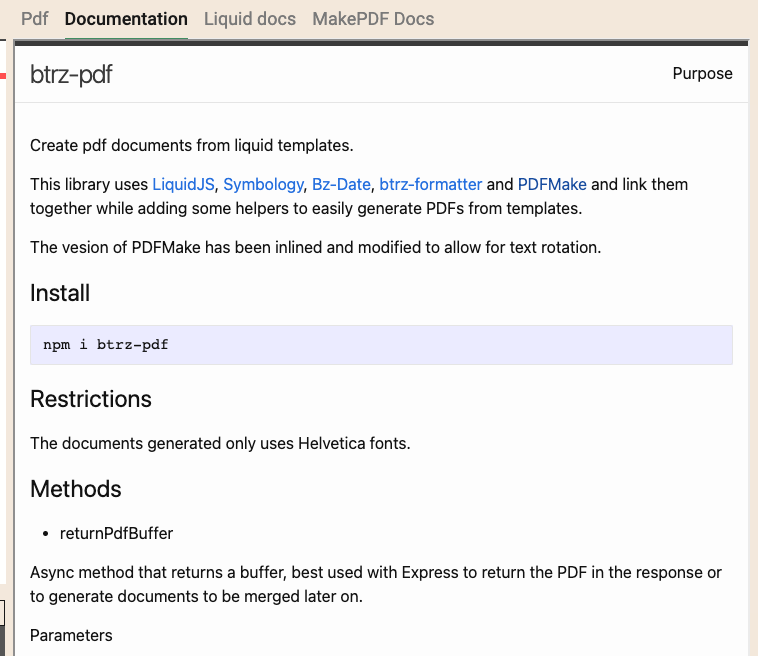
This tab has documentation about the Betterez custom extensions.
For order templates
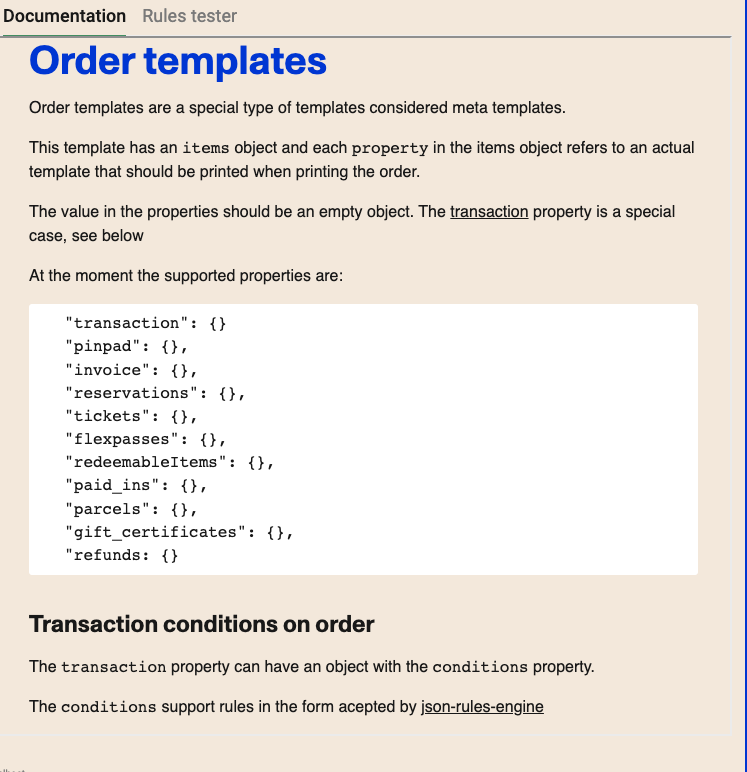
This tab has documentation about the structure needed for an Order template.
Liquid docs tab (not available on temapltes of the Order type)
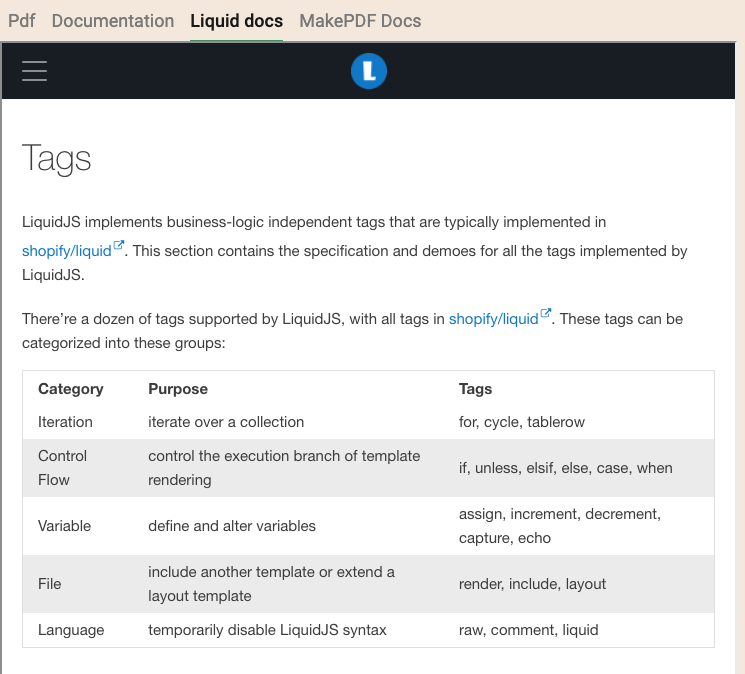
This tab has documentation about Liquid JS
MakePDF tab (not available on temapltes of the Order type)
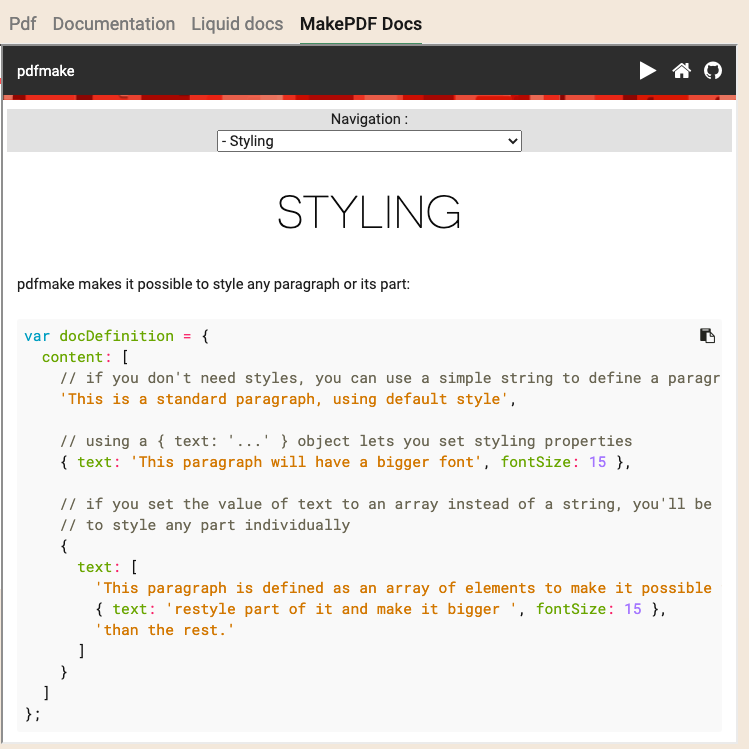
This tab has documentation about MakePDF
Rule tester tab (only available for the Order type)
You can use this tab to test the rules.
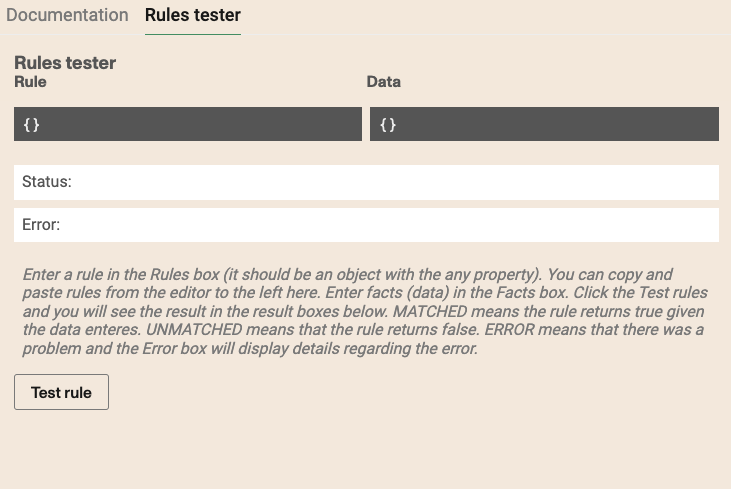
You create a rule and you type some mock up data and click the Test rule button.
You can receive errors if the rule you write doesn't follow the proper format.


If you don't have any data in the data window when testing the rule you will get an "UNDEFINED_FACT"

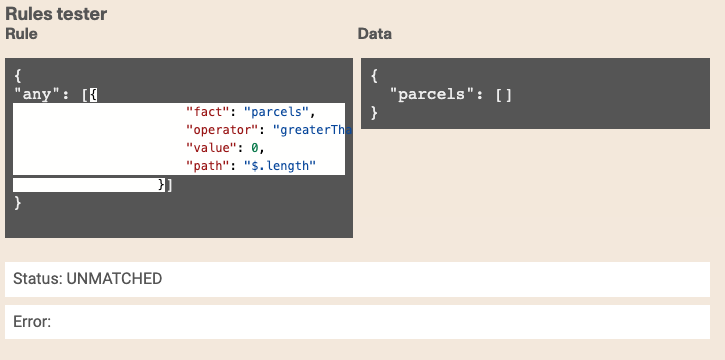
If the data doesn't match the rule (here we are looking for at least one element in the parcels property), you will get an "UNMATCHED" result.
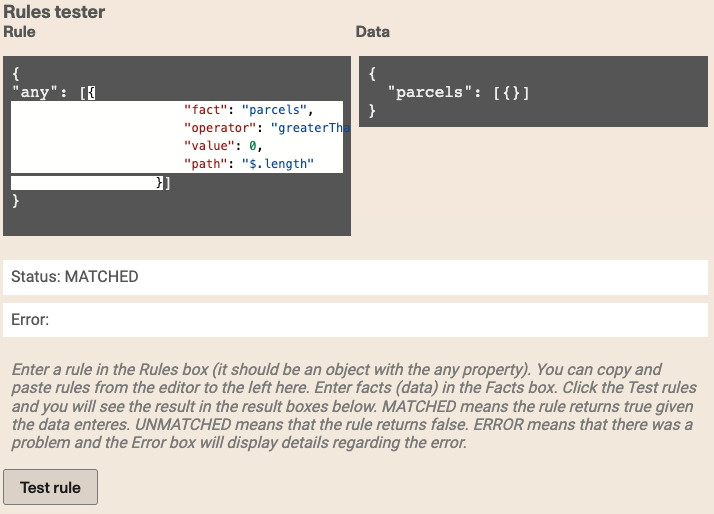
If everything works you should see a "MATCHED" result.
Save and rollbacks

Once you click the Save button a new revision of the template will be created and the previous version will be also preserved.
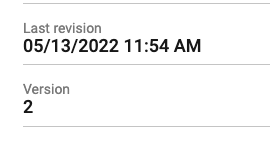
If a template has multiple versions a Rollback button will be shown besides the Save button. Clicking this button will Revert the template to the previous save point.


Roolback DELETES everything before the previous save point and there is no redo or rollforward button.
- info Specifically for Partial Shift Deposits Template for the preview to display the specific receipt, you would need to be logged in as the user that you want to look at, and the partial deposit needs to be part of the currently open shift for that user. The id to pass to the template would be the integrer of the specific deposit. Ex for the first deposit it would be 1. If you get the information via apis, you would find the value in the "partialDepositOrder" from the deposits array.
Print Template in agencies
You can set your print templates in the main accound and assign them to your agencies for them to use. Or in order words give the access (like you do with products, fares, etc...) to the print template you want them to use.
These are the steps to follow:
- In your main account: Go to Administration / Printing / Edit print settings and check the option to use print template.
- In your main account: Create the print template you would like the agency to use.
- In your main account: Go to Administration / Network / Agencies and enter the agency you want to assign it to. Scroll down to the print template options and enable the template for the agency.
- Login into the agency: Go to Administration / Printing / Edit print settings and check the option to use print template.
- info You can also set a print template within the agency but for better control and maintenance it is recommended to do it from the main account.